How to Create Pinecone Christmas Trees
My son loves collecting rocks, leaves, and pinecones.
Every year, he comes home from the park with an armload of pinecones, and I try to find ways to fit them in my décor.
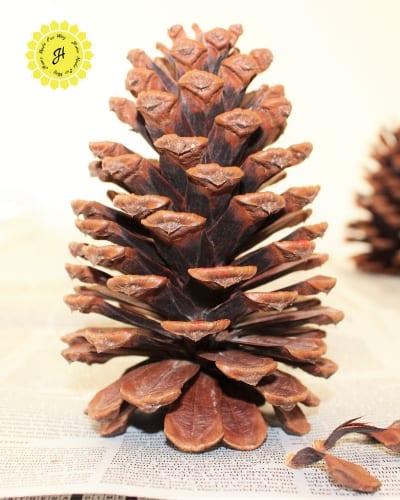
This year, he picked a few large and very pretty pinecones.
So, I decided to get crafty and created some miniature pinecone Christmas trees.
Here are some ideas for creating your pinecone Christmas trees.

Disclosure: This post contains some affiliate links for your convenience (which means if you purchase after clicking a link, I will earn a small commission, but it won’t cost you a penny more)! Click here to read my full disclosure policy.
Prepping Your Pinecone Christmas Trees
The first thing you may want to do is check the tops of the pinecones and remove any stems.
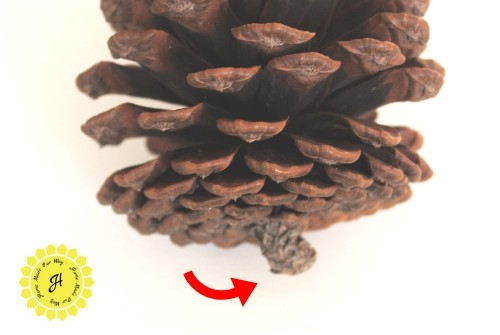
Then, set them on a table (top part on the bottom) and check for leaning.
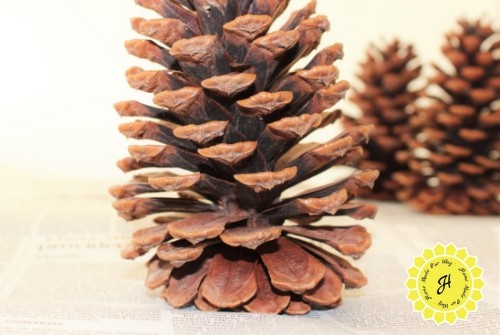
To fix any leaning, remove some of the bottom scales until it is balanced.
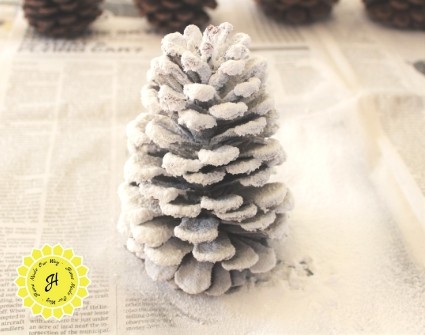
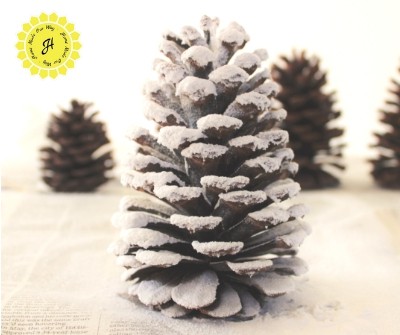
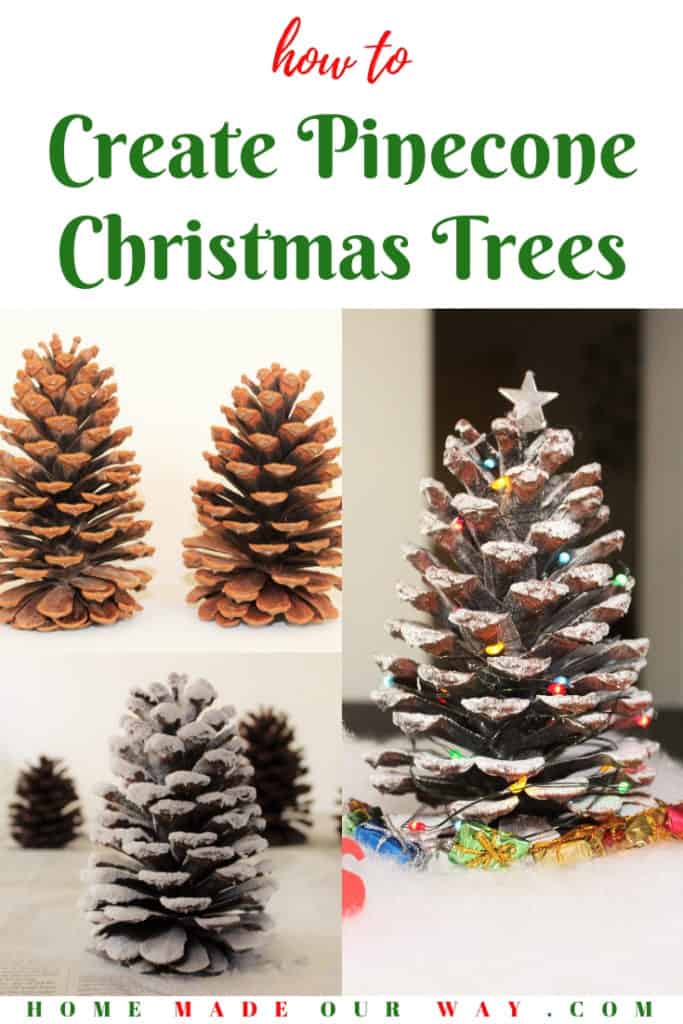
For this post, I created three different pinecone Christmas trees and gave them all a frosty look by coating each tree with a can of snow spray, like this one.
You can spray it lightly or coat it heavily.
This is up to you and how you want your tree to look.
I coated mine heavily.
As you decorate your trees, consider that you may lose some of the snow coatings due to handling.
Let your trees dry for at least 24 hours.
I also purchased a snow roll to recreate a Christmas scene. The snow roll also helps to straighten some “leaning” trees.
As for the other materials, these will be up to you and how you want to dress your trees.
So, let’s take a look at the three trees I created to help inspire your creativity.

A Glitter Pinecone Tree
This took less than two minutes to make.
While this wasn’t the most beautiful of trees, it was fast and easy.
It’s a great starter tree, especially for kids.
To make this tree, you will need some form of glue spray, like this one, and glitter.
I found this ornament filled with glitter and used it to coat the tree.

Before you spray your pinecone, make sure you do so over some newspaper.
It can get messy.
After coating the tree with glue spray, immediately sprinkle it with glitter.
Voila, the tree is done quickly.

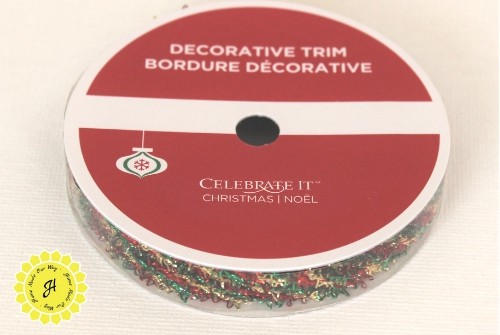
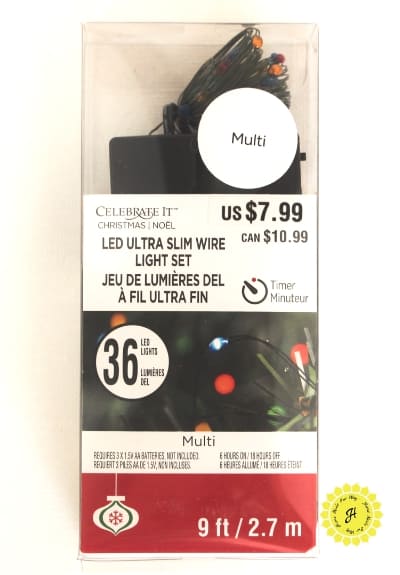
Garland, Lights, and a Star
For this tree, you will need the following:
- Purchase any kind of ribbon or trim that looks like garland. I got the one below from Michaels. Here is one I found on Amazon.
- Silver star charm (you can find these in any jewelry department of most craft stores)
- And finally, you’ll need a glue gun
First, you will want to wrap the pinecone with lights.
These lights were pretty long, so I had to wrap them around the tree a few times.
Next, I removed the loop part of the charm and then glued the star to the top of the tree.
You could also leave the loop part if you’d like to hang your tree.
If that’s the case, I’d nix the lights.
Afterward, I wrapped the gold/green/red trim.
This helped to hide the glue gun blob holding the star in place.
This took about 30 minutes to put together.
The boys liked that this tree lit up, too.


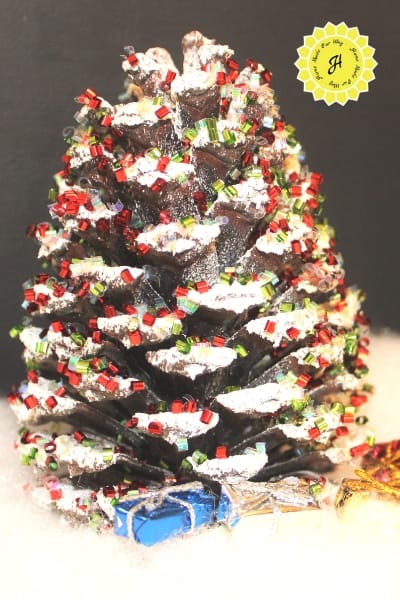
Pinecone Tree With Ornaments
This tree took the most time to make.
Depending on the size of your pinecone, expect to spend an hour putting everything together.
The following items you will need are:
- glue gun
- miniature Christmas balls (I found these inside this novelty ornament)

To make this tree, I laid a strip of glue (using the glue gun) on the width of each pinecone scale.
Then, I added two miniature Styrofoam balls to each scale.
As you get closer to the top, one ball per scale will do.
Allow the glue to dry completely.
Then, go back and carefully remove those little “hairs or tails” that the glue gun makes as you complete your tree.

Creating a Pinecone Christmas Tree Scene
I set my pinecone Christmas trees on a piece of wood that I painted white and laid out a layer of snow roll.
This helped with some of the trees that had a slight lean as well as hiding the miniature light switch box.

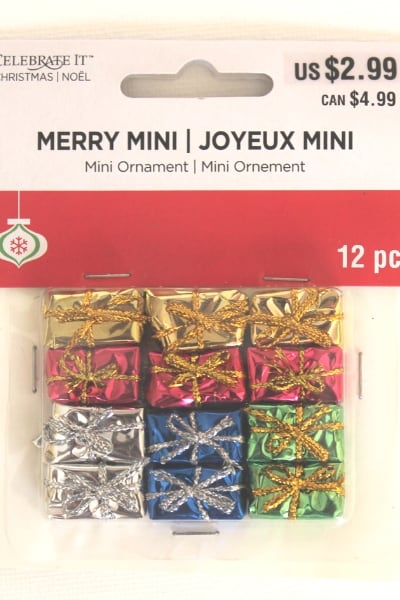
I also purchased miniature gifts to finish the scene and placed a Happy Holidays wooden sign.
I got the sign from Michaels and painted it red.
While I was at Michaels, they had a whole section dedicated to creating miniature Christmas scenes.
I wanted to buy them all, but that would have been costly.
Instead, I think I am going to buy one miniature a year and just build up my scene that way.
They had things like lampposts, benches, and animals.
Again, decorating is all up to you.
Final Thoughts on Creating Your Trees
So, remember to:
- fix leaning pinecones by removing some scales on the bottom
- visit your local crafts stores and check out their see-thru ornaments for miniature ornaments you can use on your trees
- use newspaper, especially when using both the glue spray and frost spray
- if doing this with children, make sure to supervise them when using a glue gun
- and finally, get creative and make a Christmas scene
Well, I hope this post gives you some inspiration for your pinecones.
Other Christmas-Related Articles
- If you have young kids or grandkids, click here to check out our post on How to Make Christmas Magical for Kids. In it, I have free printables, including Polar Express tickets.
- Does the Christmas season have you exhausted with shopping, cooking, and everything else you need to do? Try our Make Merry Christmas planner to get your holiday organized.

Leave a Reply