How to Set Up a Deployment Wall & Other Fun DIY Crafts
Military deployments are never easy.
It’s hard on everyone: spouses, parents, and especially the children.
One way to get through a deployment: keep busy!
In this post, you’ll find all kinds of fun military-related craft activities you can do to beat the long weeks without your loved one.
This includes creating a deployment wall and other crafts.
Below you will find all sorts of DIY projects you can do.
Not crafty? No problem.
I’ve created some printables you can use for your wall.
Just click the pink button at the end of this post to get access to our free resource library.
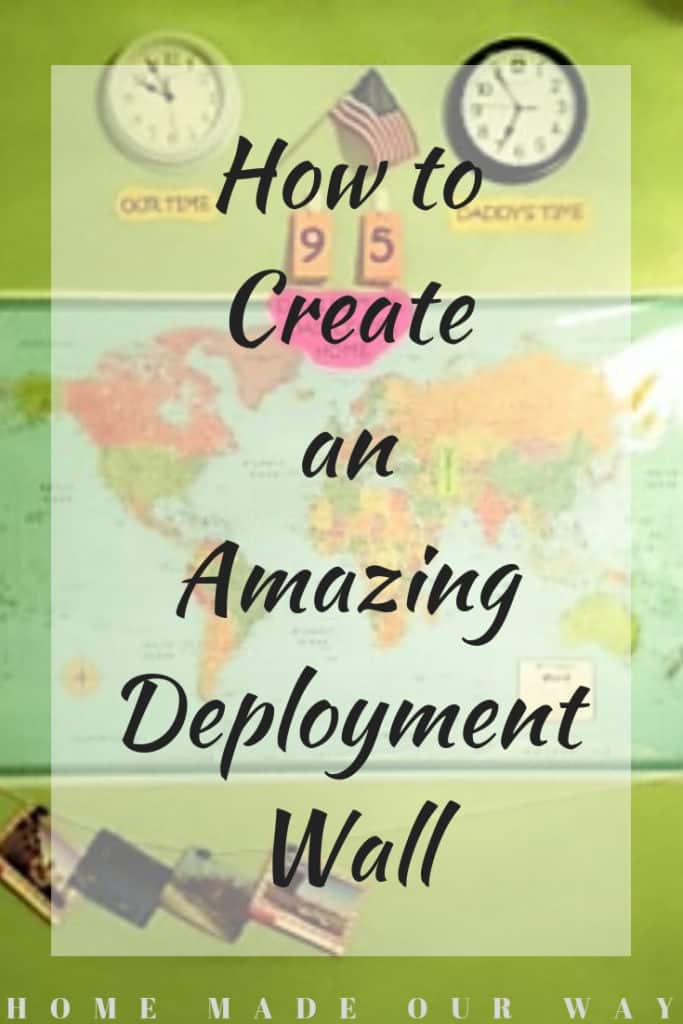
Disclosure: This post contains some affiliate links for your convenience (which means if you make a purchase after clicking a link I will earn a small commission but it won’t cost you a penny more)! Click here to read my full disclosure policy.
Creating a Deployment Wall
When creating a deployment wall, the right setup is up to you.
You can make it simple or make it as elaborate as you want.
There are no rules.
After researching all over the web including Pinterest, there are some common themes most walls share.
Again, you decide what you want or don’t want on your wall.
Common Items
- Clock(s): you can use 1 or 2. They are great for displaying your own time vs. the time zone that your loved one is currently in.
- laminated map: you can use this to pinpoint the location of your loved one with a tack or dry-erase marker.
- calendar/countdown: naturally, you’ll use this to mark the days until their return.
- flag(s)
- military branch symbol
- mail collector: a place to put all the things we may want to send in a care package
- photo of your loved one
Again, you don’t have to use all of these suggestions especially if you have limited wall space and want to keep it simple.
Extra Things You Can Include with Your Deployment Wall
If you have space, you can place a small table against your deployment wall to place other items such as a candle, dog tags, a shadow box, a framed picture, or quotes (if you don’t want to hang them on the wall), or a “kiss jar”.
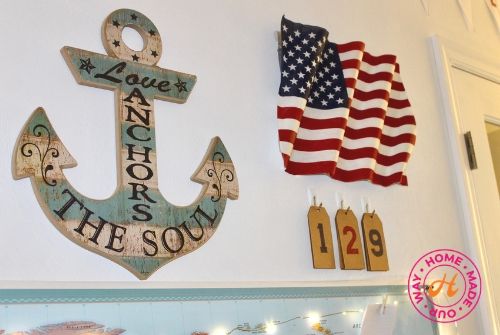
You can also get crafty and add a paper chain, labeling decals, and other home decor items like this anchor I found at TJMaxx.
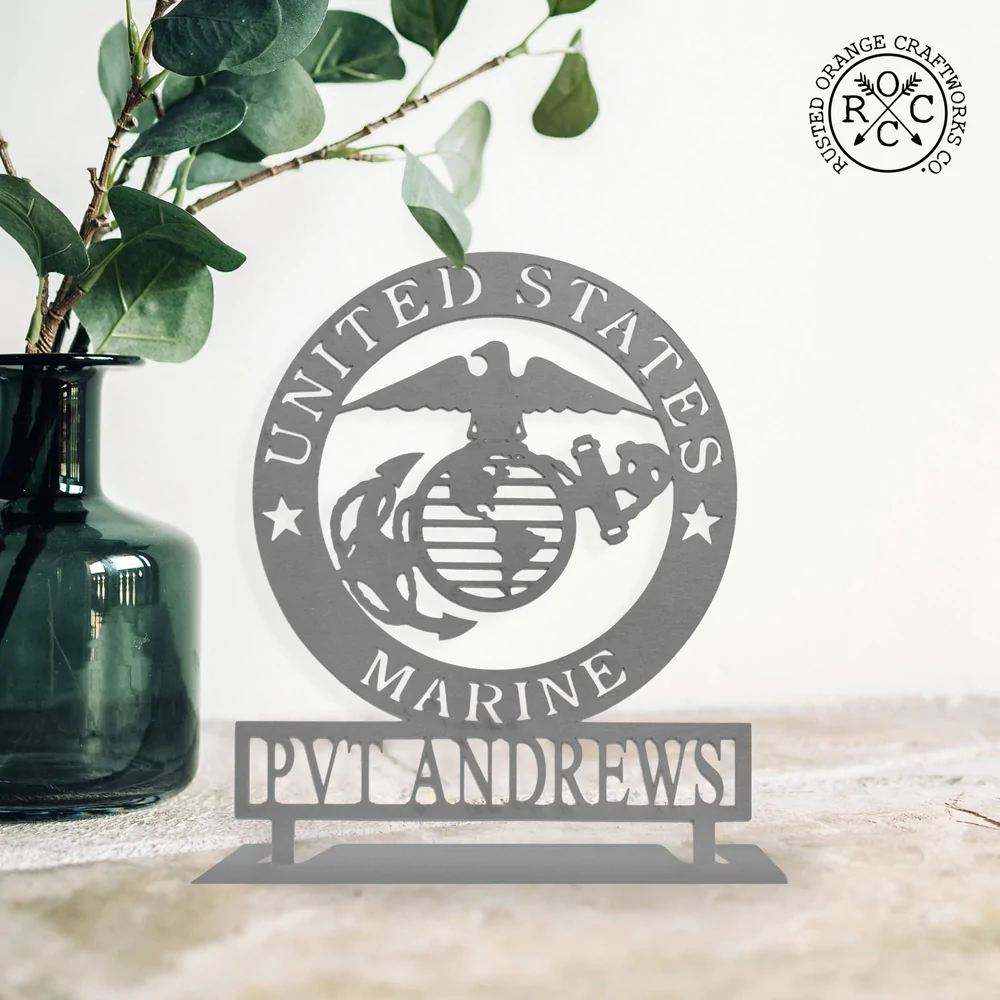
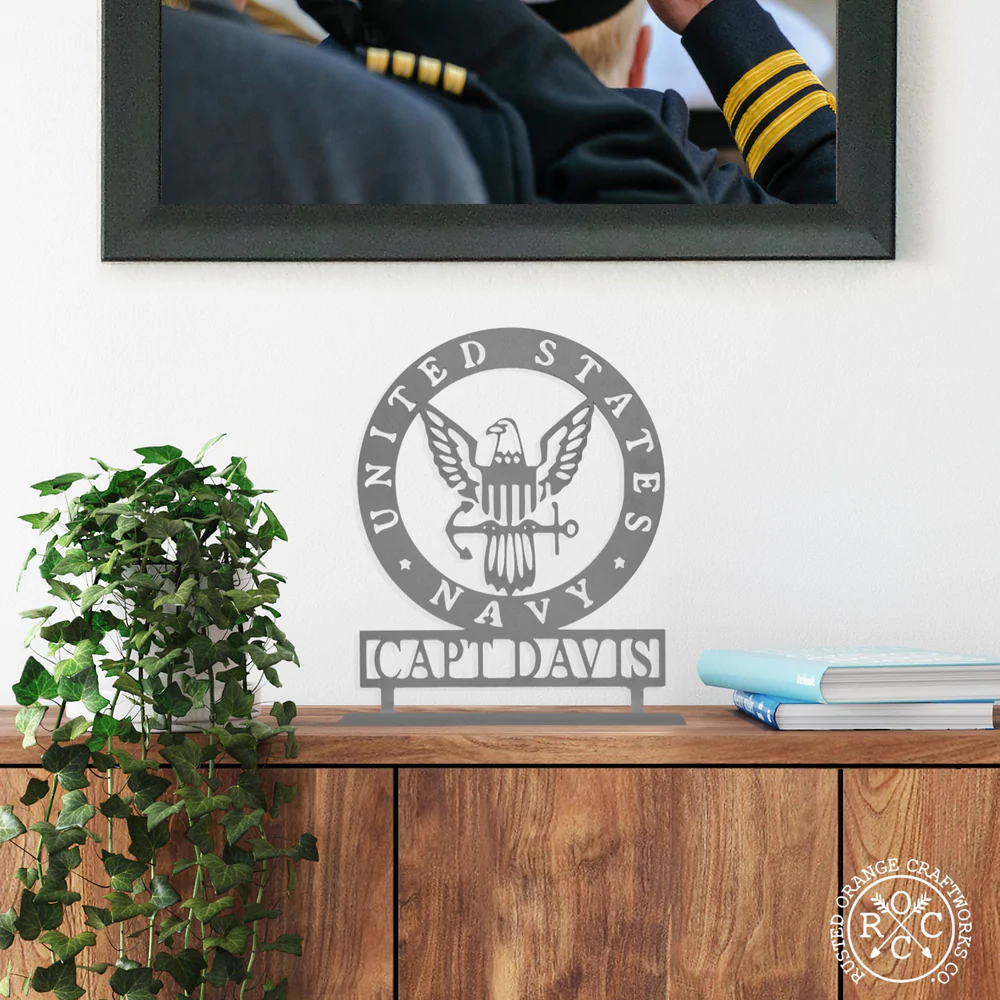
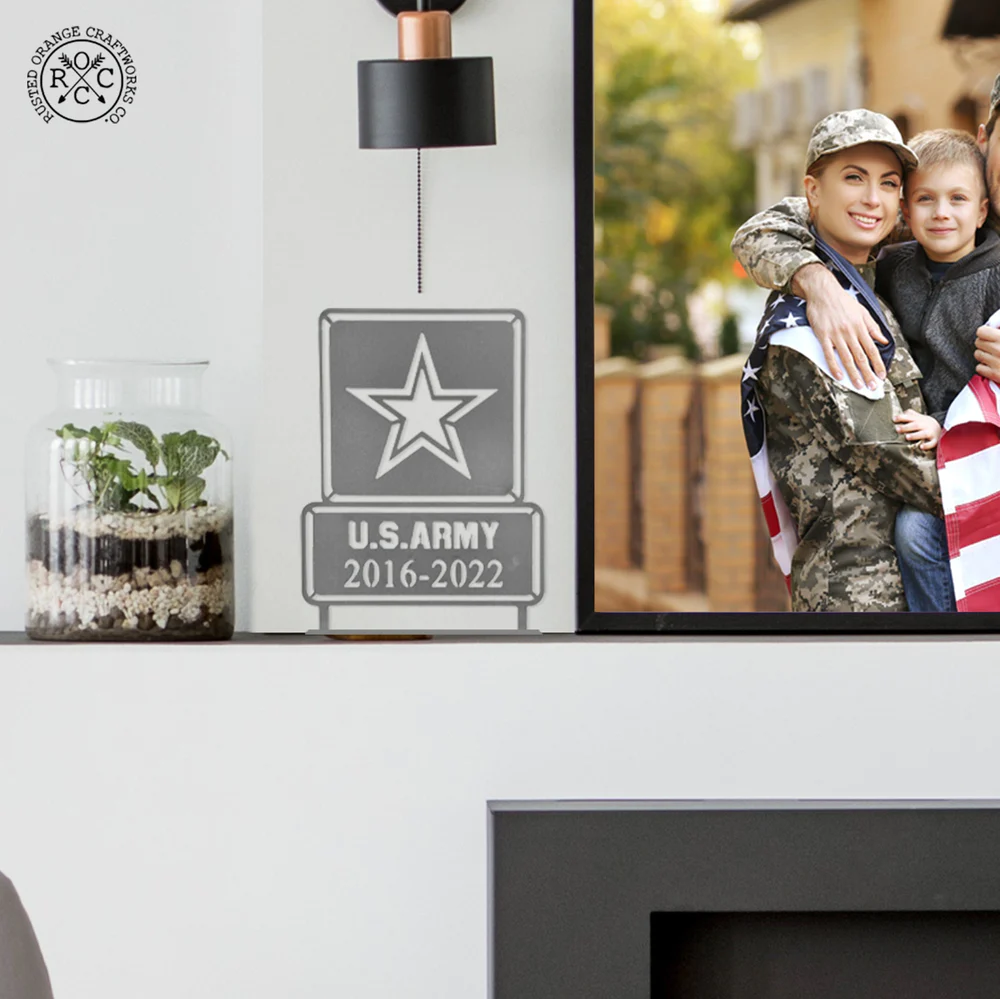
For more patriotic signs, check out Rusted Orange‘s site. Here are just a few of their signs.
Deployment Wall Examples and Inspiration
To get started, I suggest visiting Pinterest and checking out deployment wall examples.
Write any components you want to use and then map out your wall design.
Below is our first deployment wall versus our second deployment wall.
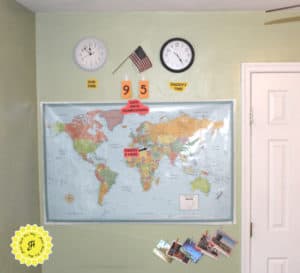
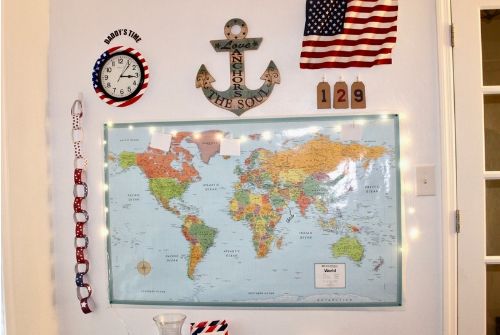
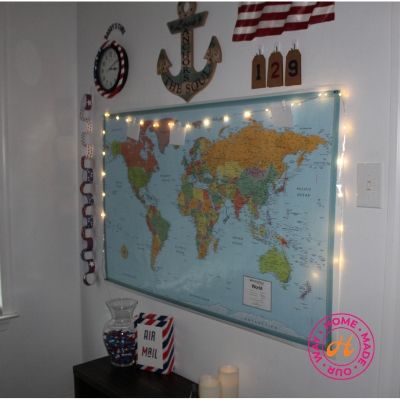
On our wall, we have a laminated map where we can use a dry-erase marker to mark where my husband is located.
We also added fairy lights across the top of the map that came with clothespins.
We use these to hold notes of anything we want to tell Dad the next time we talk to him.
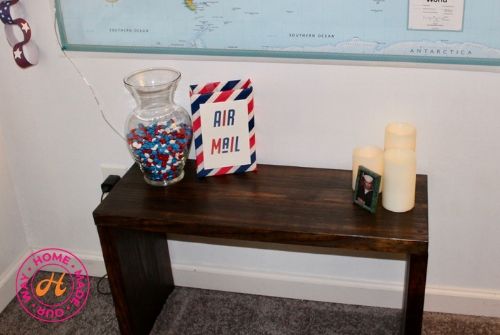
Below the map, I added this bench to hold our candy jar, mailbox, a small photo of my husband, and some electric candles.
DIY Ideas and Crafts For the Whole Family
Below you will find some projects that you can do to add to your deployment wall area and to keep you busy during the upcoming months.
Daily Chain
This project is very simple and great for small children to put together.
Simply create strips from paper. You can use construction paper, military-inspired scrapbooking paper, or just regular white copy paper that you can draw on and decorate yourself.
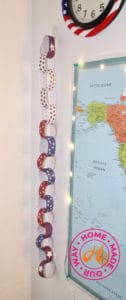
Try to make the strips all the same length and width for a more uniform look.
I made our strips 1½” wide and the length of a sheet of paper (11″ long).
You can find these strips in our Deployment Wall Kit.
Just click the pink button at the end of this post to access it for free.
After cutting out your strips, you can add a note on the back or simply date them.
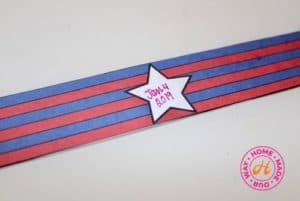
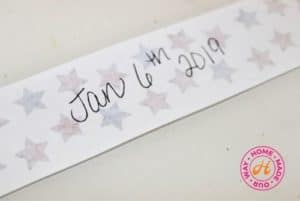
Then connect the ends with tape linking it to the last link you created. Easy peasy!
Quotes Display
The easy way to display a quote is to print it out in a font you like and frame it.
However, if you have nice handwriting, you can try painting the quote on a wooden plaque or on pallets.
Check out your local crafts store for all the supplies you need to make your display.
To find quotes, try Pinterest and Etsy.
If you’re not so crafty, Etsy has a ton of handmade gifts for the military including wall decor and decals.
I’ve also included a couple of quotes in the Deployment Wall Kit.
American Clock
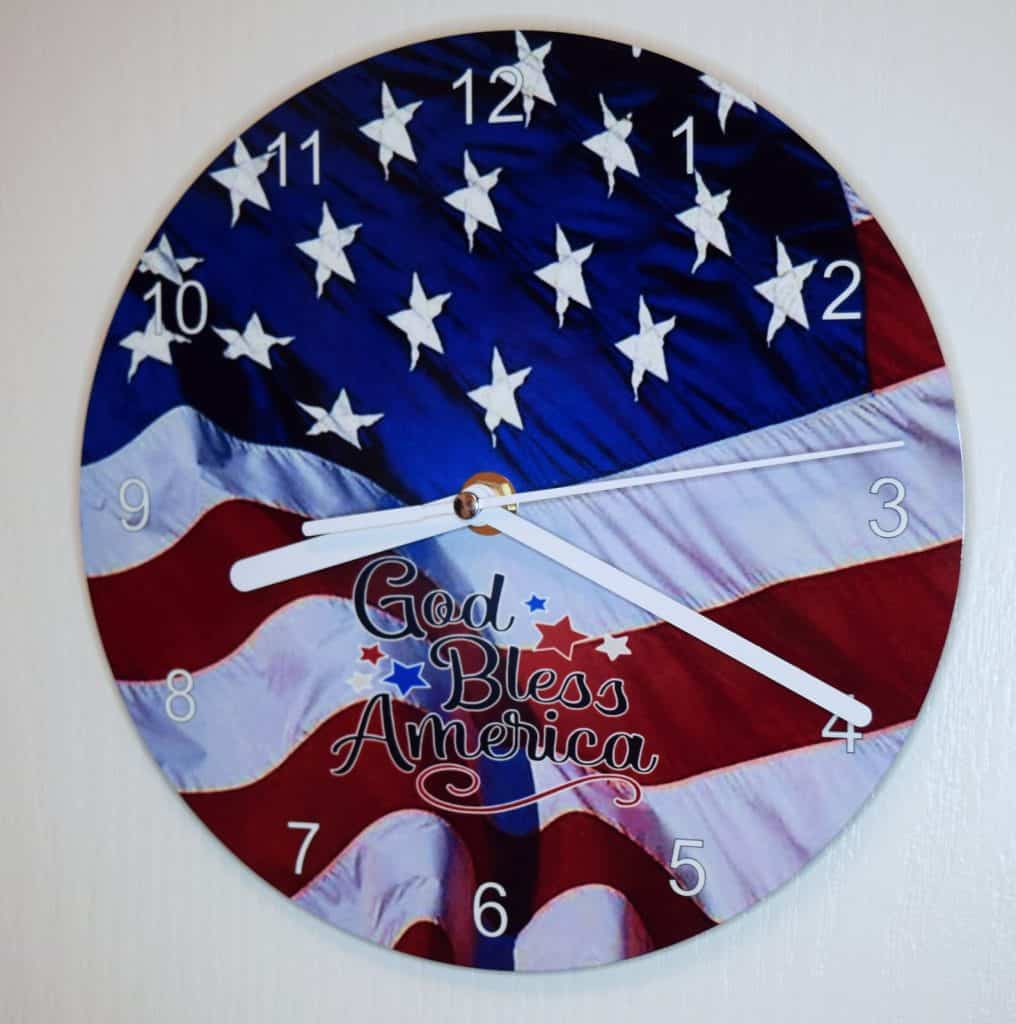
For this project, I found an American flag paper plate that was bigger than the plain boring black circular clock I had purchased.
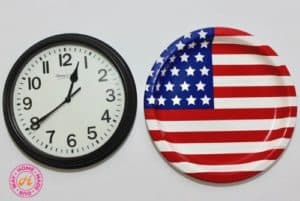
I just trimmed the plate little by little until it fit perfectly over the clock. Tada!
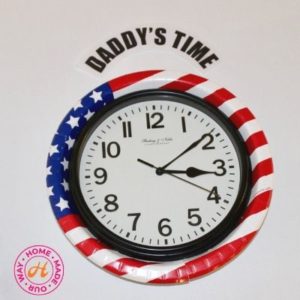
Unfortunately, because the circumference of the clock was made bigger by the plate, the “Daddy’s Time” template didn’t fit perfectly around the top portion of the clock. But I still used it.
Kiss Jar
The boys and I especially love this project.
I mean, who wouldn’t when it involves chocolate?
All you need for this project is a glass/or plastic see-through container, Hershey’s Kisses (preferably those with red, white, and blue packaging), and some stick-on letters.
You can probably find the red, white, and blue Hersheys kisses during national holidays like Memorial Day or the 4th of July if you’d like to stock up before a deployment that occurs later in the year.
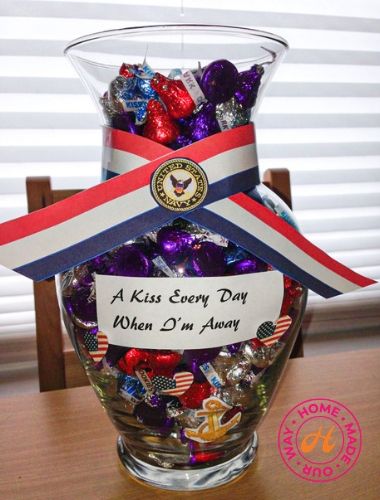
First, clean the surface of the jar so that your labeling will stick better. Then fill it up with kisses.

As you get closer to the end of the deployment, you can count kisses (per person) to the exact number of days left.
Then watch the chocolate disappear as you get closer to homecoming day.
Save the extra kisses for your hero.
Also, you don’t have to have Hershey’s kisses.
You can also add anything really including red, white, and blue M&Ms.
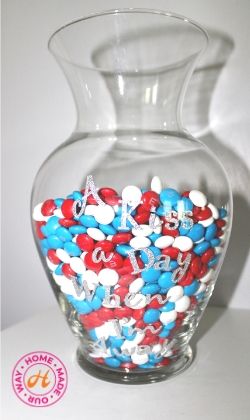
I couldn’t find any red, white, & blue kisses at the time so we used red, white, & blue M&Ms.
I was disappointed in the “blue colored M&Ms” as it was more like a sky blue instead of a nice royal blue but I’ll get over it.
Homecoming Banner
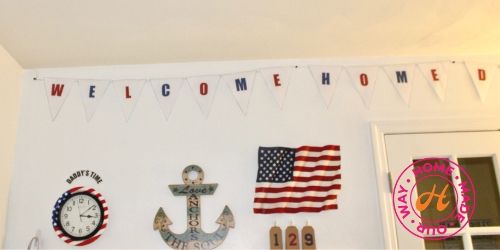
Creating a homecoming banner is pretty simple too.
I’ve included this template in the Deployment Wall Kit.
If you prefer to make your own, you will need some construction paper, or scrapbooking paper if you’d like a special design, jute cord or twine, and tape.
Create a template by measuring out a top-long-pointed triangle. Then cut out or draw letters according to what you want your banner to say.
After, attach the cord or twine to the back of each triangle with tape.
Before your loved one comes home, hang this in the front of your home, either on a porch railing or above the front door.
We just placed ours above the deployment wall to keep it out of the way until homecoming day.
Countdown Ideas
You can use a simple calendar as a countdown or you can get crafty and make something like the ones below.
I got these tags at Walmart. You can write in the numbers or use a stencil and Sharpie to draw your numbers on them.
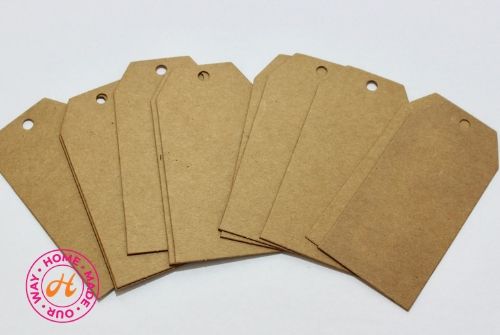
I like that these come with holes on tops so they fit neatly on my 3M command hooks.
If you created your own, just hole-punch the tops of your number tags.
Then add your numbers at the start of the deployment.
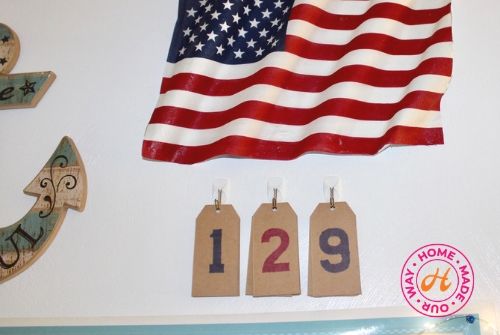
I’ve also included the countdown numbers in the Deployment Kit that you can print on cardstock for durability.
You can also print them out on regular copy paper and then have them laminated.
Another countdown idea involves using a picture frame.
Simply print out a saying of your choice like “___ days until daddy or mommy comes home.”
Place this in the frame.
Then, use a dry-erase marker to add the days left until homecoming on the glass.
You can also state “weeks” if you prefer, especially at the start of the deployment.
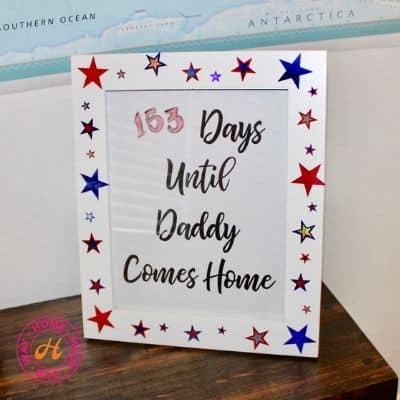
In our Deployment Wall Kit, you’ll find the saying above (for daddy and mommy) but you will need to cut it down a bit if placing it in an 8 x 10 frame.
Also, you can decorate the frame with stickers. We used colorful star stickers.
Mailbox (Repurposing/Upcycling a Cereal Box)
To make a mailbox to hold letters and notes, repurpose a cereal box or something similar.
Just wrap the box in a decorative paper of your choice.
Again, you can use construction paper, scrapbooking paper, contact paper, and even wrapping paper.
If you prefer no design, you can wrap the box using the backside of wrapping paper.
For the airmail box below, I used this red, white, & blue striped tablecloth I got for 50% off at Michaels.
I liked that the stripes were diagonal like the stripes you find on the borders of airmail envelopes.
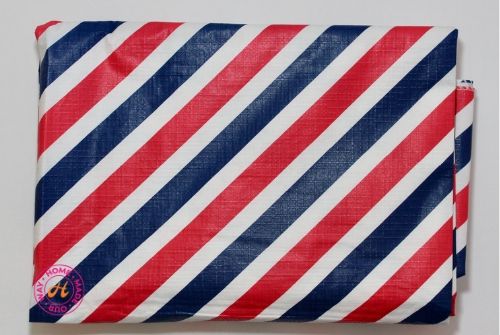
For this craft, I simply cut out enough of the tablecloth to wrap the box like a gift.
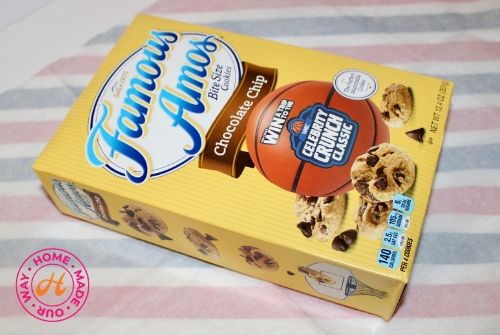
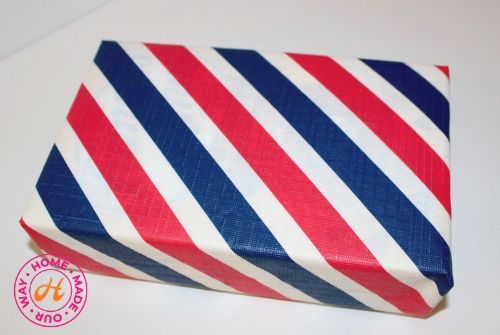
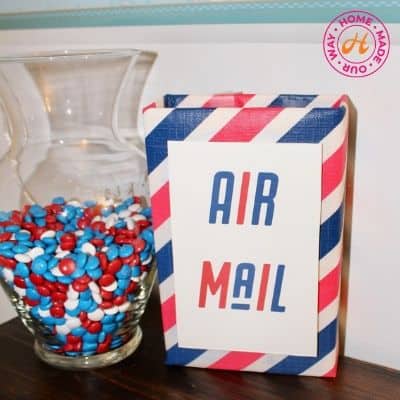
I made sure to leave the top open and used tape to wrap it up.
Then I just typed out the label, printed it out, and glued it to the front of the box leaving the diagonal border showing.
A Flag That Waves
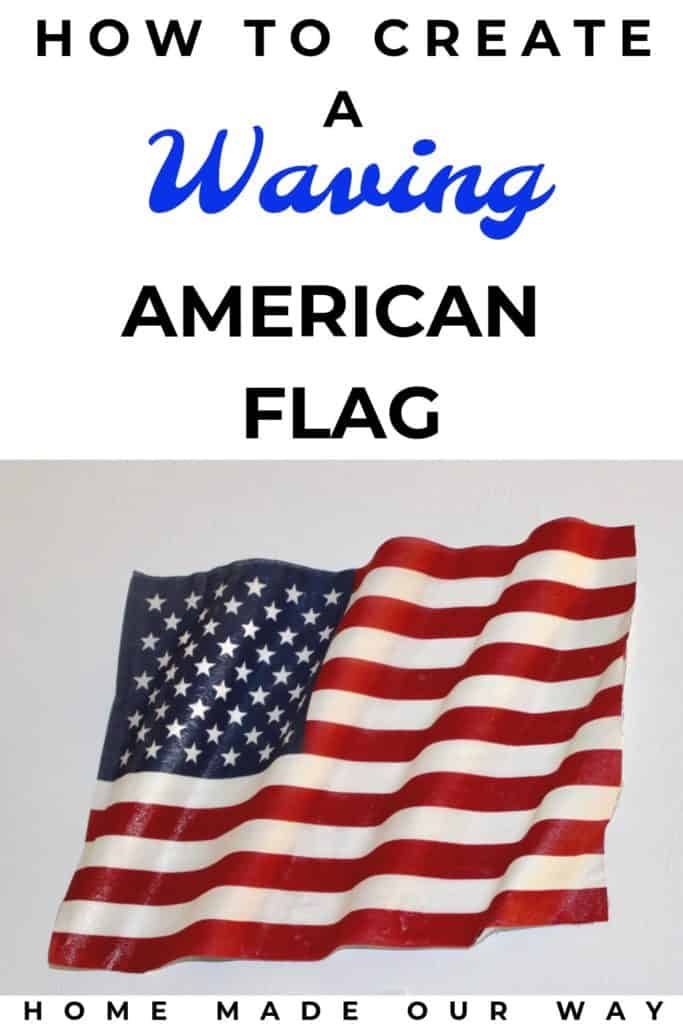
This craft is a little more work and will take a few days but it will look awesome when you add it to your wall.
For this project, you will need:
- medium-sized flag (12″ x 18″)
- tarp
- disposable gloves
- a tube (like the kind you find in aluminum foil)
- heavy-duty aluminum foil (do not use non-stick aluminum foil)
- craft glue spray
- Scotch’s heavy-duty squares
First, you’ll want to do this outside or use a tarp.
The glue spray can spread out and you don’t want it on your stuff.
Measure out a piece of foil about the same size as your flag.
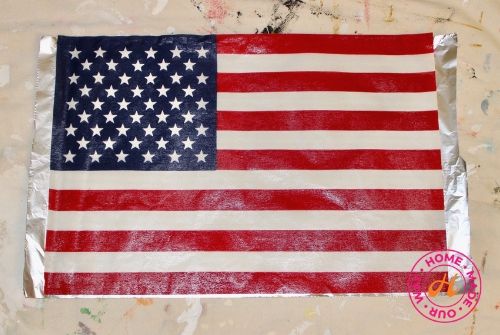
Next, spray the foil and the back of the flag with glue.
Attach the flag to the foil and let it dry.
Once it is all dry, place the tube behind the flag diagonally.
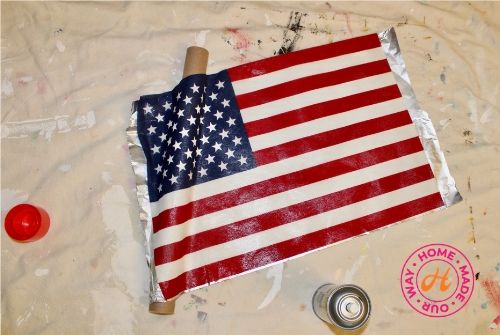
With your gloved hands, smooth the first wave onto the tube.
Next, spray just this wave keeping the tube in place. Again, smooth the glue unto the tube again.
Once the first wave is dry, remove the tube and reuse it for the second wave.
Try to keep the tube parallel to the first wave.
Again, repeat the steps for the first wave again for the second and subsequent waves.
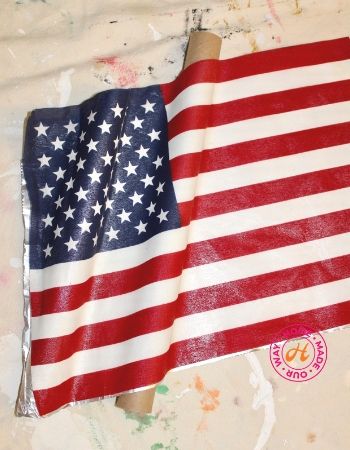
When you are done making all the waves and it is fully dry, carefully trim any excess foil.
You may not be able to take all the foil off from the back but no one is going to see it anyway.
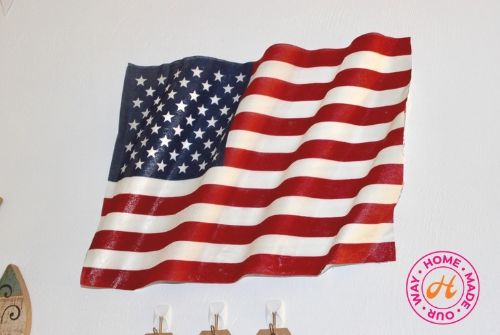
When you are done, hang it up.
I used Scotch’s heavy-duty squares.
Final Thoughts on Deployment Activities
I really hope that you and your family find these activities fun. When setting up your wall:
- Check out Pinterest for even more deployment wall ideas
- Search Pinterest and Google images for military crafts, flag crafts, and quotes
- Create a plan for your wall
- Click the pink button at the end of this post to get our Deployment Wall Kit filled with various templates you can use (they come with both mommy and daddy versions)
- Then add to your wall little by little during the deployment – you don’t have to have it all done at the start
- For more military-related kid crafts, check out AHC’s Armed Forces Day crafts<–
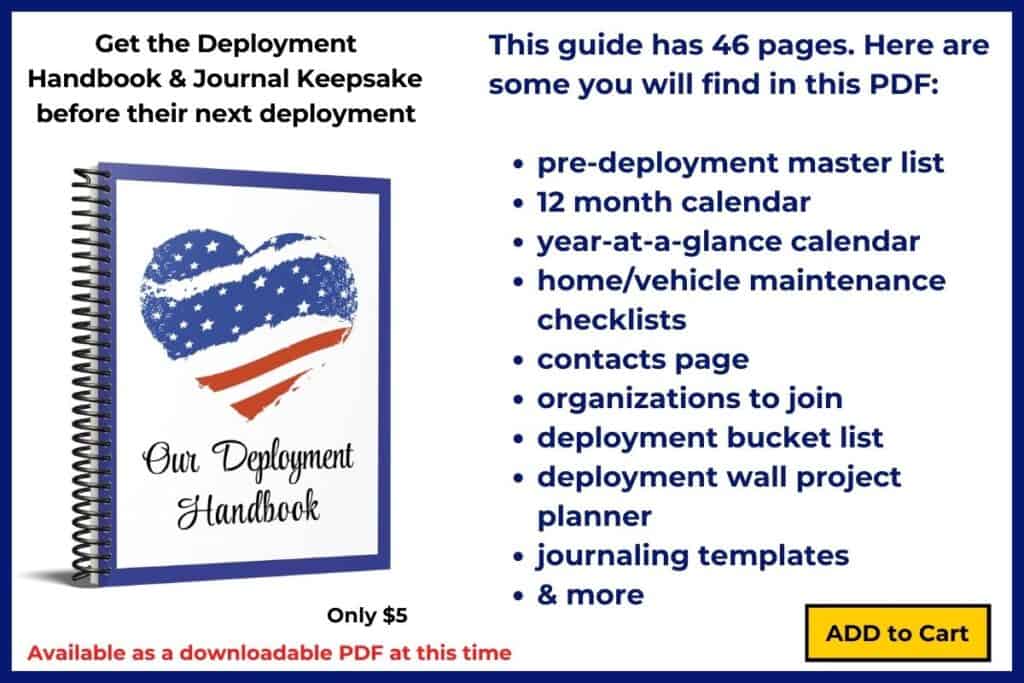
- Also, check out our Deployment Handbook and Journal Keepsake before he/she deploys.
Free Deployment Wall Kit
Click the pink button below to gain access to our free resource library where you will find our Deployment Wall Kit.
Thanks for stopping by and I hope for the speedy and safe return home of your loved one.
Other DIY Posts
Here are a couple of DIY posts you may want to check out.
Leave a Reply