The purpose of a homework station or schoolwork station (for homeschoolers) is to help kids stay prepared while they do their assignments.
For many, it’s a way to keep what students need like writing supplies handy so that they don’t have to stop mid-assignment to find a sharpener, for example.
However, you can create a homework station that is more than just a school supplies organizer.
You can make it functional for their assignments as well.
There is no one-size-fits-all solution.
Homework stations come in many forms and should fit according to your child’s needs.
So, let’s see if we can create the perfect homework station for your kid(s).
Disclosure: Some of the links below are affiliate links that I have provided for your convenience. Click here to read my full disclosure policy.
Creating a Homework Station
Location, Location, Location
The first step in creating a homework station is finding a good location or locations where you prefer your kids to do their assignments.
This may be the dining room or kitchen table.
Perhaps they have their own desk in their room.
And if you homeschool, you may already have an area set up for their schoolwork.
For my boys, I have more than one location for them to do their work just because sitting in one location all day is just boring and can feel stifling after a while.
Since we homeschool, moving around is very necessary.
So I have set up different stations depending on the location and what the boys need.
Once you have your place or places picked out, it’s time to create a plan.
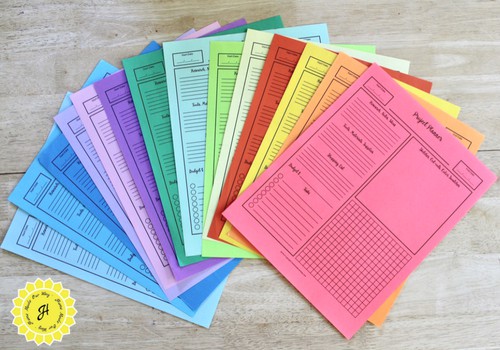
If you think you will be doing a little DIY for your homework station(s), click here to get our free project planner printable to help you along the way.
Create a List
For the next step, you will want to create a couple of lists.
The first is a list of supplies you know your kids will need to complete their work.
For younger students, this includes pencils, sharpeners, scissors, crayons, glue, erasers, a ruler, and manipulatives like blocks.
For older students, highlighters, sticky notes, clips, colored pencils, pens, and a calculator may be most needed.
The second list is a list of subjects your child(ren) will be working on.
Naturally, the main subjects like math, language arts, science, and history will be on this list but you will also want to add art, music, or any other electives that will have homework or schoolwork assigned.
If you are unsure of what subjects your child will be taking, speak to his/her teacher.
Ask if there will be assignments that need to be done at home and what kinds of supplies will they need to complete the assignment.
Also, ask if there will be any projects due during the school year.
Choosing the Homework Station
Keep in mind that you don’t need to choose just one organizer.
Portable Homework Stations
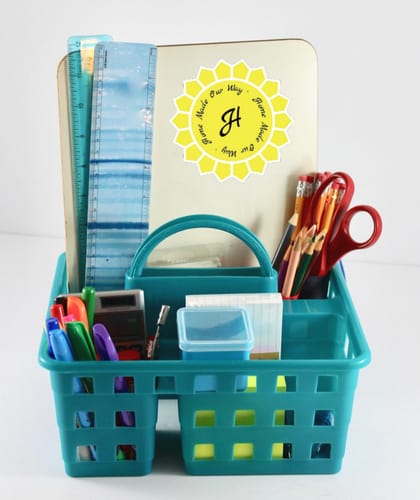
If your child will do his work in different rooms, consider getting a simple caddy to hold his/her supplies.
You can find these relatively inexpensive at dollar stores and Walmart.
You can use small mason jars and even toilet paper tubes to hold up pencils, scissors, and rulers in the caddy.
Use smaller containers to hold paper clips, erasers, and any manipulatives.
If you have a few kids and they all have a variety of different supplies, try a utility or tea cart.
Their deep baskets help keep everything from spilling out as you go from room to room.
Pegboard Homework Station
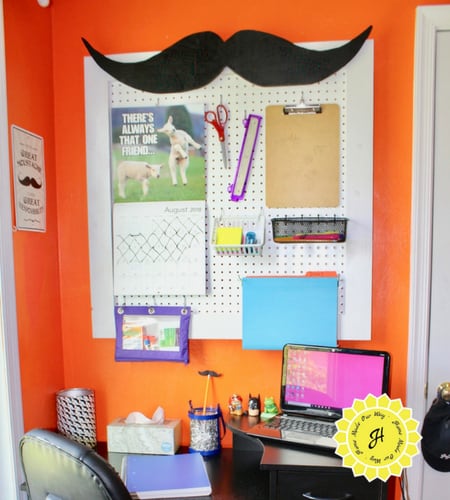
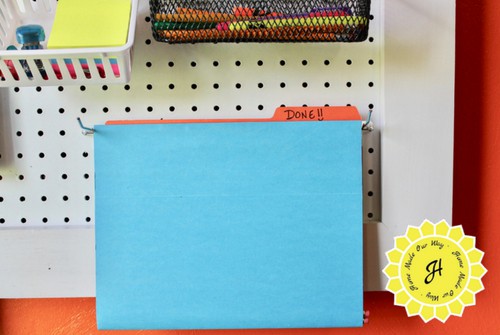
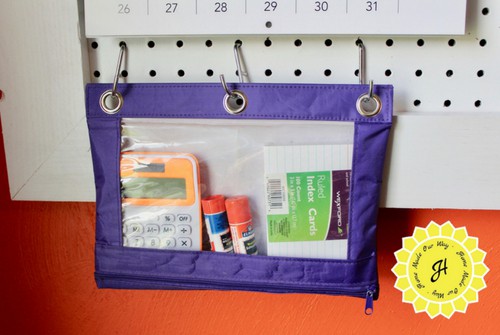
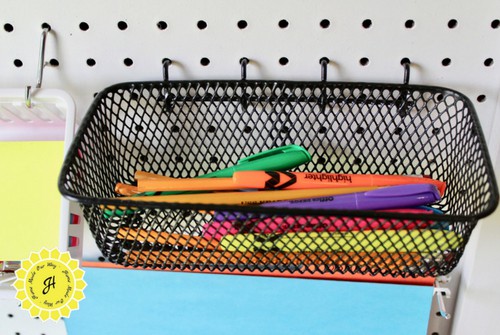
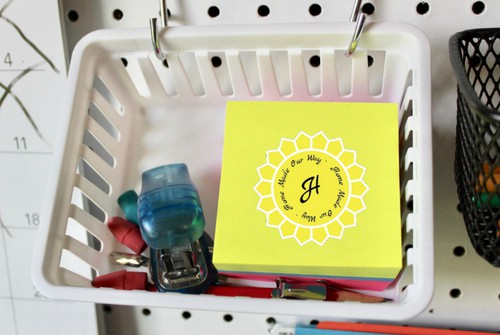
A great solution for a child who does all their work on a desk in their bedroom is a pegboard.
Pegboard is so versatile and can hold so many different things at once. It will also keep desks clear when space is limited.
Lazy Susans
Lazy susans are great when you have several children working on assignments at one location like a dining room table.
It lets kids share the same supplies and the fact that it turns makes these supplies more accessible as they complete their work.
Resource Homework Station
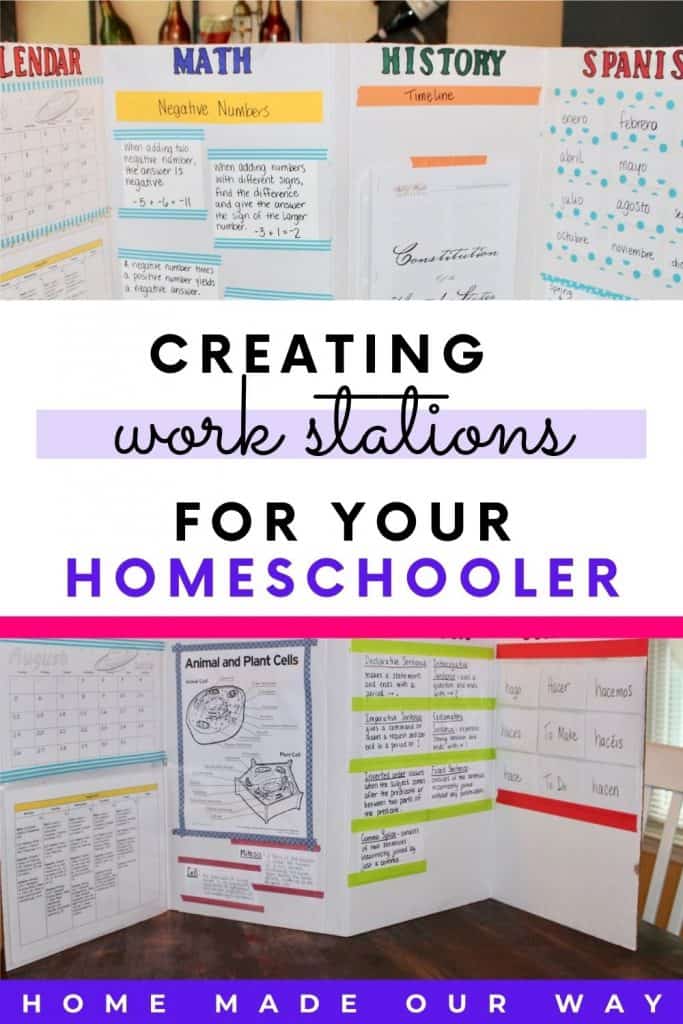
One way to create a portable resource homework station is with a tri-fold or foam board.
Now I hate the idea of my kids behind something that resembles an office cubicle but this type of homework station can be useful.
Some parents use it to minimize distractions but I like using it as a resource center.
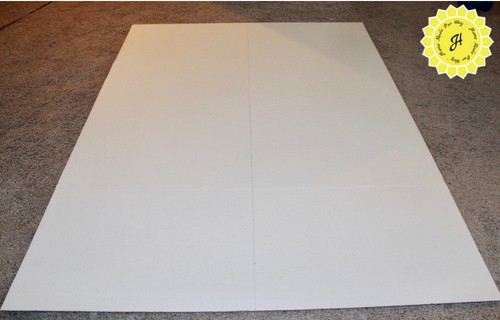
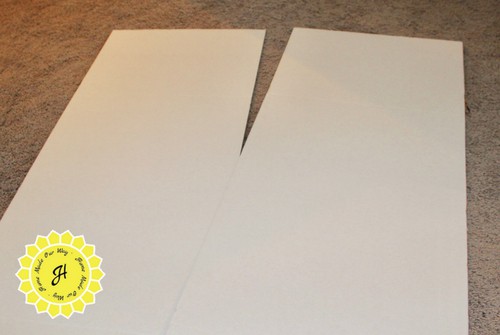
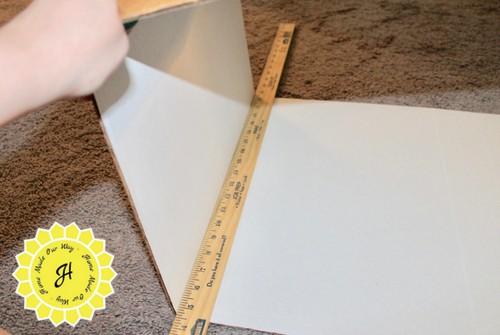
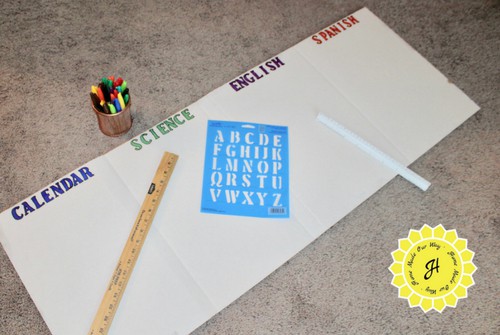
For our homeschool, I purchased a large (48 in. x 36 in.) tri-fold board and then cut that in half on its longest side.
Refer to your 2nd List
Now, let’s refer to the list of subjects we made earlier on. Depending on what your child is learning, you can add all kinds of aids.
For subjects like math and English, you can add formulas and rules to remember.
Studying plant or animal cells? Body systems?
Place a labeled diagram onto the board. For history and geography, place relevant maps and timelines.
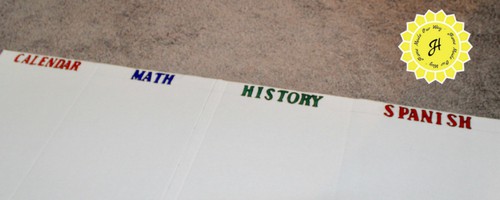
For both boards below, I used Washi tape and colorful masking tape to hold and stick resources to the board as well as to give it some pop.
You can also use magnetic strips and velcro to hold some heavier resources.
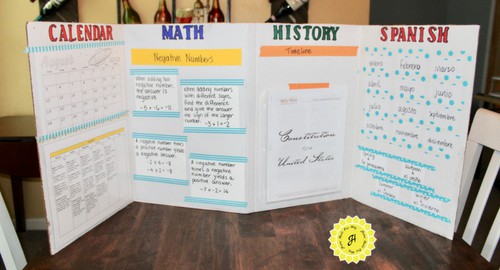
Both boards have a monthly calendar and weekly schedule.
For math, I posted rules for dealing with negative numbers.
For history, I downloaded a copy of the Constitution (from the billofrightsinstitute.org) which we will go over in Chapter 1.
I stapled the booklet and placed it inside a page protector.
In the coming days, I will remove it and add other resources like a map and timeline of events/figures.
Each Spanish lesson has lots of new words to learn so I split them up between each board.
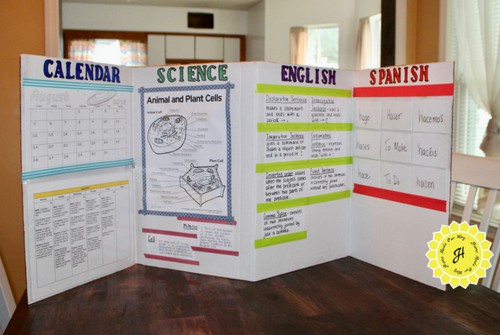
I downloaded the calendar from www.freeprintablepdf.eu and the labeled cells diagrams are from education.com.
For English, I posted definitions that Josh has trouble with from time to time.
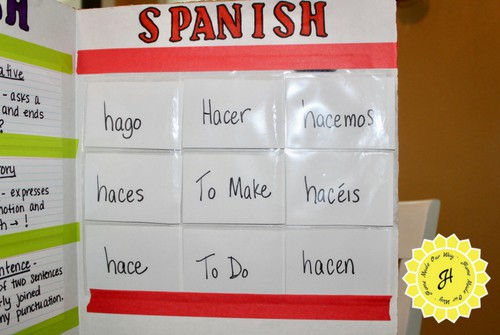
For Spanish verb conjugations, I used a baseball card sleeve for each ‘person’.
These are all written on blank index cards.
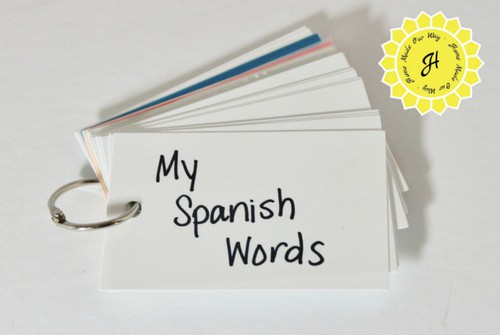
After their lessons are done, we can remove the cards, hole punch them and insert a binder ring.
Other Considerations
These boards are to be shared by both of my boys.
So if Jack is working on a math assignment, Josh can work on his English work.
If you have multiple kids at different levels, then they should get their own board.
Or get foam board that does not come with the company’s logos on the backside as ours did.
Then you can use both sides of the boards.
As you can see, these boards are really tall even when I cut them in half.
You can either nix the calendar/schedule section and add another subject section or split each section in half.
The writing may be smaller but you can get everything they need on one board.
As for other extras, you can add pockets to hold papers and supplies.
I chose not to have ours hold our bulky supplies just to make it easier to close the boards and stow them away.
Let’s Get Started
Are you ready to create and organize a homework station for your kid(s)?
Then, let’s get started.
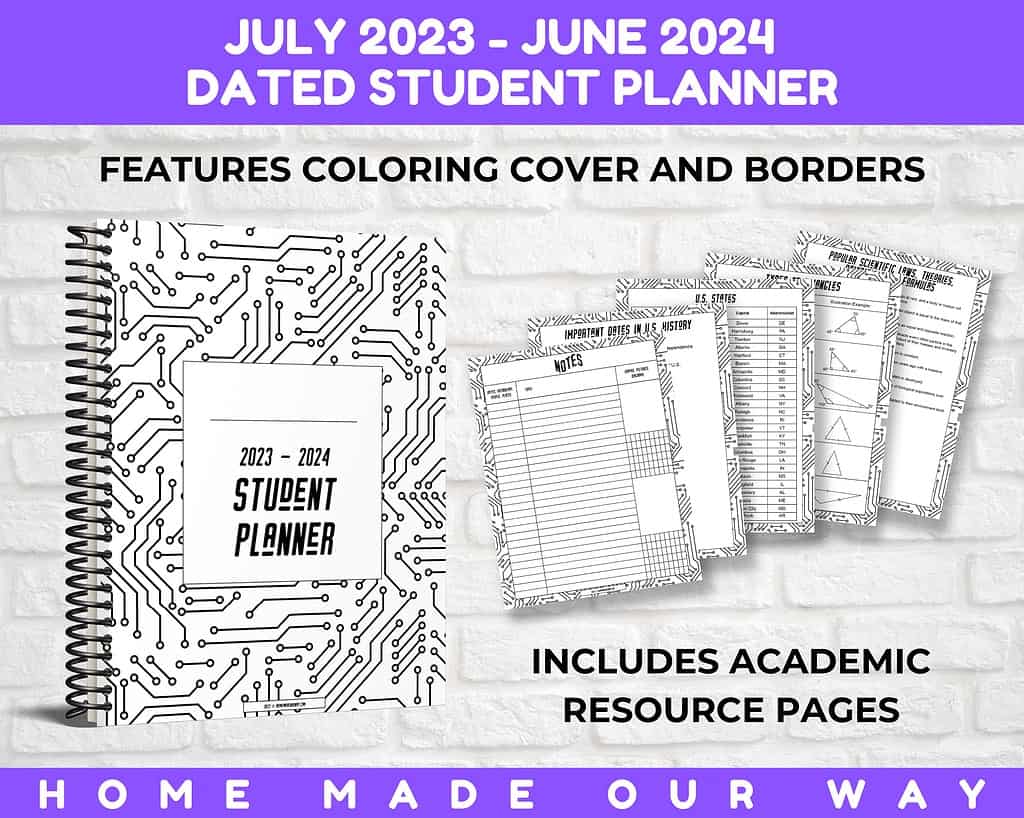
Want to get your student(s) more organized for school? Click here to get them a free student planner.
Leave a Reply