Print and Try Out Our Free Project Planner Printable for All Your Creative Tasks
I recently started taking on lots of projects and I realized I needed a better system to manage them.
Even this organizer started gathering clutter with bits of paper, graphs, measurements, and shopping lists for each project.
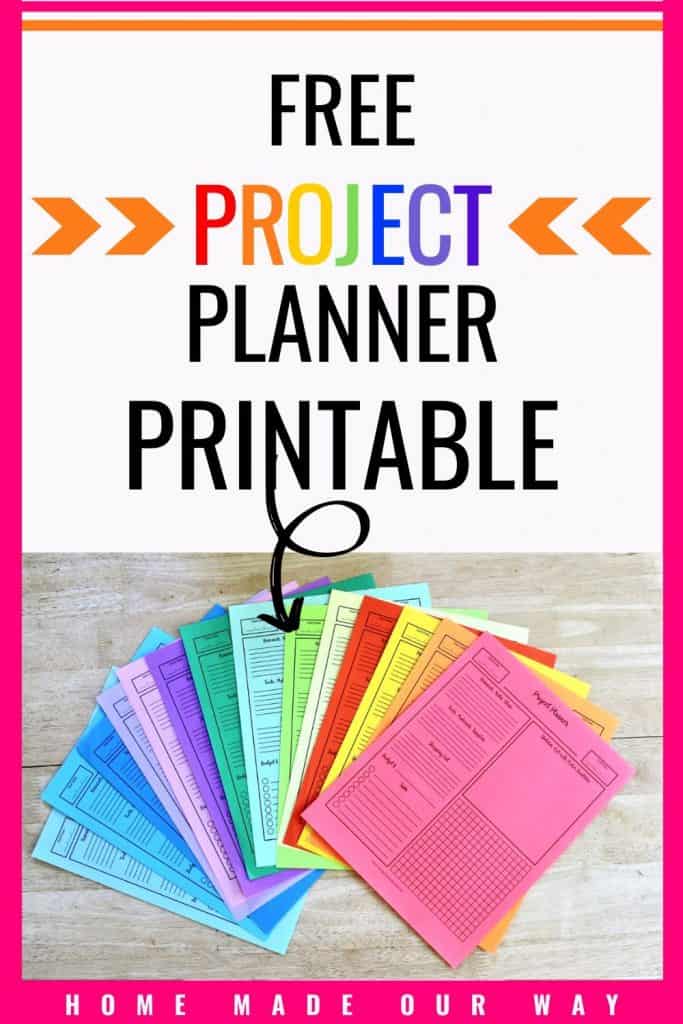
So, I put this printable project planner together to help keep all my notes, pics, and other stuff organized.
It is perfect for what I needed and thought I’d share it with you. To receive your copy of the project planner, scroll to the end of this post and fill out the provided form.
Disclosure: This post contains some affiliate links for your convenience (which means if you make a purchase after clicking a link I will earn a small commission but it won’t cost you a penny more!) Click here to read my full disclosure policy.
***By the way, this planner will not print in the colors shown in this example. I simply printed the project planner on different colored papers to keep my projects separated.***
Project Planner Sections
This project planner setup is simple and straightforward.
Here are the sections you can find and how you can use some of them for your projects.
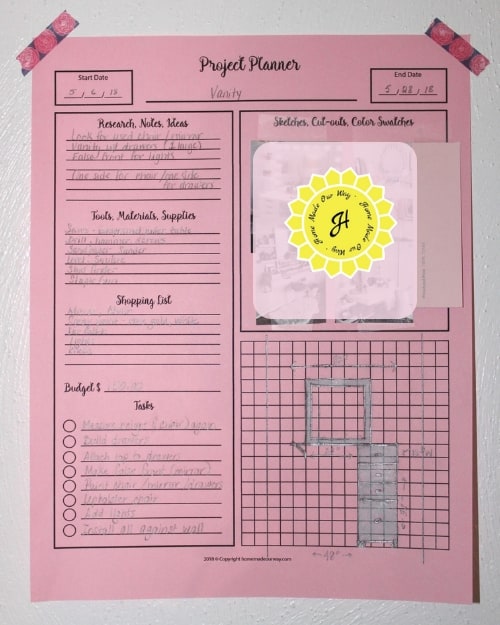
I’ve provided my vanity DIY project planner as an example.
Click here if you’d like to see the finished vanity.
Title and Dates
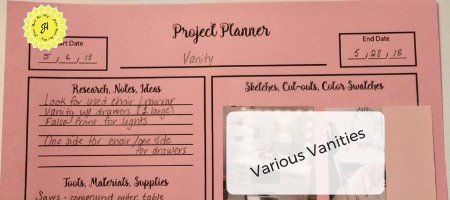
This is a no-brainer. Just enter your project title with a start date and deadline.
Or you can hold off on the deadline until you have completed the planner so you have a better estimate for your deadline.
Research, Notes, and Ideas
This is where you make your first initial notes. Use it to write down your ‘why’ for the project, websites to visit, and whatever ideas pop into your mind.
For this project, I am hoping to repurpose a chair and mirror. I also added an idea for lighting.
Sketches, Cut-Outs, & Color Swatches
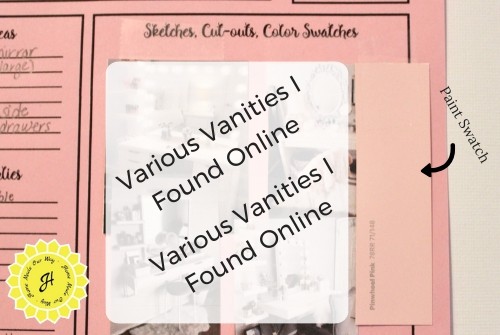
In this section, I get to brain-dump my ideas visually. You can draw or sketch out designs.
You can also use this space as a mood board. Print out pictures you find online or cut out pictures you find in magazines.
And depending on your projects, you can also add paint or fabric swatches to this section.
Tools, Materials, & Supplies
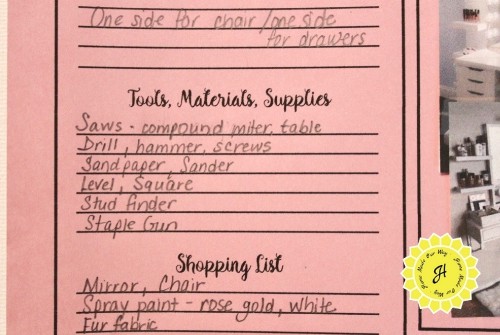
For this section, I write down all the tools, materials, and supplies I actually have on hand. Any of these I don’t have goes on the shopping list below.

Shopping List
After I’ve written down all the things I need to buy, I will then go online and see if I can find the prices of these items to help me out with the budget.
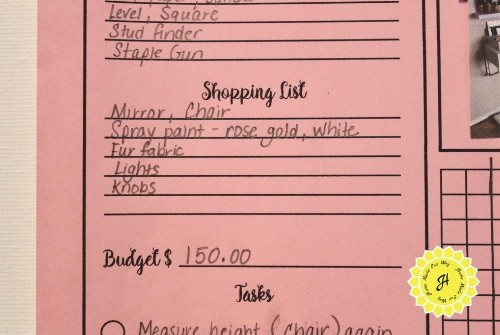
Budget
Once I have an idea of how much my project is going to cost I like to add an additional 10% to the final cost “just in case” I have to buy something else I may have forgotten.

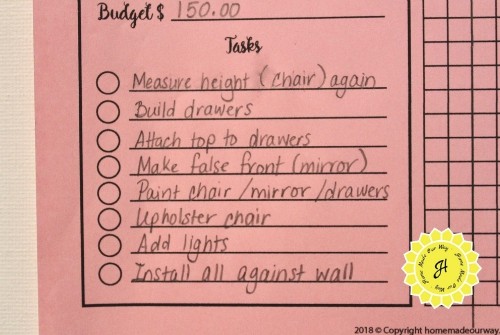
Tasks
In this section, I list all the steps I need to take to finish my project.
I try to write the steps in order that they should be done. This really helps with the project’s timeline.
You can include dates next to the tasks to create a better end date.
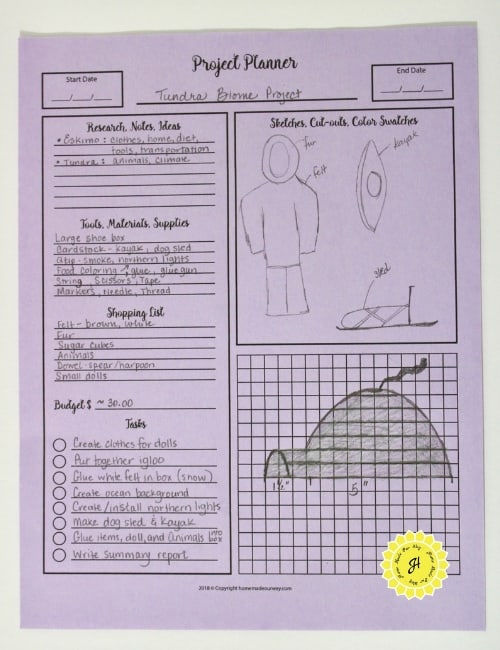
If I have more tasks than there are lines, simply use the back of the page or group tasks together and use a broad label for the task. (see the school project example below)
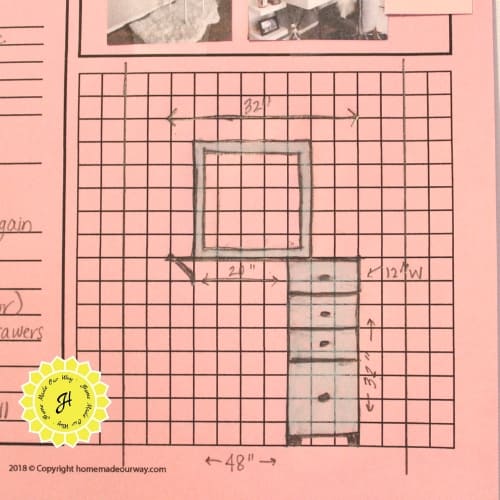
Graph
The graph section can also be used for sketches especially if you need straight lines in your diagram. It gives a better visual of your project.
I use it especially when I am taking measurements. I like to ensure that a project is possible in a given space.
Project Planner Examples
Below are different ways you can use the project planner. It’s not just for DIY.
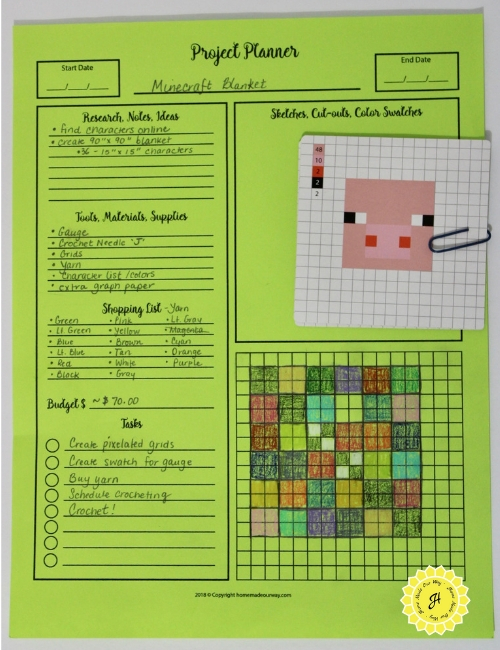
Craft Project
Here is a craft project that I plan on putting together soon. It is for a Minecraft blanket I want to crochet for my son.
School Project
You can also use the project planner for school projects. Here is a copy of the project planner we put together for my son’s Tundra diorama.
Home Improvement Project
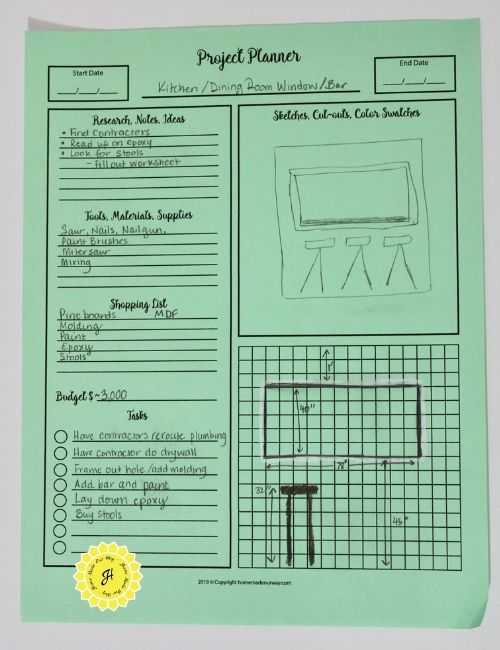
And here is a copy of a home improvement project my husband and I put together. Part of the job called for a contractor to reroute our plumbing.
Having the planner let the contractor see precisely what we were going for. It made it easy for him to understand what we were looking for and what we expected.
Final Thoughts on the Project Planner
As you can see, you can use the project planner on a variety of projects. Here are some suggestions and recommendations for using it:
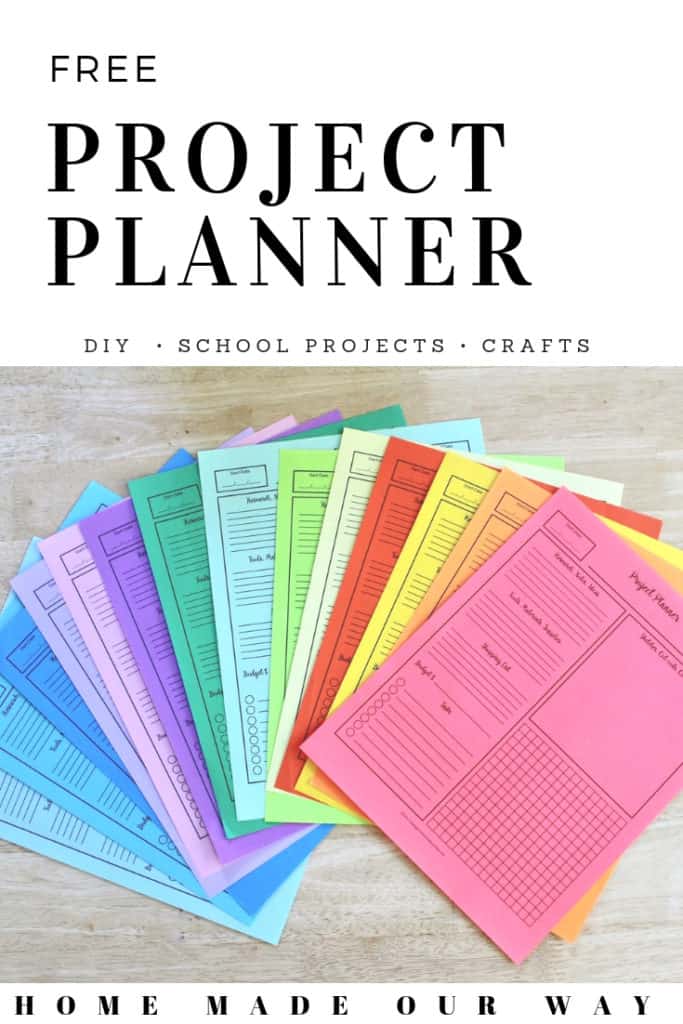
- If you have several projects going on at once as we do, print them out on different colored papers to keep them separated.
- Many of our DIY projects are done jointly between my husband and me. So, if you are not the only one involved in your venture, I suggest making the planner accessible.
- Personally, I just Washi tape the printable to the wall of the room we are working on or stick it on the fridge. That way if one of us is free to do a little DIY, we can refer to the worksheet(s) without having to ask each other about it.
- If you used a particular paint color, you may want to file your planner away. Having this information makes it easy to call up a home improvement store to see if they still have this color for any future touch-ups.
- And if they don’t carry that color anymore, you can take the swatch to them and they can mix up a color that closely matches your swatch. Also, if someone likes your project and wants to duplicate it, you can simply give them a copy of your planner.
You’ll find the project planner in my Free Resource Library. <– Click this link to get the password.

Check out some of our latest DIY projects that used the project planner:
- Pegboard DIY for Hanging Files
- Nerf Wall DIY
- Vertical Corner Bookshelf
- Bedroom Dresser to Beverage Station DIY
- Embedding Pictures on a Table Using Epoxy Resin
Excellent planning sheet. Thank you so much. We have lots of projects to be done in our house so this sheet might actually get some of them done this summer. Hard to forget about a project when it is in front of you- say on the fridge! I like the different colours to distinguish the projects from each other.
Thank you Marjorie! I’m glad you like them.