Depending on the number of print photos you have, organizing them can be overwhelming. It can also become emotionally difficult to deal with, especially if you are still dealing with grief after losing a loved one.
If you find yourself in the latter, then this is not the right time to do this. Hold off on organizing your photos until you feel you are ready. This is not to say you won’t shed some tears, but hopefully, the pain will not be as fresh.
Disclosure: Some of the links below are affiliate links that I have provided for your convenience. Click here to read my full disclosure policy.
What Not to Do with Print Photos
Sixteen years ago, I decided to organize my print photos. These included not only my pictures from decades before but also my husband’s photos. Luckily, he had fewer photos than I did, and his mom had dated every photo.
I sorted them out chronologically, which wasn’t easy as I had to guess when many of my photos were taken. When it was all done, I had created such an easy way to find my photos, but I made one mistake. I put these in photo albums.
Why was this bad? Well, over time, I would occasionally receive older print photos from family, and I had no way of inserting them into the right place (or year) in my already-filled albums. But there is a way to avoid my mistake. Read on…

In 2007, my dad passed away. My sister and I inherited all of his photos up until his second marriage. I should mention that my dad was an avid photographer and was forever taking photos. We inherited a monsoon of pictures.
Eventually, we got them all organized, so I know it is possible to do. It just takes a lot of patience and tough decision-making. So, let’s go over how you can organize your print photos.
Before You Organize Your Print Photos
As I mentioned earlier, if you are currently in the grieving process, I do not recommend attempting this task. Give yourself time to heal. The photos can come later.
If you are ready, please understand that this may take you days, and more likely, weeks to complete. Again, this depends on the number of printed photos you have. Create a schedule allotting time here and there over the coming days.

Also, I have created a Photo Organization Checklist to help you get ready and stay focused on this task. Click here to get your free copy.
Prepare to get tough when it comes to making decisions about your photos. You will be asked to get rid of or part with a few of them.

Find a space in your home to do this. If you have a lot of print photos, you will have to deal with piles scattered about until you’re done. Something like a guest room or formal dining room table will work.
Lastly, if you need help, enlist a family member. Not only will you get through this task faster, but it may be more fun to do with someone who shares your memories. My sister and I had fun going through our pictures and remembering stories from long ago.


Organizing Your Print Photos
Gather Your Print Photos
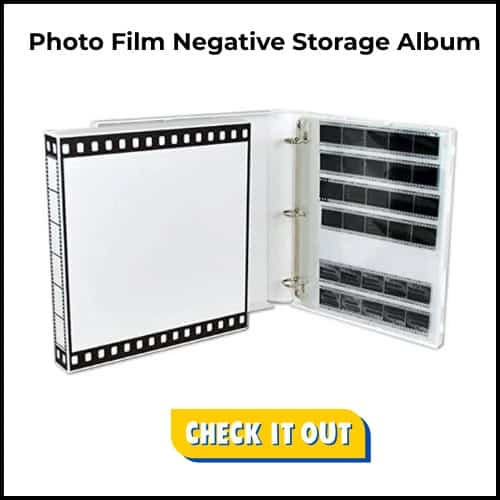
The first thing you should do is gather all the print photos (and negatives) you want to organize. If you have an album or scrapbook full of photos, and you are happy with them being where they are, then don’t worry about them.
However, if you have old albums that:
- doesn’t use acid-free paper
- doesn’t use acid-free glue
- or were magnetized,
you may want to consider organizing them into a photo-safe organizer.

Older albums that have these features can irreversibly damage your photos over time.
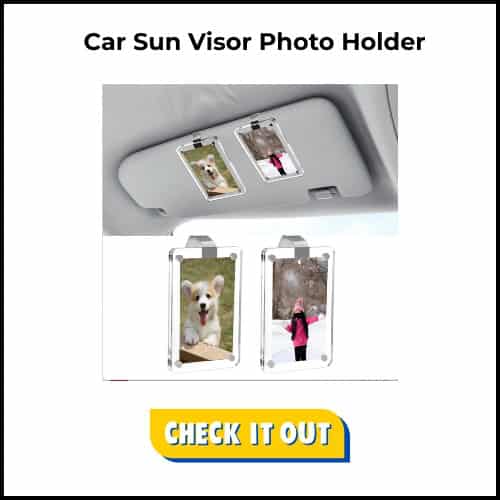
Do you have any framed pictures you’d like to retire? Don’t forget to check in places you may otherwise overlook, such as your purse, car visor, and refrigerator. Do you have undeveloped photos on your camera? on your SD card?
If you do have undeveloped photos or any unidentified loose negatives, go ahead and get these printed out. Finding a place that develops pictures from negatives is getting scarce.

My sister and I took ours to Walmart, which had to send them out to a 3rd party vendor. We were able to get both printed and put on CDs. I suggest doing the same.
If you have damaged pictures and would like to keep them, I suggest finding a photo restorer in your area. This can get expensive, so make sure it is a photo you have to have.
As you gather your print photos, begin making mini piles. They don’t have to have some sort of organization yet. Your mini piles should be based on the amount of time you have scheduled for the day.

Organization Options for Your Print Photos
At this time, you will need to decide how you want to organize your photos so that you have all the tools, materials, and organizers you need before you start. Below are different ways you can organize your print photos. And no, you don’t have to just pick one.
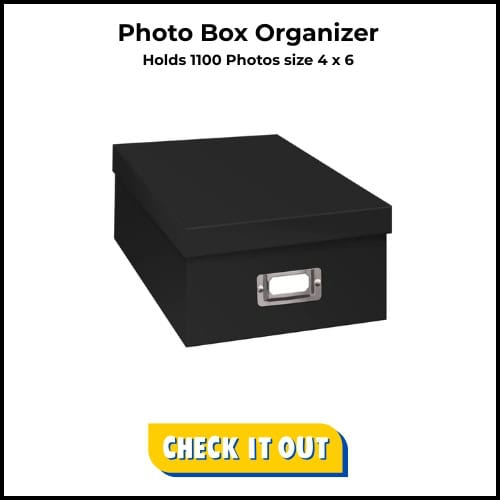
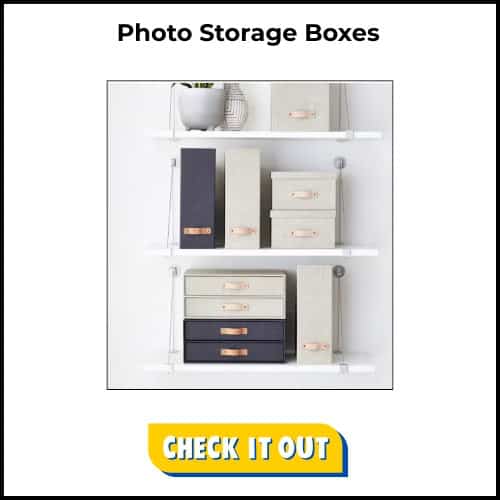
- If you decide to organize them chronologically, I suggest purchasing a photo box with dividers. The dividers will help you keep your photos in order by year or event. It will also allow you to add photos you come upon in the following years. (This was that big mistake I mentioned earlier).
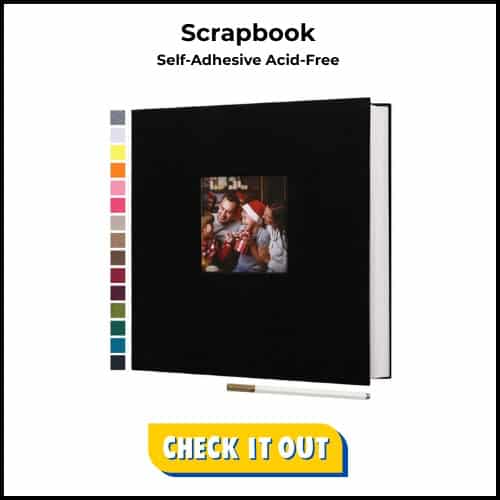
- You can also put your photos into scrapbooks. This is great if sorting by an event, person/people in the photos, or vacations/travel. If done right, a scrapbook filled with particular photos makes a great gift.
- If you do purchase albums, make sure that they are photo-safe. That is, they use acid-free paper and acid-free adhesive.
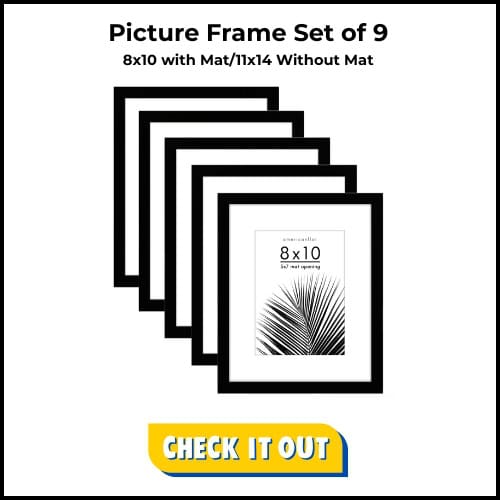
- You can also make a gallery of framed photos on your wall. Set aside photos you want to display.
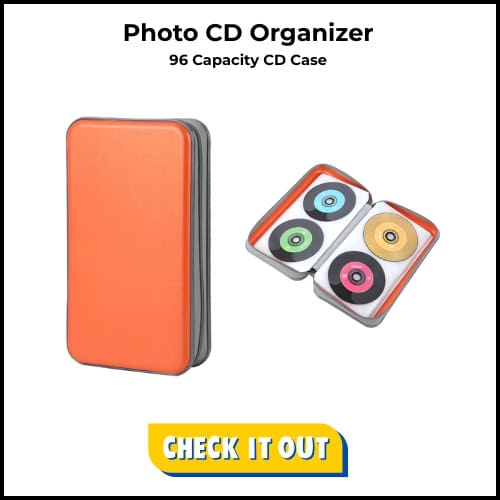
- If your pictures have lots of wear and damage, you may want to have them scanned onto a CD as soon as possible.

Have Everything You Need for Your Print Photos
Now that you have an idea of how you want to organize your photos, it’s time to purchase everything you need. The list below is just a few of the items you will need. Just be sure that they are all acid-free and photo-safe.
- Albums: if you have odd-shaped photos, consider purchasing a three-ring album binder and then inserting photo pages (see next item)
- Extra album page inserts (for binder albums)–these are great for chronological organizers
- Photo boxes with dividers
- Scrapbooks and scrapbooking tools, and materials
- Frames
- Photo-safe pens/pencils for marking the backs of photos and writing in albums and on any dividers
- Scissors
- Photo corners
- Photo Safe Tape
- Page Protectors
Comment below if I missed anything, and I’ll add it to this list.

Roll Up Your Sleeves
Purging Your Print Photos
Hopefully, you now have everything you need. Don’t be surprised if you end up having to buy additional items like another album or photo box.
Now, going through your first mini pile, remove any blurry or badly taken photos and trash/shred them.
Next, you want to remove duplicates. Duplicates are great for gifting. However, if you don’t plan on gifting any duplicates, get rid of them.
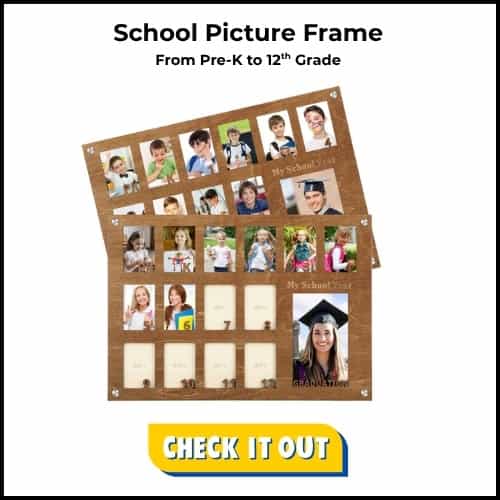
We tend to keep duplicates that come with school pictures. If you have the original photo, you don’t need to keep the extras. Chuck them. Continue this process for all your mini piles.
Once you have decluttered your mini piles, it’s time to put your choice of organization to work.
Organizing Your Print Photos Chronologically
If you plan on putting photos in chronological order, start by dividing them by decade. So, make a pile of photos from the ’50s, ’60s, ’70s, etc.
If your photos do not have dates written on them, try to guess the date by:
- finding a similar photo that has the same photo format
- looking on the back to see if the developer stamped it with the date of development
- comparing a person from another dated photo (age, hair, style)
After you have created your ‘decade’ piles, begin going through them one at a time and further separating them into years.
If you are certain of the date or at least the year of the photo, go ahead and write it on the back with a photo-safe pen. It does not have to be accurate.
When you have completely sorted one decade, go ahead and store them in your organizer of choice before going on to the next decade pile.

Organizing by Person, Event, Vacation
If you prefer to organize your photos this way, start with your first mini-pile. Create piles that correspond to your category of choice, whether it be a wedding, birthday, vacation, or person.
As I sifted through my dad’s photos, I first made piles for each of my siblings. In each pile, I placed pictures of the siblings if and only if they were the only subject of the photo.
Later, I placed the pictures of each sibling into a separate album and sent it to them.

Oddly-Shaped Print Photos
If you come upon oddly shaped pictures, your best bet for organizing these is to use a scrapbook.
Most albums come with pockets for a specific size photo, so you may have a hard time finding one for photos like those long, rectangular holiday photos.
If you do find an album that allows you to fit all kinds of sizes, make sure it is not magnetic and that it only uses acid-free paper and glue.
Another option is to purchase album inserts for those particular sizes you need. I would go with the scrapbook option and use photo-safe self-adhesive corners.
For 8 x 10 photos, you can use page protectors and insert them into a binder.
Sharing Photos
How you decide to share your photos will ultimately be up to you. But here are a few things my sister and I did with our photos, and we don’t have any regrets about it.
For example, my sister was given the bulk of my dad’s Vietnam and military photos since she was the only one to follow in his footsteps and joined the army as well.
Photos of family members who have passed went to their children. I can’t tell you how many tearful thanks there were when they received pictures of their loved ones (especially those pictures that they had never seen before).
For photos where we couldn’t identify the people, we turned to Facebook. As picture after picture went up, family members chimed in, helping to put names with faces. We couldn’t believe the response. This led us to do the next thing.
We decided to share most of the photos on Facebook, tagging them as best we could and sending them out little by little. Again, the response was incredible.
Cousins whom we knew about but had never met reached out to us. It was a cyber-reunion. To this day, those photos pop up every now and then on Facebook, and we still get comments on them.
If you do decide to do this, make sure your Facebook account is set to private and share only with family.
As my sister and I sifted through my dad’s pictures, we also realized that many of the photos were gifted to both my dad and my mom when they were married. So, the bulk of the photos went to my mom.
Groove Book
Update: Groovebooks no longer exists.
One service I used was Groove Book. This is a great service if you take lots of pictures on your Smartphone. I only canceled my service because I didn’t take many pictures with my phone. However, I loved that you get a 100-photo booklet every month for under $4.
The photos are perforated so that you can remove them easily. So, even if you don’t take tons of photos, you can just upload the pictures you want in any amount to give away.
This is what I did for a while. I would send the grandparents booklets full of pictures of the boys.
Best Practices
Have a Back-Up Plan
All it will take is one fire, and everything is gone. This is what I tell myself when it comes to my photos. But nowadays, there are so many ways to create a backup of all your photos.
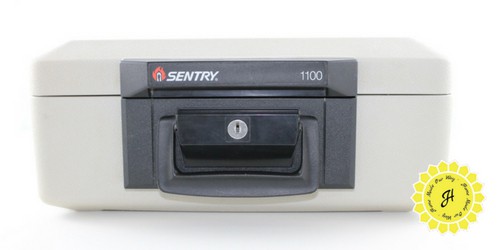
- Have your photos scanned to a CD, USB, or an external hard drive. Then, secure them in a fire-proof safe or even a safety deposit box.
- Scan and upload your print photos to a cloud service like Google Photos.
- If you are not tech-savvy, try Fotobridge to help sort, scan, and store your photos on a cloud service for you.
Storing Your Hard Copies
Remember to:
- store your photos in a cool, dry place
- do not store them in a basement or attic
- keep them away from sunlight
Let’s Get Started
If you are ready, let’s start organizing your print photos. The sooner, the better, because it may take weeks to get through everything. But once done, it will be easy to manage incoming photos.
Need to organize your digital photos as well? Click here to get started on your digital keepsakes.
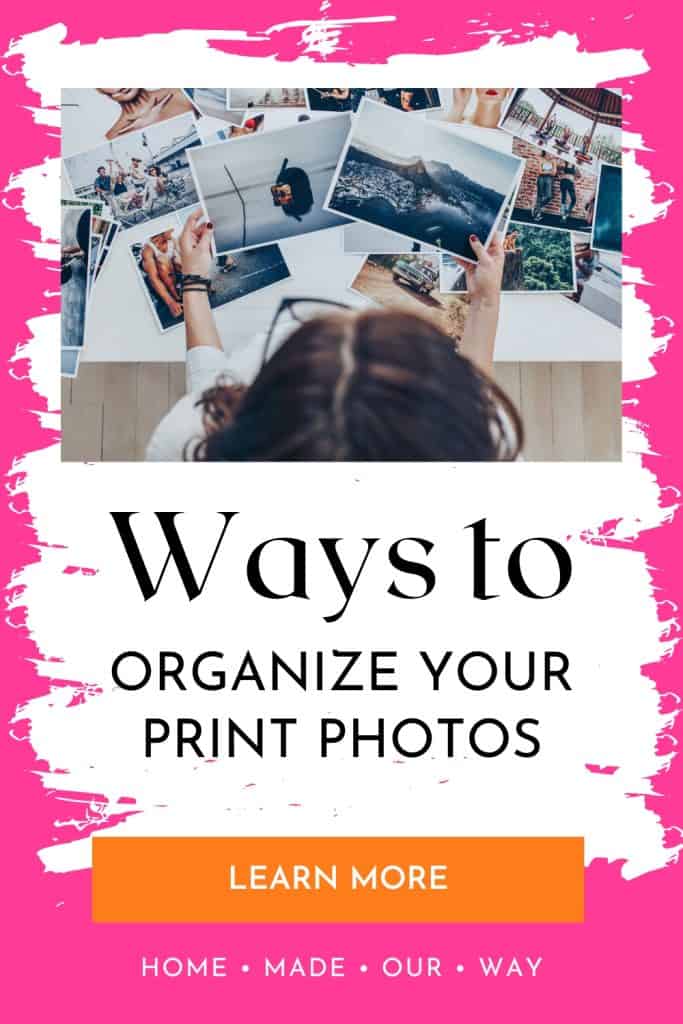
Want to Save This Post for Later?
Want to save this post for later? Or share it with someone you know?
Click the Pinterest icon on the image below to save it to your favorite board.

may i ask why we can not store pictures in the attic? or is it something that should be obvious?
Hi Ellie,
You want to keep your photos in a place that is dry and cool. If your photos are not stored properly, heat and humidity can cause irreparable damage. An attic, especially one that is closed off most days, can get extremely hot in the summer. Also, damage can occur even from a small leak in your roof unless they are stored in a water-proof container.
I am trying to store photos in the photo box. The dividers do nothing to help them stand up. So unless the box is full the photos fall or slide over/down. isn’t there a box with some product that has a built in spacer to keep them upright?
Hi Georgiana,
Here is one photo organizer <-- I found on Amazon that may help.
The preservation angle here is practical. Once photos are damaged by age, water, or poor storage, the scan becomes the safety copy before any cleanup work. I usually separate physical handling from later digital repair so people do not make the original worse.