For the past few years, I have been using a bare-bones desk in my homeschooling and now recently in my home office.
And when I say “bare-bones”, I mean it is as plain as can be.
Ever since I moved the desk to my office, I have been itching to create something unique with it but still have it function as a desk/craft table.
In the meantime, my husband’s new hobby medium, epoxy resin, gave me the idea to create this butterfly desktop.
Follow this DIY for creating your own unique desktop.
Disclosure: Some of the links below are affiliate links that I have provided for your convenience. Click here to read my full disclosure policy.
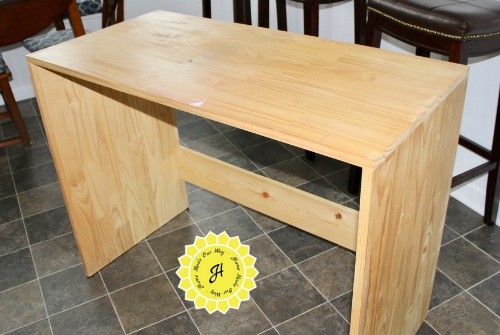
My Table Before Epoxy Resin
Here is a before pic of my table/desk.
Seriously, it was boring. It doesn’t even have drawers.
But as I said earlier, it was what I needed at the time I started homeschooling.
When I was able to replace it, it became my craft table.
It isn’t as big as some craft tables I have seen online but it is extremely light and easy to maneuver around the room.
Why Epoxy Resin?
In recent months, my husband has been using epoxy resin in our kitchen (he redid our kitchen countertops and bar top); and to make money on the side, he created these magnetic bottle openers for people he works with.

It was these bottle openers that got me thinking about using epoxy resin to create a unique surface for my boring desk.
I didn’t just want to paint it. I wanted an easy-to-clean smooth surface.
And I wanted a little flair as well.
To learn more about epoxy resin <—click here.
Some Things Not to Do
Before I go into the steps for creating this desk, know that we ended up doing this project a few times because we made a couple of mistakes along the way.
So here are some tips:
- do not use plastic food wrap to prevent spillovers (see below for a better option)
- make sure to glue down any pictures/photos well before applying the resin
- and if you end up having to redo the surface, sand it down so that the epoxy resin sticks better
- and whatever you do, wait until your epoxy resin heats up before applying
Prepping the Desk for the Epoxy Resin
The first thing we did was paint the top of the desk white.
You can buy epoxy resin colors but that will cost more than a small can of white paint.
You could also spray-paint it white.
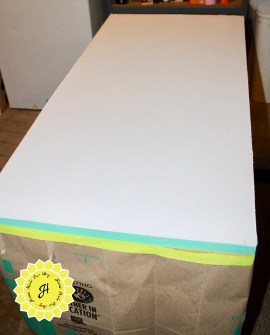
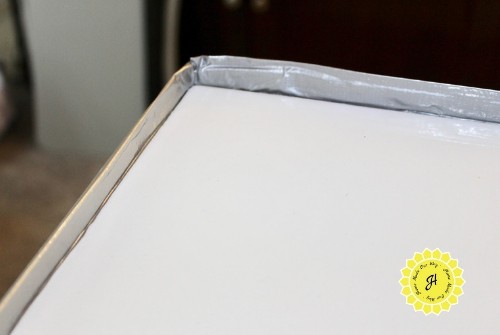
Once the paint dries, you will want to create an edging around the surface to prevent any epoxy resin from spilling over.
First, we lined the edge with simple masking tape.
Then we followed it with a layer of aluminum foil tape (the kind used for vent ducts).
We used masking tape to keep the foil tape from sticking to the desk too much.
We then folded the foil tape over to cover the sticky side.
This also made the edging sturdier.
Adding Flair
The next thing I did was look for a design for my desk.
I love love love butterflies so I went to Canva and found one that was perfect.
It is a multicolor butterfly by gstudioimagen (if you ever want to look it up).
I made 8 butterflies approximately 2″ x 2″ and 1 large butterfly for the center approximately 6″ wide x 5.5″ tall.
I printed these out then went ahead and laminated them.
This was to prevent any of the colors from bleeding.
I wasn’t sure if the epoxy resin chemicals could ruin the colors or eat at the paper.
Self-laminating pouches could have also worked.

After laminating the butterflies, I cut all the images out.
I didn’t cut exactly on the edge of the butterfly since the desk was white making the paper barely noticeable.
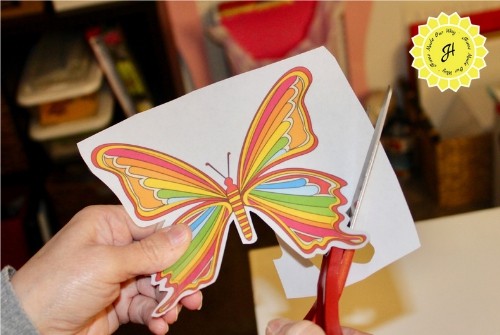
When I was done with all the cutting, I placed the large butterfly in the center top of the desk.
Then I laid four butterflies on each side of the desk placing them in random positions.
Next, you will want to glue down your cutouts.

Make sure that they are glued down well.
One of the large butterfly’s wingtips began to pucker a bit and we ended up having to pour a second coat of epoxy to cover that so that the table remained smooth.
Ready for the Epoxy Resin
The epoxy resin we used comes in two separate bottles.
One is actually the epoxy resin (bottle A) and the other is the epoxy hardener (bottle B).
Both need to be used.
The bottles come with instructions but I’ll go over them here with you as well.
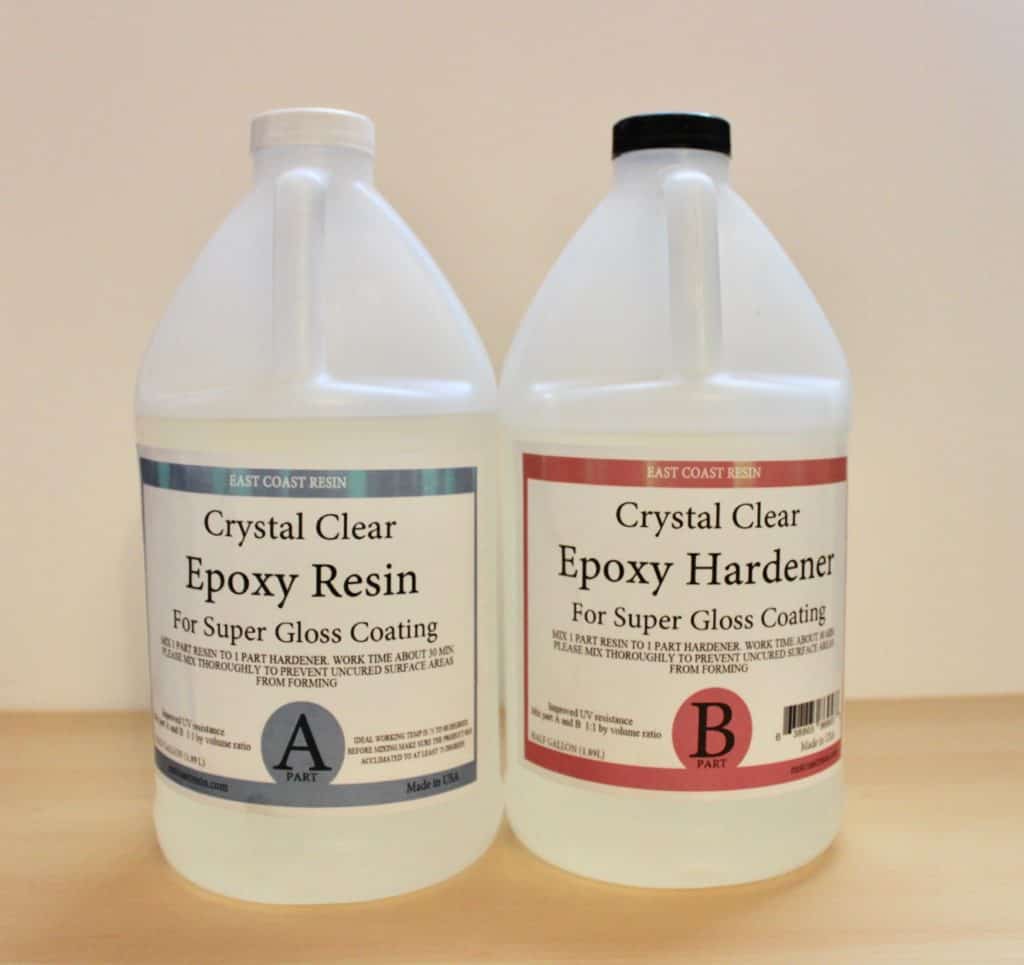
Also, make sure your resin is at room temperature.
So if you keep these in a cold basement or garage, I suggest bringing them indoors at least 24 hours before your project.
To mix the amount you need, you will need 3 ounces per square foot of surface.
Your mixture should contain equal parts of each bottle.
Since my desk surface is approximately 20″ by 40″ our mixture totaled 18 ounces (9 ounces from each bottle).
Before any mixing, make sure to wear disposable gloves and use a disposable container for your mixture.
Also, we measured out our mixture by using a simple kitchen scale.
It is much easier to do this than to use a disposable measuring cup.
Once you have your mixture in one container, slowly mix it so that you don’t create too many bubbles within the mixture.
You can use a simple paint stirring stick.
Once you feel the mixture begin to heat up, it is time to pour it onto the surface.
(Do not pour the mixture before it heats up! It will be the equivalent of pouring maple syrup that never dries. You don’t want that.)
Pouring the Epoxy Resin
Slowly pour the epoxy resin onto the surface of the desk.
We used all 18 ounces.
The following pictures are of the second coat as I forgot to take pictures of the first pouring.
However, it is the same technique we used for the first coat except that we removed the foil tape edging.
Since we only poured a smaller amount of resin for the second coat we didn’t need the edging which is what you will need to prevent overspills.
So don’t take off the edging yet.

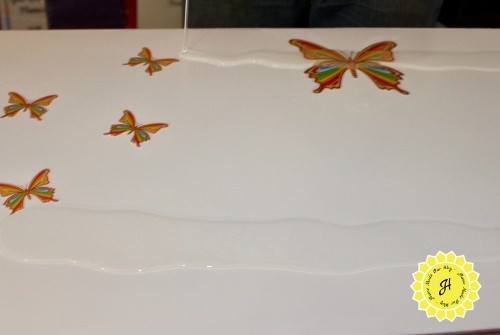
After you pour the resin, begin spreading it with your gloved hand toward the edges until the surface is completely covered.
The epoxy resin will level out on its own.

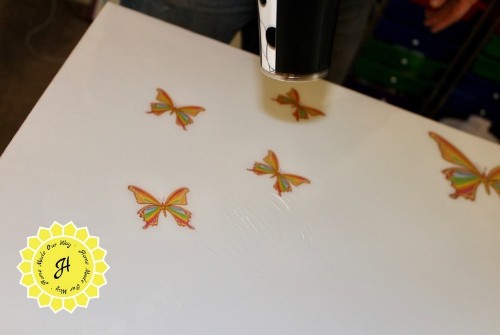
If you see any bubbles in the epoxy resin, use a blow dryer and they will all pop away.
You will want to do this immediately after spreading your resin mixture.
After Six Hours
The epoxy resin will start to harden about 15 minutes after you have spread it onto the surface.
After six hours, you will want to remove the tape edging.
However, be careful as the resin is not completely hardened yet.
It will take approximately 24 hours to harden enough for you to touch it without causing any damage.
Here are pictures of the desk after it was done.
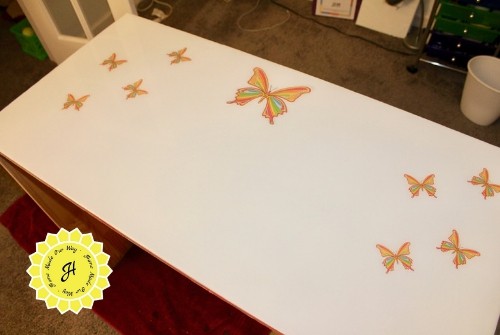
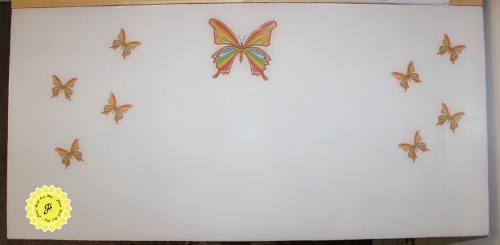
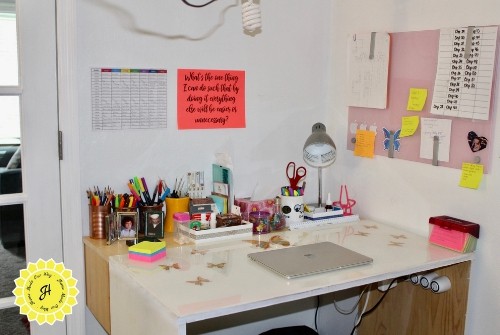
Here is the desk today.
We created a drop leaf towards the back to extend my table out for craft projects.
It also serves to hold my arts & crafts supplies when doing any overhead filming.
I hope you enjoyed this tutorial.
I absolutely love my desk.
I’m thinking about making another desktop, this time with photos.

Nice job! thank you for the insight