Have an old dresser you want to get rid of but then again, you don’t?
Perhaps, you just don’t want it as part of your bedroom set but you have no idea what to do with it.
If this is you, consider upcycling and repurposing it into a beverage station, coffee bar, buffet counter, etc.
Disclosure: Some of the links below are affiliate links that I have provided for your convenience. Click here to read my full disclosure policy.
The Dresser Before
As part of our journey into minimalism, my husband and I got rid of so much unwanted
And we knew that if we took it out of our bedroom, the room would feel so much bigger.
However, it is a good dresser.
Some dings and scratches here and there but it was in good condition.
(I could kick myself for not taking a picture of the dresser before repurposing it but I was too excited to get it done. However, here are some pics I took for the master bedroom organization post that shows most or part of it.)
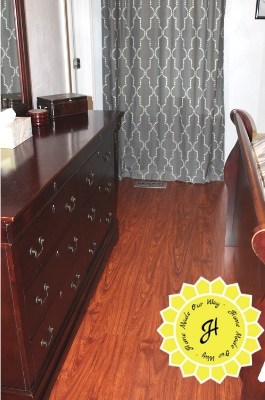
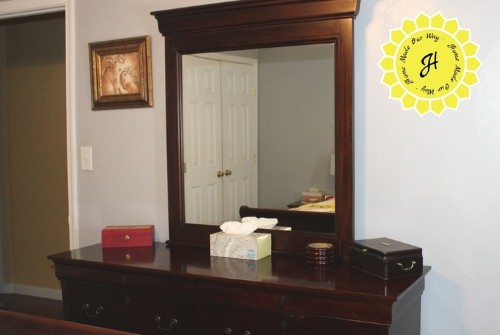
In the end, we decided to repurpose it and create a coffee station.
With family coming to our Thanksgiving feast in a couple of months, we thought that a coffee station in our dining room would help minimize traffic in the kitchen as we prepared foods.
Below is how we turned our dresser into our beloved coffee station.
Dresser DIY
The first thing we did was to remove all the drawers (the dresser is quite heavy).
We were lucky to have a friend help move it from our 2nd-floor bedroom into the garage.
While the drawers were out, we went ahead and removed each drawer’s handles.
They screamed “bedroom dresser” so they had to go.
We also removed all those keyhole ornaments.
Top Surface
Next, my husband sanded the top side layer of the dresser.
The dresser is 15 years old and as I said before, there was some wear and tear.
After, we turned the dresser upside down on some old towels.
Painting the Dresser Body
Because the dresser’s body had ornamental contours, sanding it would have been a nightmare.
And while the top surface and part of the dresser’s frame are made of wood, the sides had a veneer on them that would never let regular latex paint stick to it well.
So, we decided to spray paint it to get even coverage that would stick.
We used this spray paint, applying three coats (using 3 cans).
This took a couple of days to set and dry because we let each layer of paint dry before applying the next one.
The Drawers
While we worked on the body of the dresser, we got to work on the drawers.
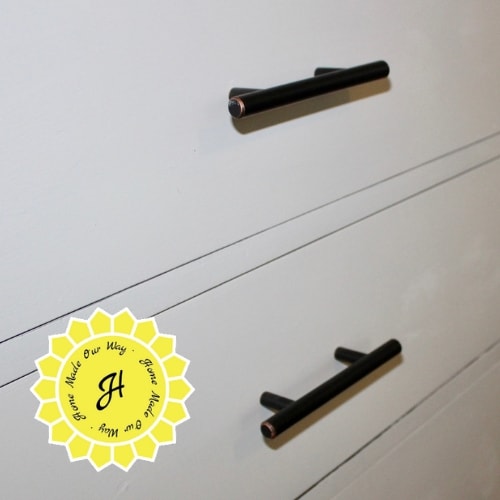
Because I hated the old handles and I really didn’t want the dresser to look like one, I decided on a single handle placement centered in each drawer.
So we puttied the holes where the old double handles were fastened.
Then we drilled two new holes in the center of each drawer.
Once the putty dried, we went ahead and spray painted all the drawers as well giving it three coats too.
This only took two cans of spray paint.
Once the drawers were all dried, we went ahead and fastened the new handles.
To give it a modern look, I went with these handles.
Accommodations
Before putting in the drawers, we brought the dresser into the dining room and placed it against the wall where we would use it.
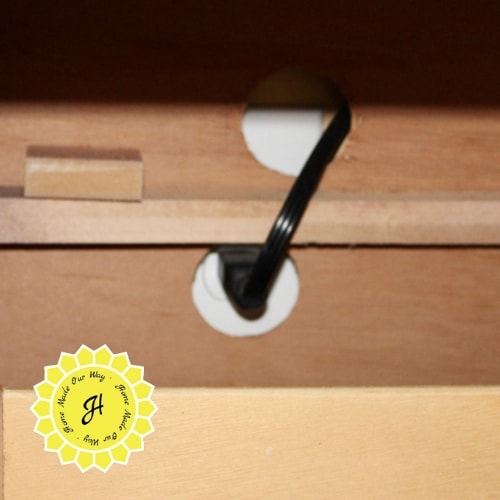
We needed to access the outlet behind it in order to use the Keurig.
So we marked the back of the dresser and cut out a hole.
Back to the Top Surface Again
Now, we had recently refurbished our dining room table by sanding, staining, and painting it.
And since these two furnishings would be together in our dining room, we decided to make them match as closely as possible so that they’d look like a set.
With the top already sanded, we simply applied two coats of this same dark stain that we used on our dining room table.
After each layer of stain, we let it sit for a couple of minutes before wiping any excess off with a rag.
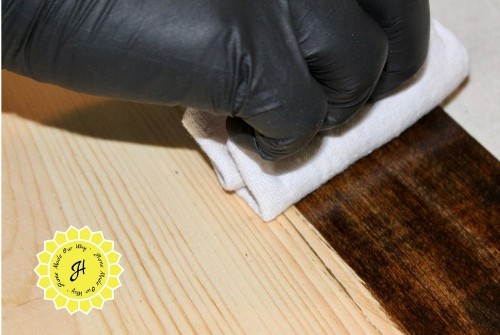
We also lightly went over the top surface with a wool pad to give the stain a more even look.
Again, after a couple of minutes of allowing it to settle and dry, we used a rag to wipe off any excess shellac.
And before applying the final coat of shellac, we again lightly went over the surface with a wool pad.
Coffee Station/Storage
Now, this dresser was replacing a cube organizer we had kept there.
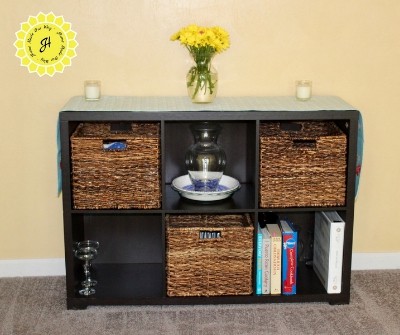
While I didn’t have a problem with this organizer, I was really liking the idea of the dresser because it can store more items. It has since been moved into my office.
When we were repurposing our dresser, we were also renovating our kitchen.
Since adopting a more minimalistic lifestyle, we wanted to do away with a couple of bulky cabinets and half the stuff we kept in them.
But we still needed a little bit of storage for items that we didn’t necessarily want on open shelves.
Repurposing this dresser was the perfect solution.
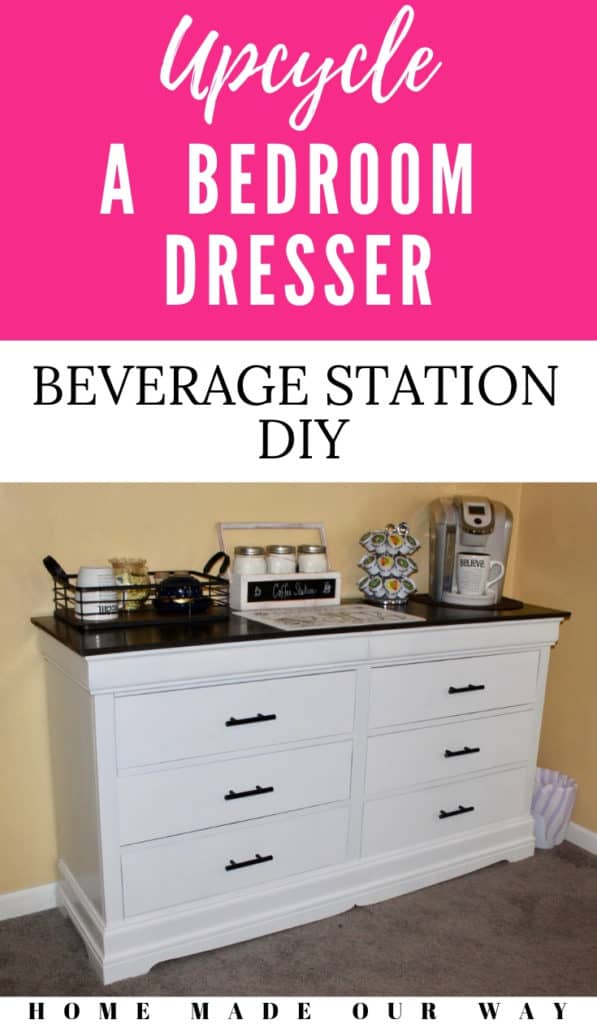
Tada! Our Coffee Station Dresser!
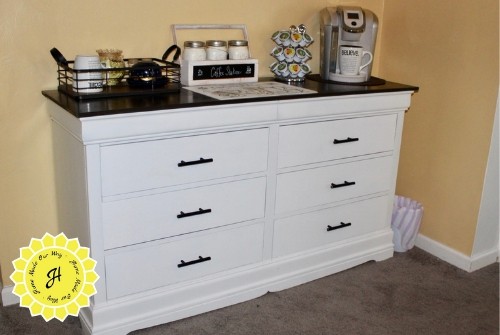
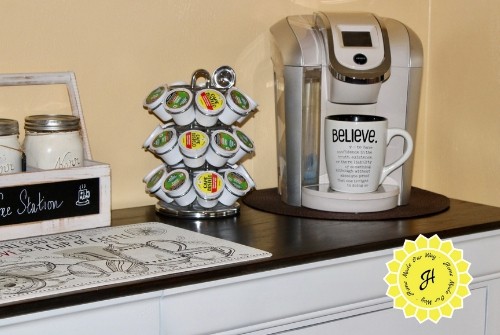
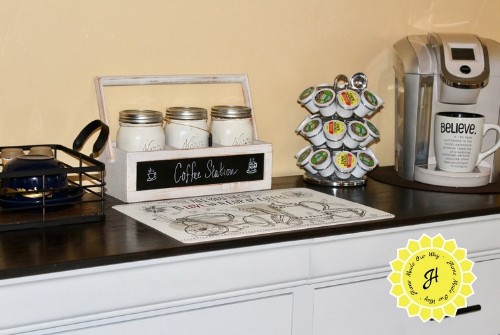
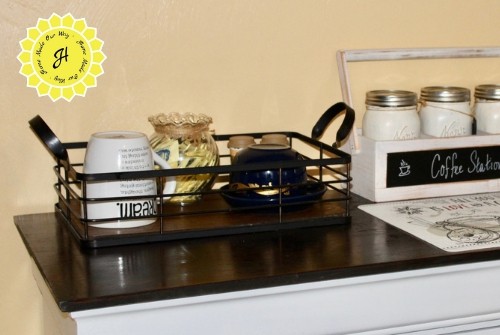
So, here is the top part of our coffee station. It holds our K-cup organizer, our mason jar coffee canisters, and a tray to hold our napkins, sweetener, and our daily mugs.
Storage
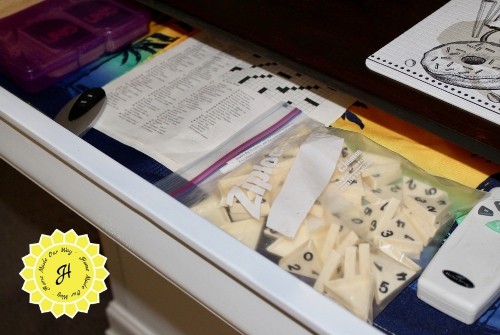
The top ‘secret’ drawers are shallow and so we keep things like placemats, some cards & games for family fun nights, and remotes.
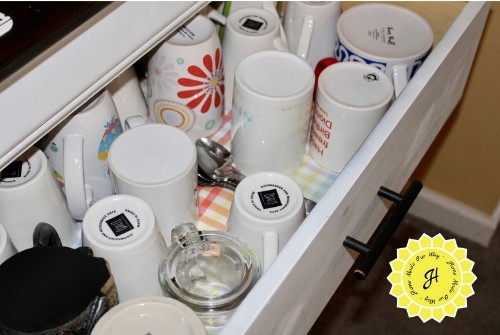
The top right drawer is used for extra coffee mugs for when we have guests.
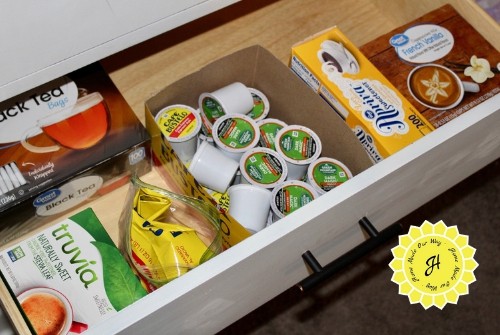
The middle right drawer is where I keep our coffee and tea supplies.
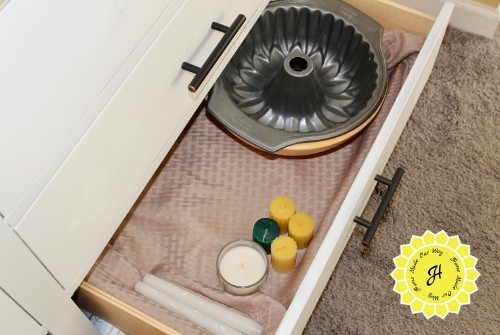
The bottom right drawer holds our large bowls and candles. It still has more room for more stuff.
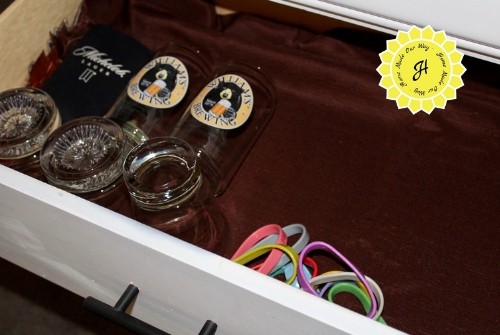
The top left drawer is used for bar glasses and playful beer can markers. Again, still more room for other items.
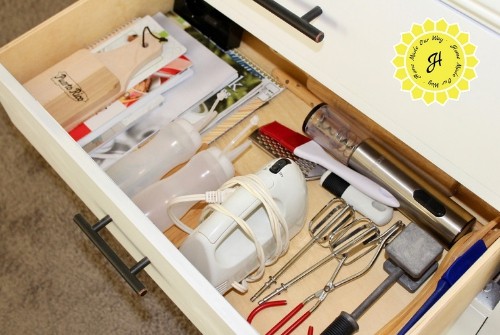
The middle left drawer is where we keep kitchen gadgets that we don’t normally use on a daily basis as well as some manuals.
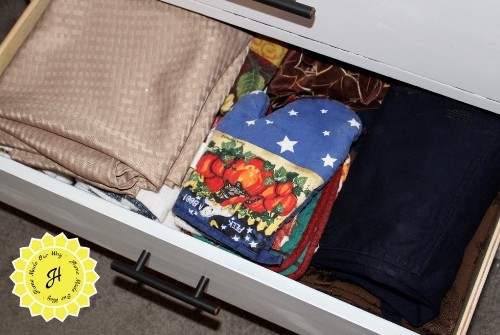
The bottom left drawer holds all our kitchen linens including aprons, tablecloths, placements, towels, etc.
So What Do You Think?
If you decide to create a beverage station, read How to Organize a Beverage Station by clicking here.
In it, I cover what you need to put together a coffee, tea, wine, beer, and/or cocktail station.

Leave a Reply