Last year, my husband and I put together a small vanity for me in our master bedroom.
I wanted to create something simple and cost-effective.
However, this was not the case for the vanity base.
Disclosure: Some of the links below are affiliate links I provided for your convenience. Click here to read my full disclosure policy.
Despite having most of the tools and wood to put my vanity together, it ended up being about the same price as one on Amazon.
So I don’t recommend building the vanity from scratch unless you want to take on a project like that.
Instead, try upcycling a furniture piece.
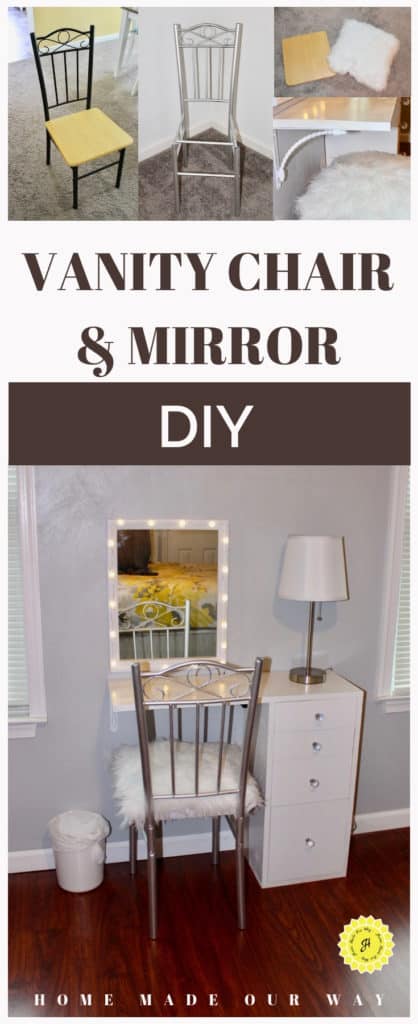
For now, this DIY tutorial will focus on the vanity chair and mirror, which I was able to DIY on the cheap.
Making Room
Over the past few years, as my husband and I have adopted a more minimalistic lifestyle, I have found myself with things that no longer serve a purpose.
One of these things was my dresser.
For two years now, the only thing I was keeping in it was my beauty products–all of which fit in one out of the 6 drawers.
This dresser was also taking up lots of space and disrupting the flow in my room.
It was time to let it go, but I still needed somewhere to store my hair and beauty products.
The only solution we could come up with was to replace it with a small vanity.
Before Pictures
If you ever read my post on organizing a master bedroom, you would know that I was trying to create a better flow in our master bedroom.
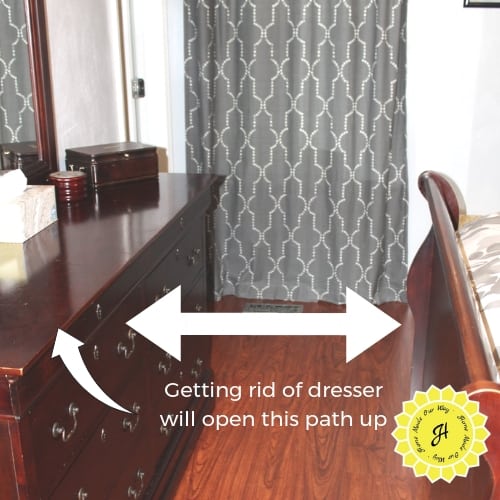
Here is our dresser below.
There was barely enough room for two people to walk side by side to get from one side of the room to the other.
Every time I put on makeup or do my hair, I would have to stop midway to let my husband pass by. Ugh!
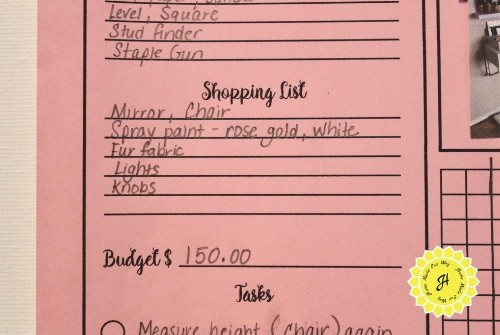
Making Plans for the Vanity
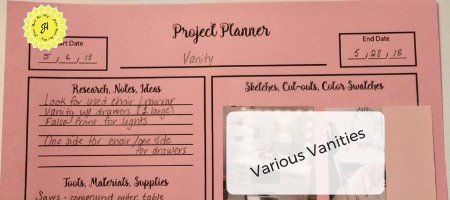
Before we attempted this DIY, we used my project planner first to make sure we had everything we needed and to create a budget.
I created the project planner just for this DIY and loved it so much that I added it to my free resource library.

Because I am small, I did not want a huge vanity where I would find myself craning my neck and body across the surface just to put on eyeliner.
I also didn’t need a ton of storage because, frankly, I have one eyeliner, one mascara, one blush… You get the picture.
I tell you this so that if you do have a lot of products or prefer more surface area, you will want a larger vanity than the one we created here.
By the way, if you have lots of beauty products and need help with organizing them, click here.
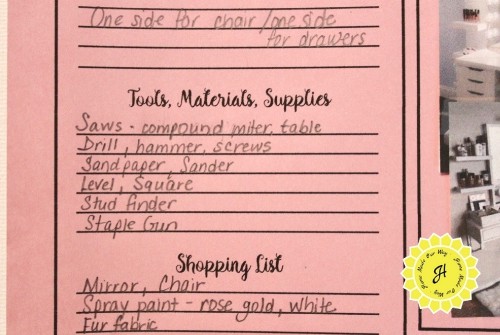
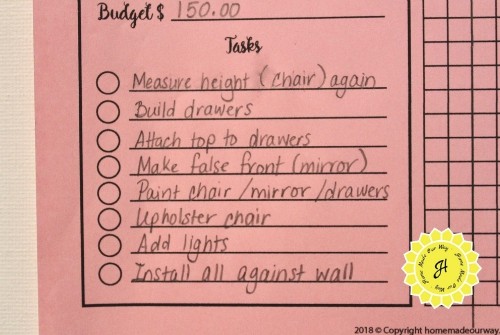
Here are pics of the vanity’s plans that helped us put it together.
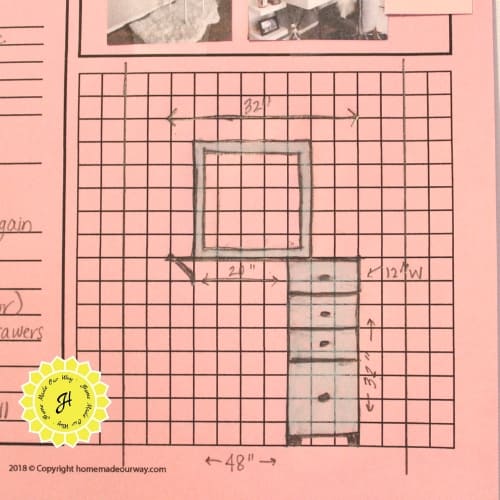

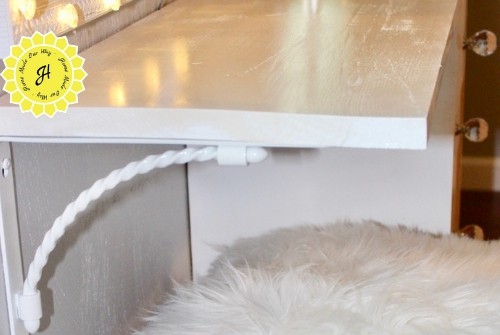
The Vanity Base/Frame
Here are some pics of the vanity base/frame.
The long left side is where I would sit with a mirror just above the surface.
The right side frame is where we installed 4 drawers.
We also made the bottom drawer large enough to hold things like my straightener and tall bottles.
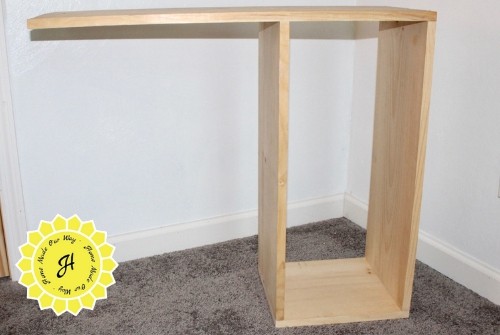
Putting the frame together was pretty easy.
We already had the wood and tools, so this part barely cost us anything.
However, building the drawers is where the cost started rising between having to buy a drill bit, then drawer slides, paint, drawer knobs, and braces.
It just turned out to be more than we wanted to spend.
Where we did save money was on the vanity chair and mirror.
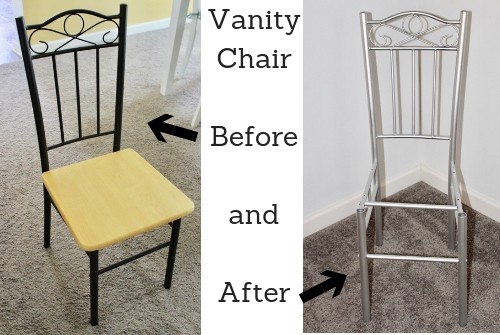
Creating the Chair
We had looked around town for a chair but couldn’t find anything close to what I wanted.
I also had a hard time finding faux fur material for the seat of the chair.
I looked on Amazon, but the pieces they had were more like rugs.
It was time to get creative and make my chair.
Eventually, I decided to repurpose an extra chair we had in the garage.
I also found a furry square pillow in Walmart, which was perfect for this DIY.
The Vanity Chair Frame
First, I unscrewed the seat from the chair frame (the frame is metal). Then, I spray-painted the frame in chrome.
Chair Seat
While I waited for the chair frame to dry, I worked on the chair seat.
Here is the seat with the pillow.
You can see that they are about the same size.
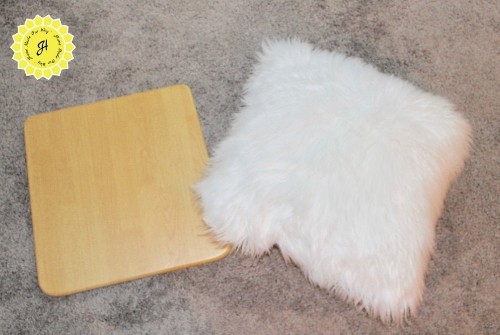
Next, I cut a slit on the backside of the pillow, took some of the stuffing out, and slipped the seat inside of it.

Once the chair was dry, I simply screwed the seat back onto the frame.
Boom! Done! It was super easy.
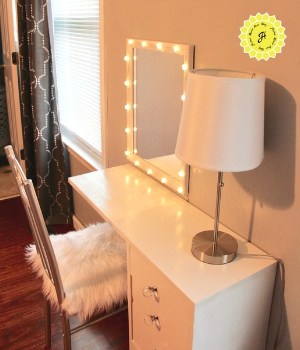
The Vanity Mirror
The mirror was also a challenge to find.
Some were either too big, too small, or too expensive.
So, I decided to give a local thrift shop a try.
I eventually found what appeared to be the mirror/door part of a bathroom medicine chest sans the chest.
It was filthy, but the mirror was intact.
It just needed to be cleaned and painted. Not a bad find for $3.
Once the frame paint had dried, I applied 3M picture hanging strips to the back.
Next, using a glue gun, I added fairy lights around the frame to give the vanity some charm.
Finally, using a level, I marked the wall where I was to mount the mirror.
Then, I removed the velcro strip backings and pressed the mirror into the wall.
So, are you ready to see the vanity?
Scroll down to see it all put together.
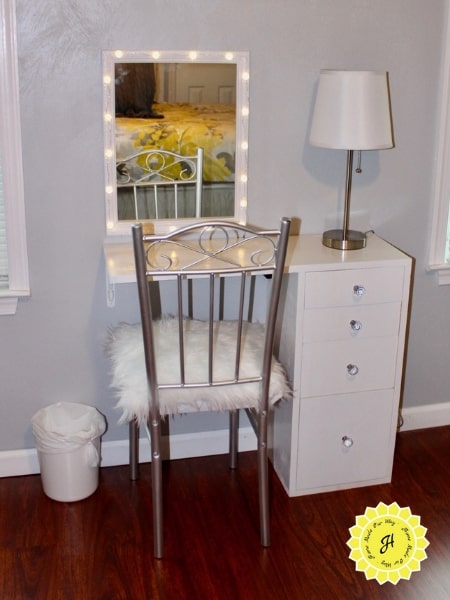
After Pictures
And here is the vanity/chair/mirror all put together.
I like it, and I’m most happy that we were able to get rid of that large dresser and make my room bigger.

Leave a Reply