If your recipes tend to take a life of their own, it may be time to create a system so that you can easily find the ones you need.
Whether you clip them from magazines or download them from foodie sites, you can organize your recipes in various ways.
This post is about organizing printed/written recipes.
If you’d like a way to organize your digital recipes, click here.
Disclosure: Some of the links below are affiliate links that I have provided for your convenience. Click here to read my full disclosure policy.
Before we go into different ways to organize your recipes, let’s go ahead and declutter your current collection.
It will make it easy to see which system(s) makes sense for you.
Decluttering your Recipes
Categorize
So, first things first, gather all written and printed recipes in one location.
A dining room table is a good place for this if you don’t have a large desk surface.
You will also need a piece of paper and a pen.
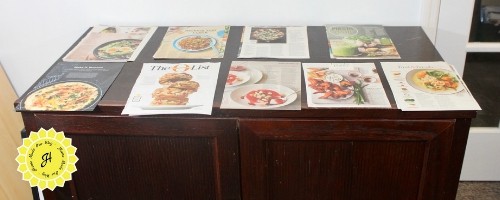
Next, go through each recipe and sort them into piles by category.
Keep track of each category pile by writing it down on your paper.
So, how should you categorize your recipes?
Well, this depends on how you like to search for them.
You can sort by the time of the day like “breakfast” dishes.
But I warn you that these categories are very broad, and you could end up with 100’s of recipes in one category.
I advise you to use a combination of types of categories.
For example, you can have a “breakfast” category and then another category for “sandwiches” or “soups”.
You can also categorize by protein like “chicken dishes” or other foods like “pasta”.
Another way to categorize is by a cooking method such as “slow cooker” or “baking”.
Again, find what works for you.
If you are unsure of how to categorize certain recipes, don’t worry.
Leave them aside and continue categorizing the rest.
As you continue categorizing, you’ll have a better picture of where you should place a certain recipe.
If not, you can always use a miscellaneous category.
Purge
Hopefully, as you categorized your recipes, you were also purging any unwanted ones.
If not, then let’s get started.
Take one pile at a time so you don’t get overwhelmed.
For each recipe, ask yourself the following questions:
- For recipes you’ve never made, how long have you had that recipe?
- Do you really want to take on that particular recipe?
- Do your local supermarkets carry the types of ingredients listed in the recipe?
- Can you substitute hard-to-find ingredients?
If you’ve held onto a recipe for more than a year and have not tried it, I suggest tossing it.
Does it seem complicated and beyond your skills? Then forget it. Get rid of it.
If your recipe ingredients contain hard-to-find items and/or have ingredients that can break your budget, it’s time to say goodbye to them.
Organizers
By now, your recipes should be whittled down to the ones you want to keep.
Let’s go over various ways to organize them.
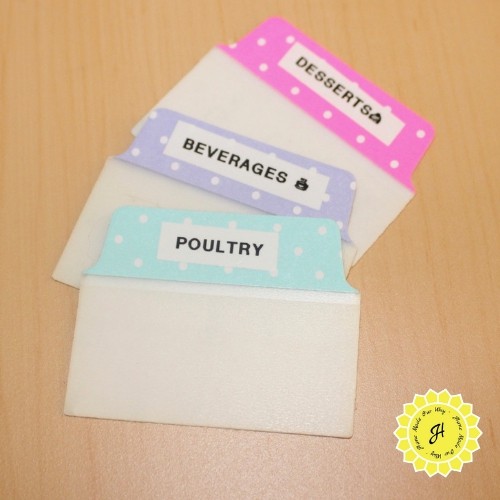
Index Cards
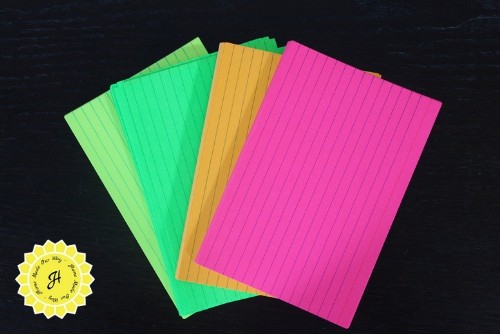
One way to organize is with index cards.
Here are some pros:
- They come in different sizes (and different colors–nice for categorizing)
- they are very compact, so you can fit hundreds of recipes in one index card box
And here are the cons:
- you will have to handwrite the majority of your recipes
- if you use different size index cards, you’ll also need more than one index box
- you should buy recipe card protectors to keep them from getting stained and for normal wear and tear
- they are also not designed to add pictures of dishes (unless you use card protectors)
If you decide to use this system, you will need the following:
- 3″ x 5″ index cards/ box / index tabs
- 4″ x 6″ index cards/ box / index tabs
- 5″ x 8″ index cards/ box / carry case
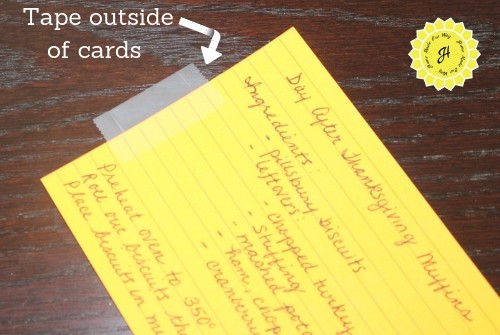
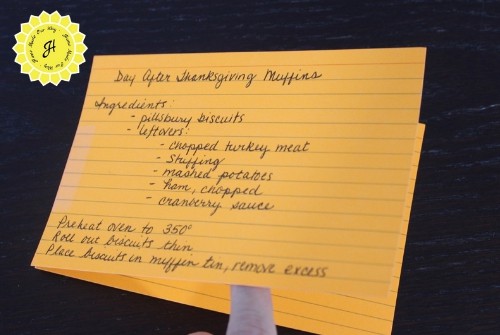
Long Recipes
If you have to use two cards because your recipe is long, place them on top of each other and tape them along the outside edge of the shorter side.
This will allow you to open the recipe like a book.
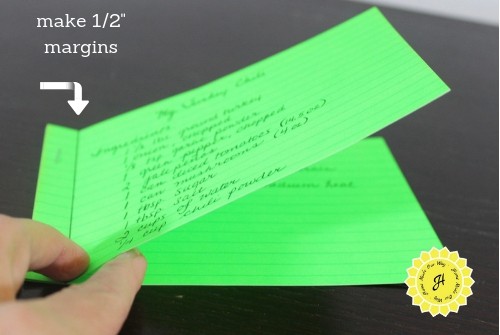
Another option is to staple them together on the shorter side.
Make sure to give yourself a half-inch margin.
This will let you open the cards without having to remove the staple to read.
Recipe Binder Supplies
More and more people are using recipe binders because they eliminate the time spent writing recipes.
They also provide more space for long recipes and pictures.
If you tend to find a lot of your recipes in magazines like me, then this may be a better system for you.
To create this system, I suggest the following supplies:
- binder – you’ll want to choose the kind that holds 8.5″x 11″ sized paper; however, the thickness of the binder depends on how many recipes you may have
- multiple binders – if you have tons of recipes and
shelf space - page protectors – a great way to keep them clean and safe from food stains
- hole punch – if you decide not to use page protectors
- clear reinforcement labels
- index dividers or tabs
Binder Arrangements
Using the list of categories you wrote down earlier, fill out the index tabs of your binder.
You can arrange these alphabetically, but I suggest you arrange them in a way that makes sense to you.
Some people love to bake and may want to keep this upfront.
Others like to arrange them by course, starting with appetizers and ending with desserts.
Again, it’s up to you.
Double-Sided Recipes
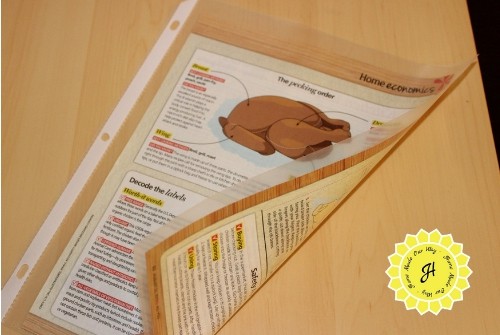
For recipes that are long and take up both the front and the back of a page, simply pop it into a page protector and insert it into your binder.
If you have a recipe you’ve torn from a magazine, there are a couple of options for organizing them.
If the recipe is on both sides of the page, again, insert it into a page protector.
You could also hole punch the page, place clear reinforcement labels over the punch holes, and insert it into your binder.

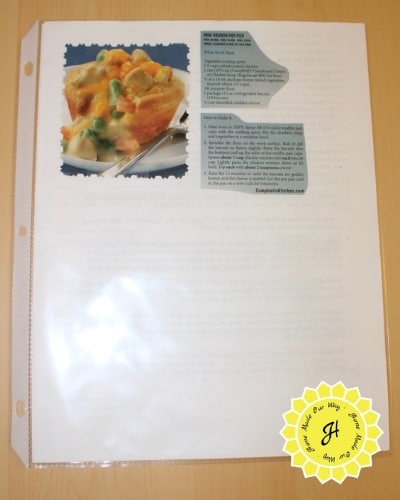
However, if the recipe is only on one side of the page, place it into a page protector and then insert a blank sheet of paper behind it.
This will allow you to place another one-sided recipe on the other side of the page protector.
It will also make your recipe binder look cleaner.
Small Clipped Recipes
For recipes that don’t take up a lot of space, I use tape and stick them on a piece of scrap paper.
This lets me fit more on one page.
Once done, insert that page into the page protector.
Another option you can try is using divided page protectors (think photo albums) so you can insert index cards.
Now, if you prefer a more uniform look to your recipe binder, then I suggest typing all of your recipes in a nice font of your choice.
However, this is time-consuming.
If this is the way you want to go, I suggest setting a time to do this every day so that they don’t pile up as you try to get your binder organized.
Binder Extras
A recipe binder can also hold more than just recipes.
Here is a list of extras you can add:
- conversion chart to help you with measurements
- substitution chart
- folder for “untried” recipes
- food inventory lists for pantry/fridge/freezer
- shopping list
- meal planner
- holiday meal planner
Too Many Recipes?
If you have a ton of recipes and using a bulky binder is too difficult, then try splitting them into smaller binders.
This will take up a little more space, but the binders will be lighter to handle, and it will make it easier to find recipes.
You can even use different colored binders like these to make it easier to find the binder you need.
Try using flexible cover binders.
They are less bulky and can be stored in magazine holders.
Every Day Recipes
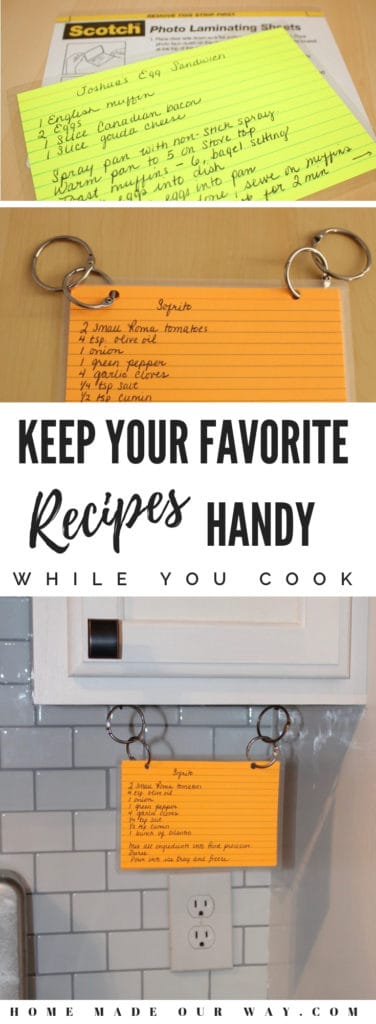
Now, if you don’t have a lot of recipes or just have a few of your most cooked dishes, consider using index cards, but keep them on binder rings.
This system is great for family favorites and for kids who are just starting to cook for themselves.
Here is how to put these together:
- Write out your recipes on index cards
- Use self-laminating sheets or recipe card protectors to keep cards clean and sturdy
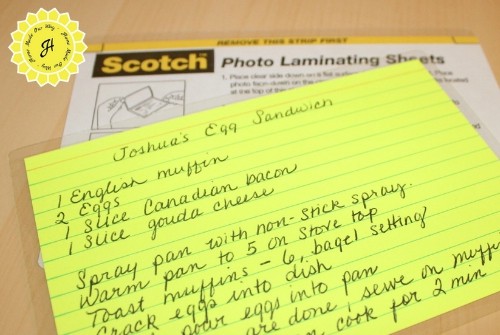
- Hole-punch the corners and insert a binder ring

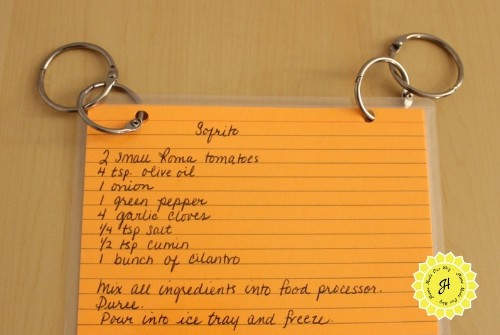
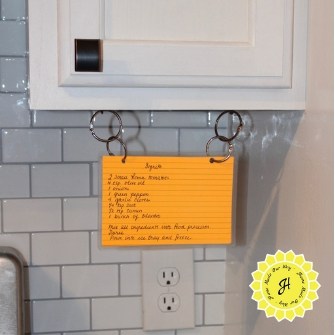
Keeping Recipes Handy
To set your index cards so that you can see them as you cook, try the following:
- Instead of hole-punching the corner, hole-punch the top of the self-laminated cards (two evenly spaced holes)
- Insert a binder ring in each hole, then insert another binder ring in the binder rings
- Place hooks under your kitchen cabinets (where they can’t be seen)
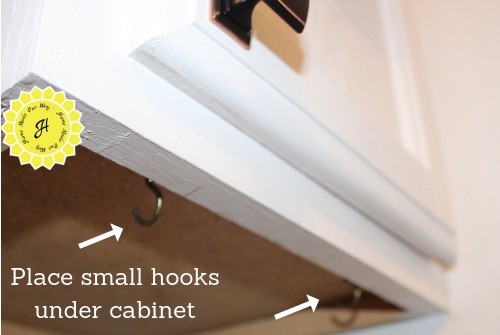
- Find the recipe you need and fold over the rest of the cards
- Hang the cards on the
hook by the second ring

Maintaining Your Recipe System
Once you have your recipes organized, make sure that new ones are dealt with quickly.
First, you want to ask those questions from above to see if this is really a dish you want to make and perhaps keep.
If yes, then create a folder and keep it there until you are ready to use it.
Then, immediately schedule a day to make that particular recipe.
After you’ve created and tasted your new dish, decide if it’s a keeper or not.
If it’s a keeper and you are using the index cards, write down the recipe immediately and add it to your system.
If you are using the binder system, then insert the new recipe according to how you have it organized.
Do not let your “untested” recipes pile up.
Set a minimum for your folder.
For example, you can set a minimum of “5 at one time” in your folder.
If you come upon another new recipe, then you have to give up another in your folder.
This will force you to schedule those recipes and get them created within a reasonable time and avoid the pileup.
Are You Ready to Get Organized?
So, if you are ready, go ahead and declutter your collection.
Get rid of those recipes you know you won’t attempt and categorize the rest.
Decide which organizing system you prefer and put it together.
I hope that you will find a system that is easy to use, clean, and pretty.
Want to create a home management system that includes your recipes and meal plans?
Click here to put yours together.
Prefer a separate planner for your Thanksgiving cooking?
Click here to read about and download your free Thanksgiving Planner.

Leave a Reply