2026 Printables for Mini and Regular Size Binders
Every couple of years, I like to change up our free planner pages.
To see our new 2026 printables for mini and letter-sized planners, keep scrolling.
But if you are ready to print your pages now, scroll to the end of this post and click the pink button.
Disclosure: Some of the links below are affiliate links that I have provided for your convenience. Click here to read my full disclosure policy.
In this post, you’ll also find:
- recommended materials and supplies to help you put your planner together
- tips for putting your planner together
- and best practices for your monthly and weekly pages
Materials and Supplies
Before you print out your free planner pages, here is a list of recommended materials and supplies you may want to have on hand.
Those with an asterisk (*) by the name are optional but will make your planner durable, prettier, and easier to put together
- a mini binder like this one that holds paper size 5½” x 8½”
- or a regular-sized binder like this one
- adjustable hole puncher* (use for mini binder)
- or a handheld hole puncher
- cardstock* (for cover and year-at-a-glance page)
- mini page protectors* (recommended for cover and year-at-a-glance if not using cardstock)
- letter-size page protectors* (recommended for cover and year-at-a-glance if not using cardstock)
- reinforcement labels* (recommended to prevent your pages from ripping out of your binder)
- self-laminating pouches* (recommended for cover and year-at-a-glance if not using cardstock)
- colored pencils*
- mini index dividers/tabs*
- letter-size index dividers/tabs*
- color coding labels*
- highlighters*
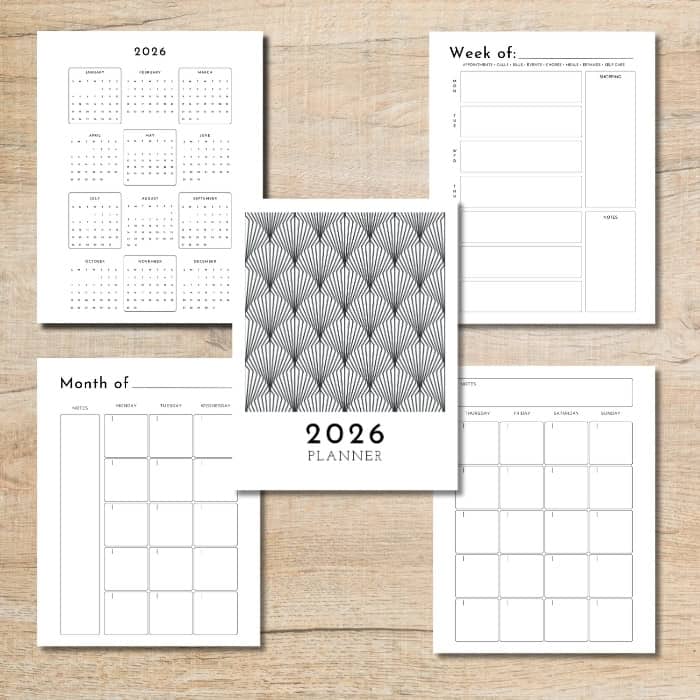
A Peek into Your Free Planner Pages
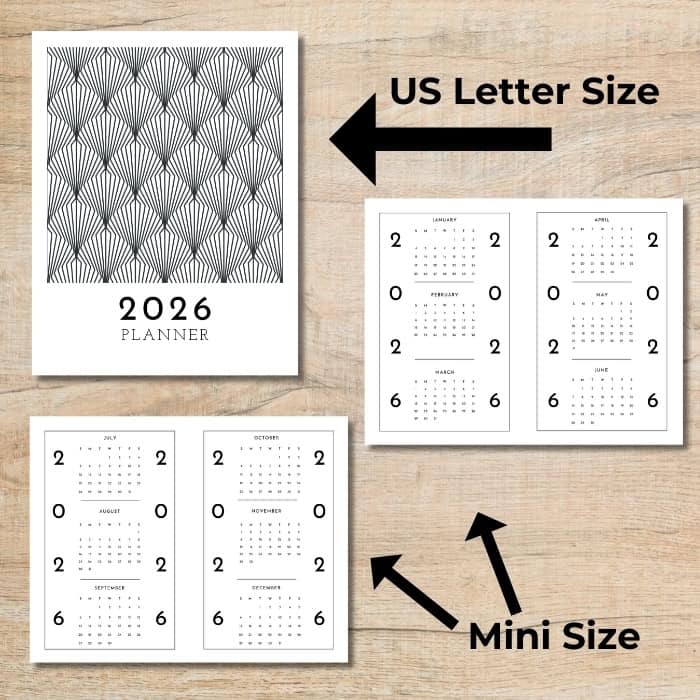
Here are the pages you will find in our free resource library. You will see a link for the US letter size planner [8.5″ x 11″] and our mini-binder size planner [5.5″ x 8.5″].
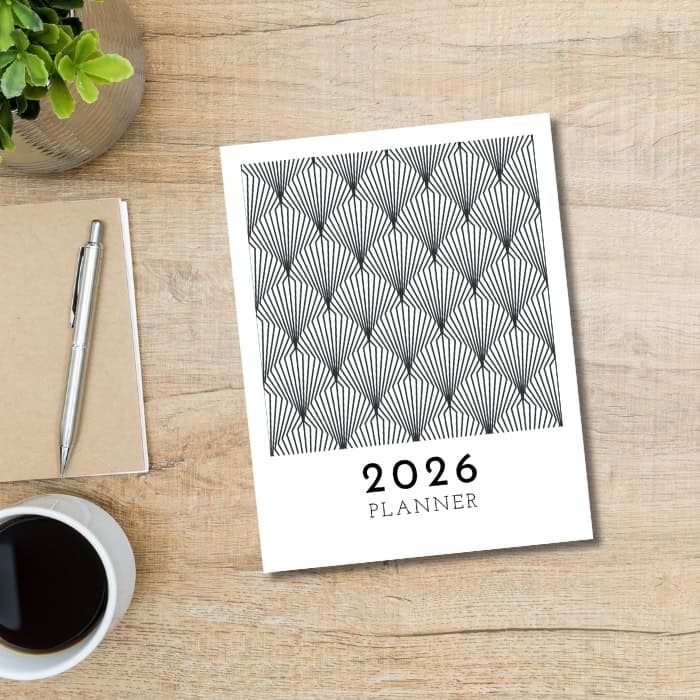
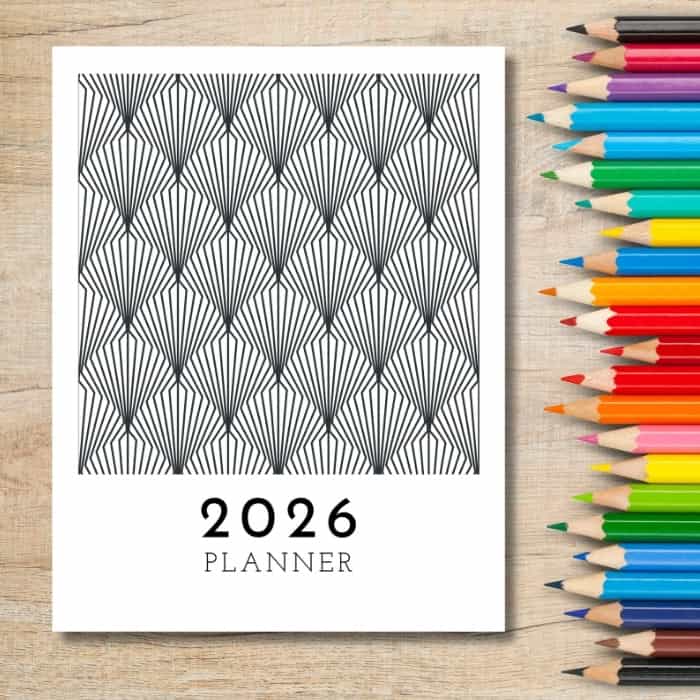
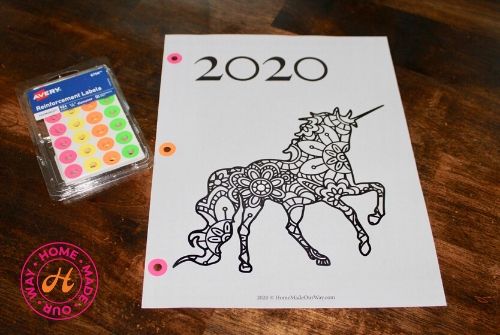
Cover Page
The 2026 free planner cover page comes with a scalloped design that you can color if you prefer.
If you use or purchase a “view” binder, then you can easily insert it into the front of the binder.
If your binder does not come with that “view cover” feature, I recommend the following to make it durable throughout the year:
- insert it into a page protector
- laminate the page
- use a self-laminating pouch
- or use reinforcement labels so it won’t easily tear away from the binder rings.
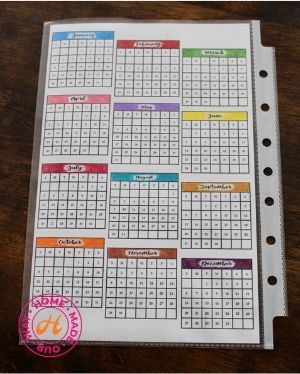
2026 Dated Year Calendar
On this page, I like to highlight specific dates in a different color. For example, I will use:
- pink for birthdays
- orange for holidays
- yellow for vacation days
- green for family get-togethers
- and so on.
You can also use color-coding labels to do this.
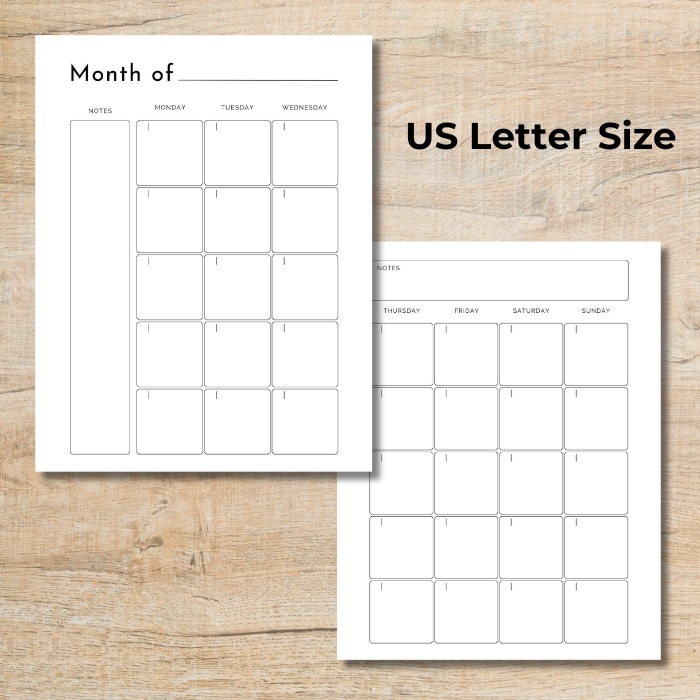
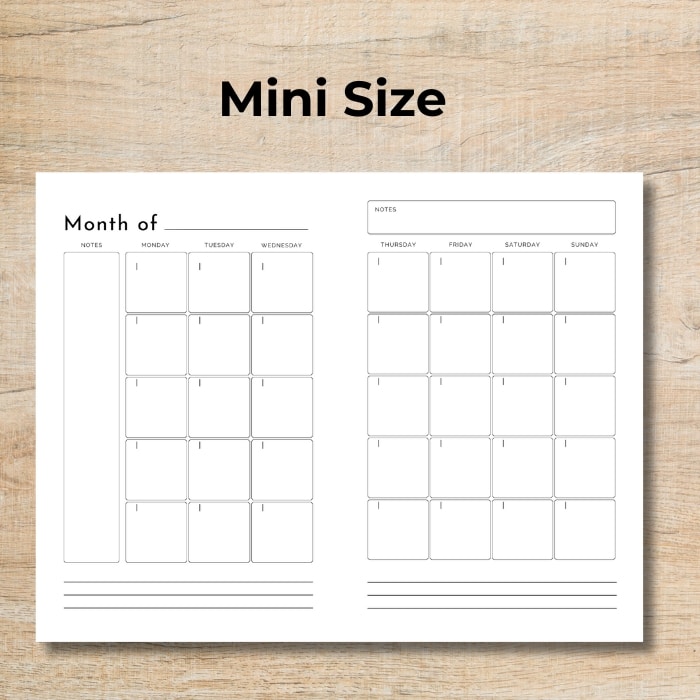
2-Page Monthly Spread
The 2-page spread gives you more room to write in monthly events.
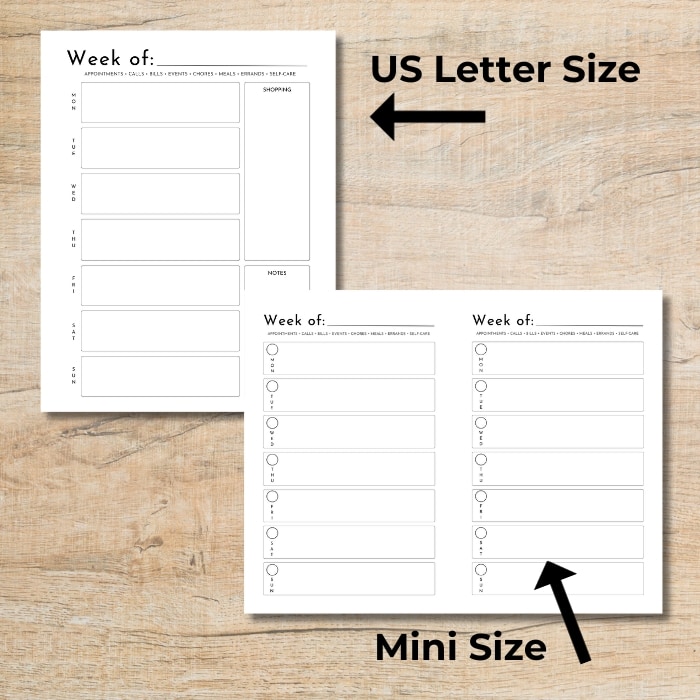
Week-At-A-Glance
Here’s a look at our week-at-a-glance page. Enter all your to-dos and tasks for the week. Write in appointments, due dates for bills, meals, self-care tasks, shopping lists, etc.
Putting Your Planner Together
[Some of the photos below show our previous planner pages. Your 2026 printables will not look like these. I just left them for demonstration purposes.]
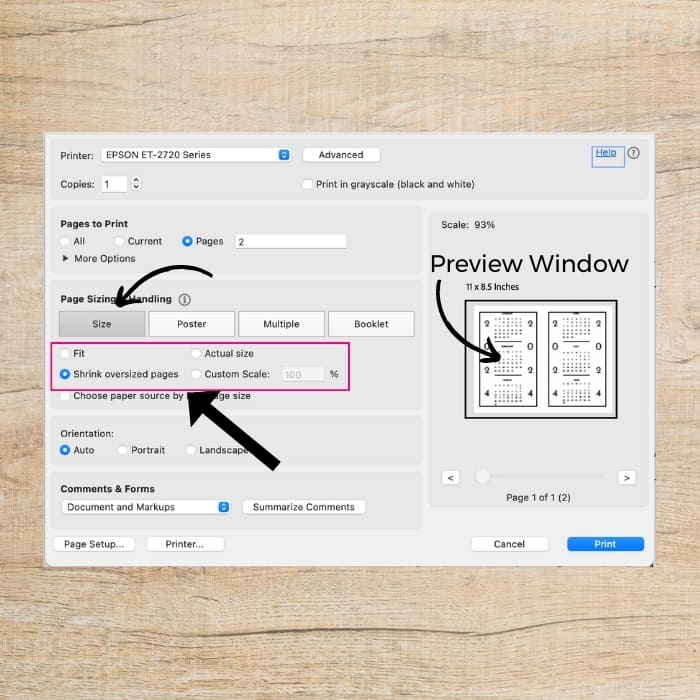
Printing Mini Binder Pages
Printing mini-pages is a little tricky. Some printers’ settings can shrink your pages, and others will cut off parts of the pages if not adjusted correctly.
So, play around with your printer’s dialog box when choosing your settings. Use their preview window to see how the page will look before printing.
Making Your Planner Durable
So that your planner cover and calendar pages last throughout the year, I suggest the following:
- you can laminate them
- place them in a page protector
- use reinforcement labels
- even better, use cardstock with reinforcement labels

Final Thoughts on Our 2026 Printables
So, remember:
- make sure you have all the supplies you need before printing
- if using the mini planner pages, follow the above print dialog commands
- and print on both sides of your sheets to save on paper
Get Your Free 2026 Printables for Mini Binders or Letter-Size Planners
If you are ready to get your free planner pages, click the pink button.
I hope you like these pages. If you have any questions or comments, be sure to enter them below or contact me at dionnem@homemadeourway.com
More Planners for You
Below are more planners that may interest you:
- Finance Planner (mini and letter sizes available)
- Goal Keeping Planner
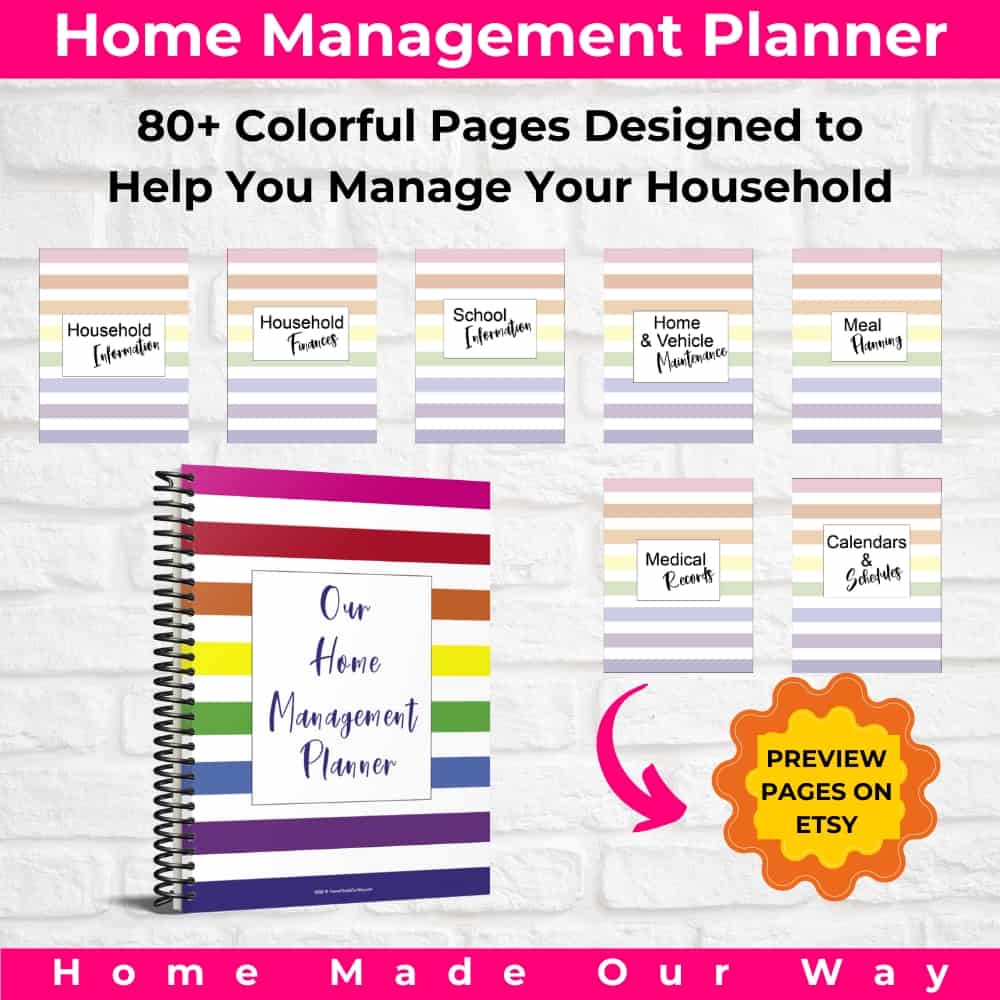
- Home Management Binder
- Student Planners