Every day, my boys take to my bedroom to do their reading.
Why? Because my bed seems to have become the only comfortable spot in the entire house to read.
This is when I decided that we needed a cozy reading nook.
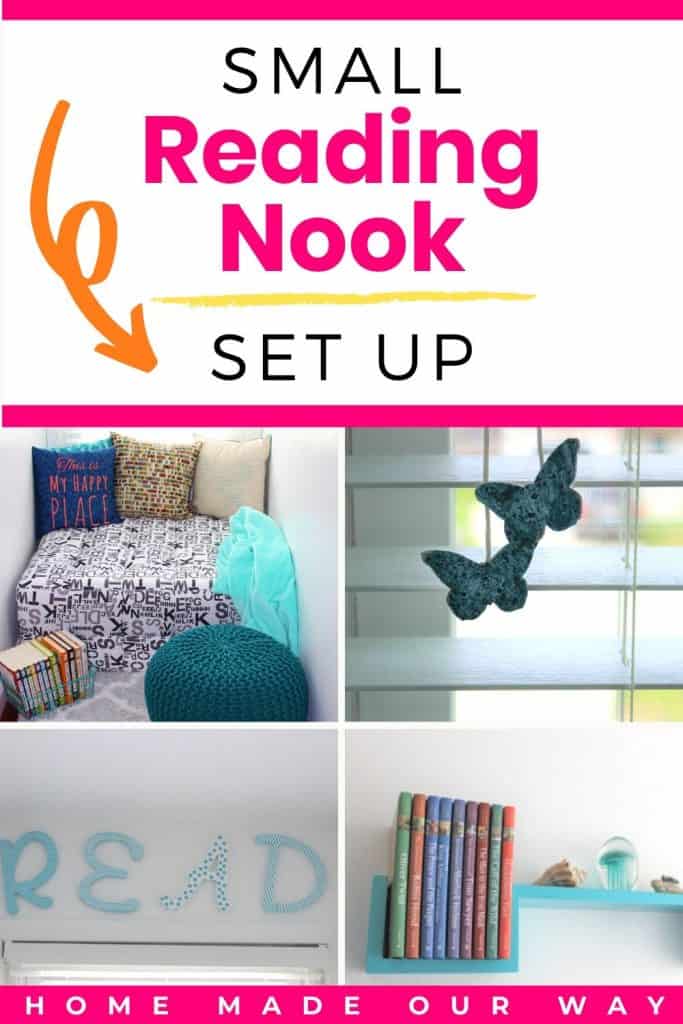
If you have limited space, follow along to create your own cozy reading nook.
Disclosure: Some of the links below are affiliate links that I have provided for your convenience. Click here to read my full disclosure policy.
Before Creating the Reading Nook
The first thing you’ll want to do is to take measurements.
You don’t want to purchase any furniture until you do so.
We decided to take this narrow window nook and turn it into a reading nook for the boys (and for me too!)
The little space is approximately 38 inches wide and 78 inches long.
I have been using it as a place to just stick things.
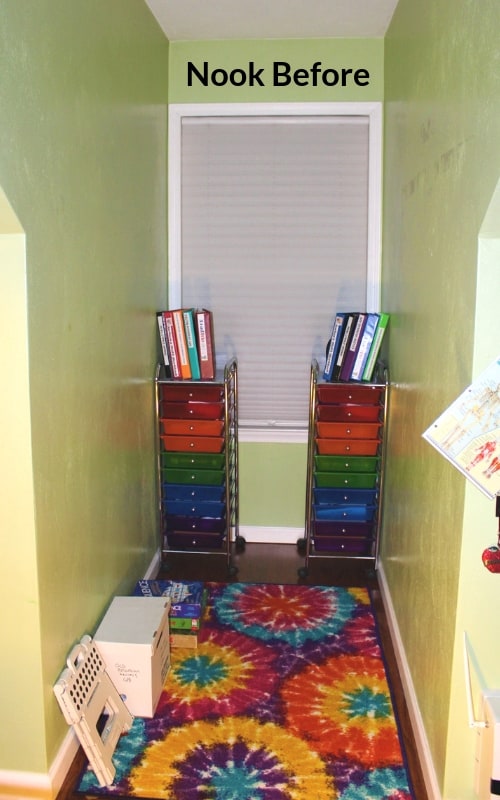
This nook is part of our homeschool room/office/den.
If you’d like to check out our homeschool room organization post, <—-click here.
The whole room including the nook is painted in a light green color.
At night, the nook, which has no lighting, is pretty useless once the sun goes down.
Prepping the Reading Nook
If you have anything stored in your nook area, go ahead and relocate these.
Depending on your space, you may want to do a little DIY.
After we cleared this space out we went ahead and painted it in white to brighten it up.
I thought I was going to have to buy a lamp for night reading.
But when night came, the room’s light reflected off the paint and brightened up the space a lot.
Seriously, it is bright enough to read.
Furnishings for the Reading Nook
Ottoman
After you are done with any DIY, go ahead and decide on any furniture you want to put in there.
Make sure you measure the space first before buying anything.
At first, I wasn’t sure what kind of piece should go in there.
I mean, the nook could hold a twin-size mattress but I wanted the nook to have a classier look and did not want to have to crawl across an entire bed just to open the blinds.
I considered a storage bench but opted for an extra-large ottoman.
A bench seemed too small for the space, whereas a large ottoman would accommodate both boys at once.
I found the perfect ottoman at Wayfair.
I loved the lettering on it and it was the perfect fit.
Not too small, not too big.
The neutral color allowed me to add pops of color later.
The ottoman is pretty firm, not what I had anticipated.
However, when I went to reach for the blind’s cords, it was nice not sinking into it.
Adding pillows has made it more comfortable.
And having sat it in a few times, I like the firmness.
It feels durable and God knows I need durability when it comes to twin boys.
Pouf
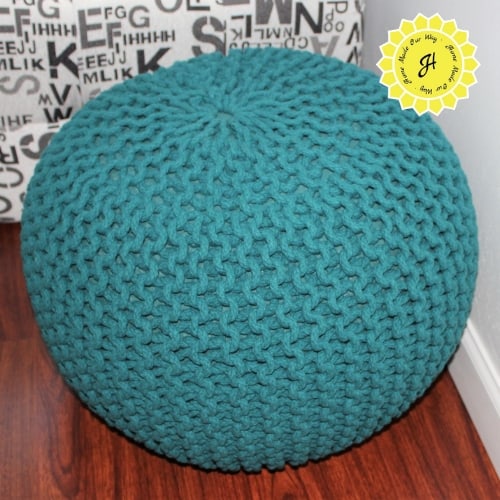
I also found this handcrafted pouf on Amazon and figured it can be used to prop one’s legs up or as a small table to hold a tray of drinks.
I love this teal color!
Adding Decor to the Reading Nook
This part is really up to you.
But here are some crafty suggestions that we did to our own nook.
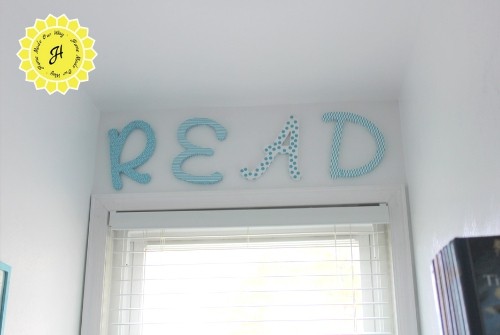
Creating a ‘READ’ Sign
I found some wooden monograms at Michael’s Arts & Crafts that were 9 inches long.
These were the perfect fit for just above the window.
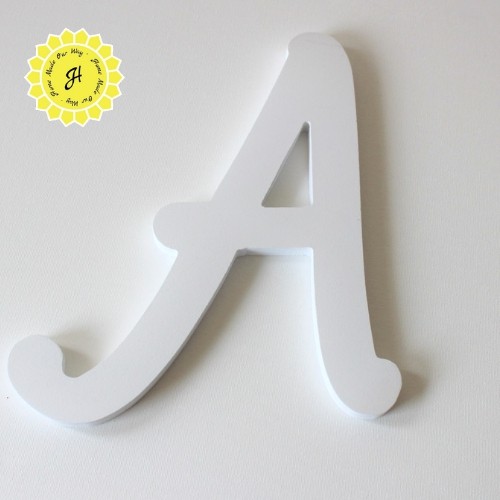
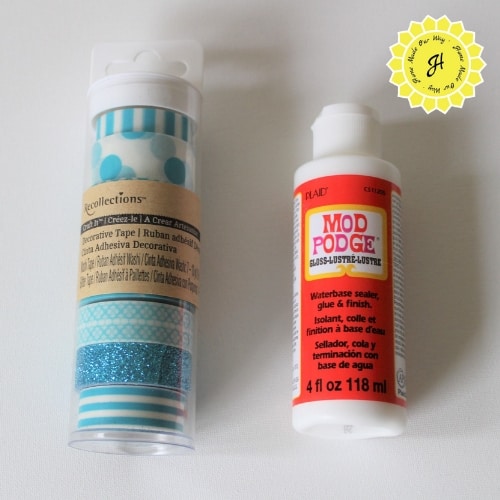
To give them some color, I purchased some washi tape and Mod Podge to seal them afterward.
The polka-dotted washi tape was the only one that I had to individually cut out each individual dot.
Aligning the half-dots was just too much.
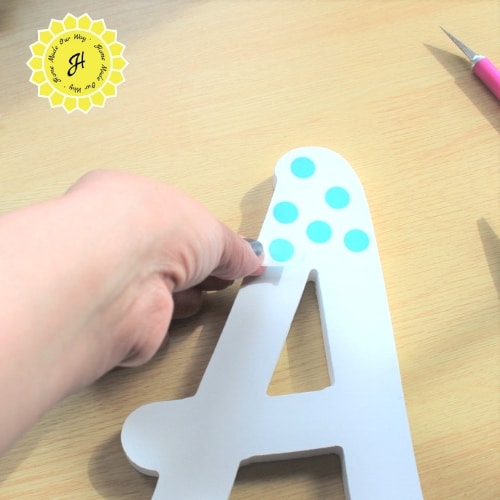
After applying the washi tape I applied a layer of the Mod Podge just to keep any part of the tape from puckering as time goes by.
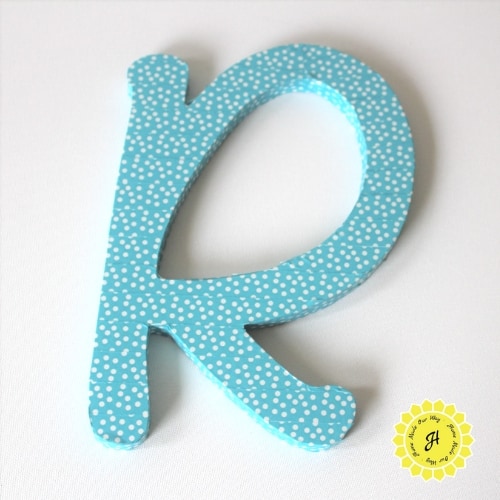
Applying tape to the other letters was a little simpler.
The key to keeping the patterns aligned was to start in the middle and go completely across the letter including the spaces/gaps in between.
Then, use a Xacto knife to trim off the extra tape.
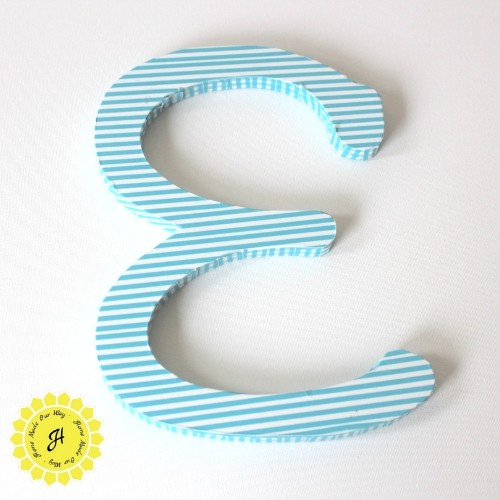
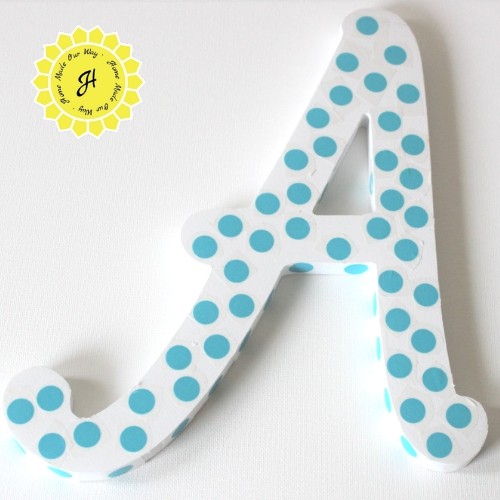
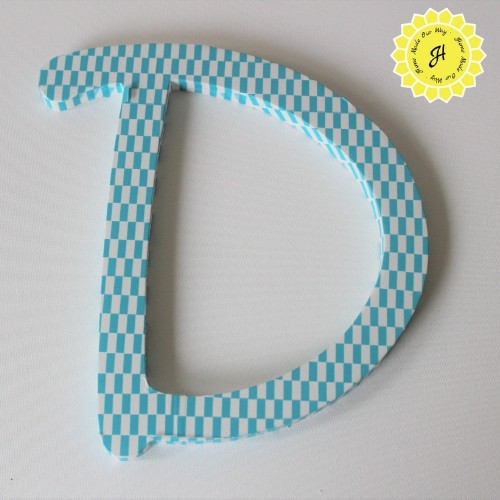
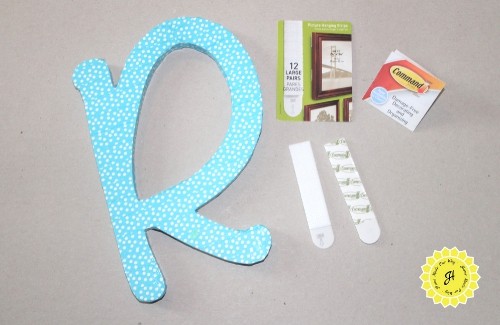
To hang the letters, I used Command’s picture hanging strips.
I hate using nails to hang stuff around the house especially if they are lightweight like these letters.
Plus, if I ever want to take them down, there won’t be a hole to fix or cover.
Framed ‘Reading’ Quotes
For this part, I purchased a couple of white 8×10 frames and a can of Rust-Oleum’s spray paint in Seaside Gloss.
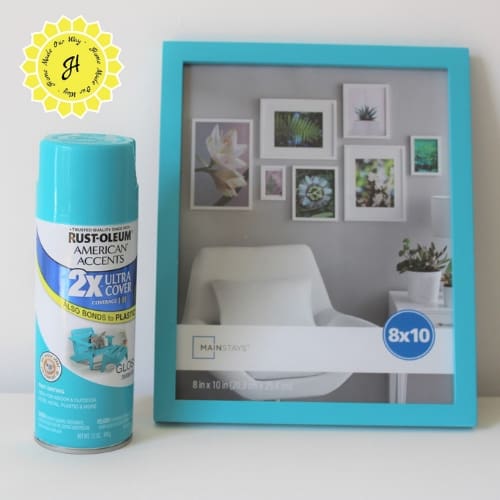
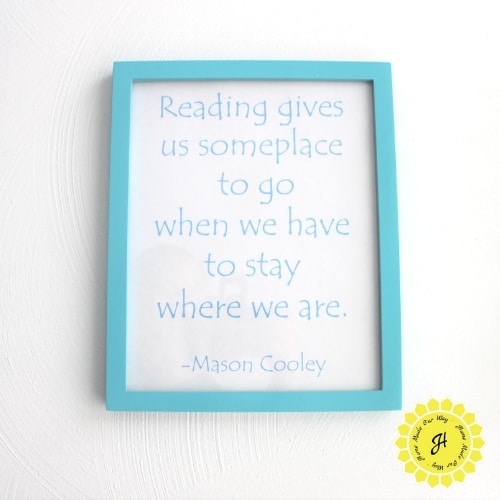
While the paint was drying on these, I printed out two of my favorite reading quotes.

Adding Shelves to our Reading Nook
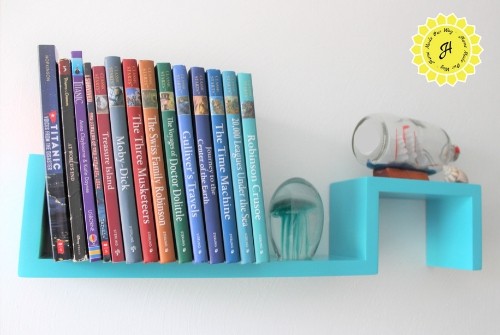
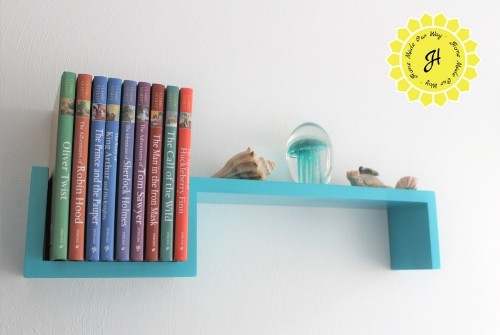
I found these cool shelves* on Amazon.
They came in blue but it was not a marine-like blue so I just sprayed them with the same spray I used for the frames.
[*These shelves are no longer available on Amazon].
The above link will take you to an Etsy store that creates cool bookshelves for your nook.
I also decided to hang them up, one flipped so that it had a narrower
This lets me add small décor pieces like a ship in a bottle that I got at Walmart and a jellyfish paperweight that I borrowed from my son.
Butterfly Window Fobs
After putting together the nook, I felt the window blinds needed something.
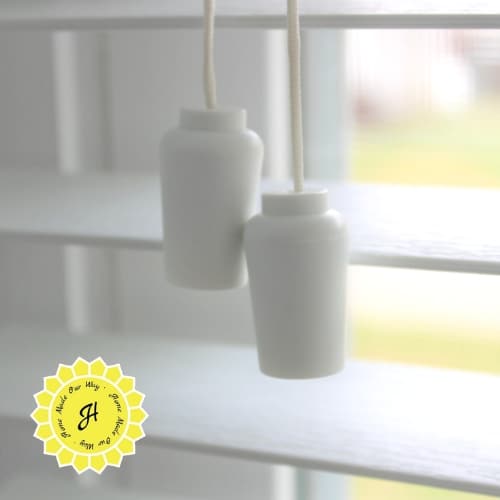
The one thing that caught my eye was the plain-looking window ‘fobs’ as I like to call them.
[For help picking out blinds, click here and read about the 13 types of blinds that can spruce up your space.]
I tried to find a place online that may sell colorful replacements.
I found one place using ‘window ornaments’ in my search, but their selection was lacking.
So I decided to do it myself. Now, I love butterflies so I decided to find a way to make them into fobs.
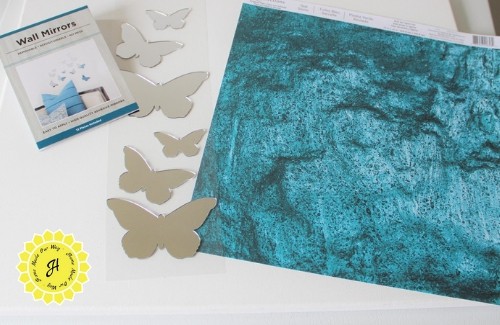
Here is what I found: I got these butterfly wall mirrors at Walmart and scrapbooking paper from Michael’s.
The wall mirrors came in a pack of 12, in different sizes.
Four of the smallest butterflies were the same size and were perfect for this project.
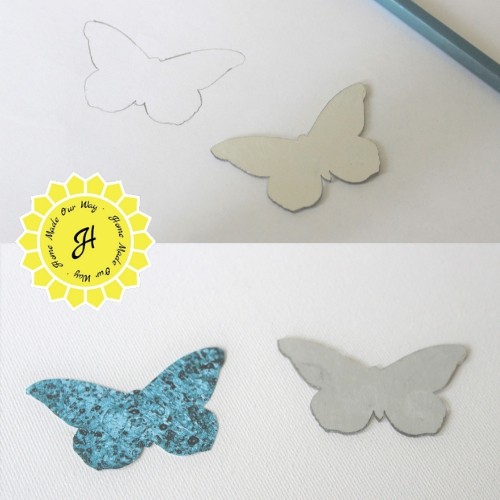
First, I traced the butterfly and then cut it out.
I made two of these.
Then I glued the paper onto the mirror front.
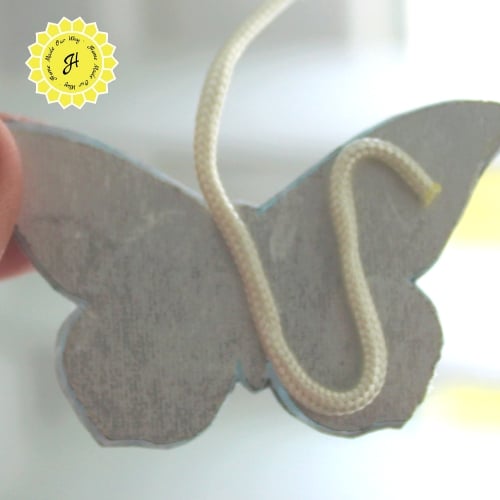
I removed the old fobs and using the sticky back of the mirror, I placed the window blind string.
I then pressed the other identical butterfly together with this one trapping the string in between.
Here is the finished product.
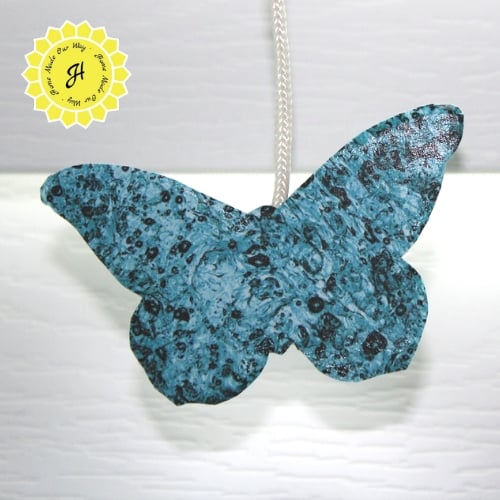
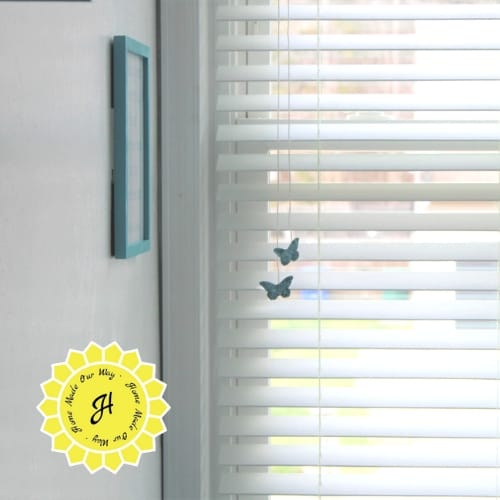
Having two sets of identical butterflies let me put butterflies on both strings.
I think these turned out so cute.
The Pillows
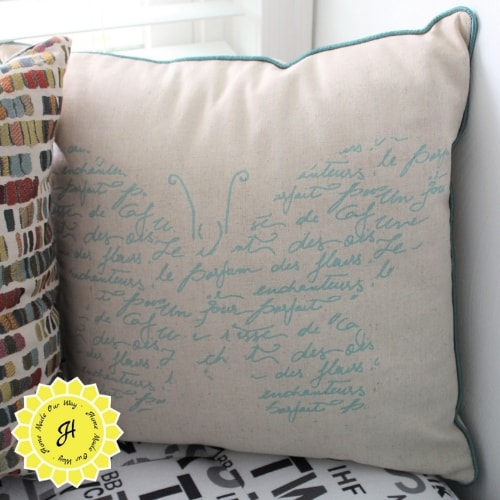
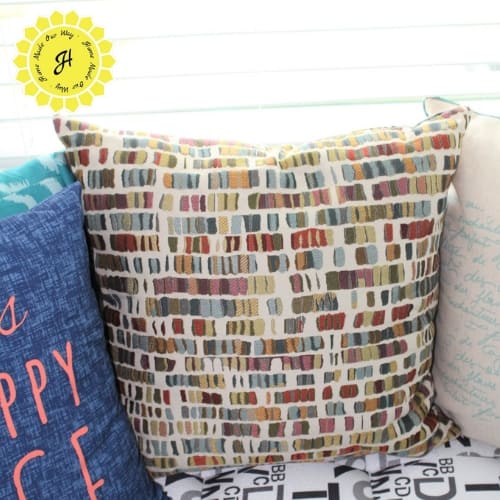
While looking for a couple more pillows on Kohl’s website, I bumped into the pillow you see in the center below.
I immediately fell in love with it because at first, I thought the pattern looked like books.
I had to have it for the nook.
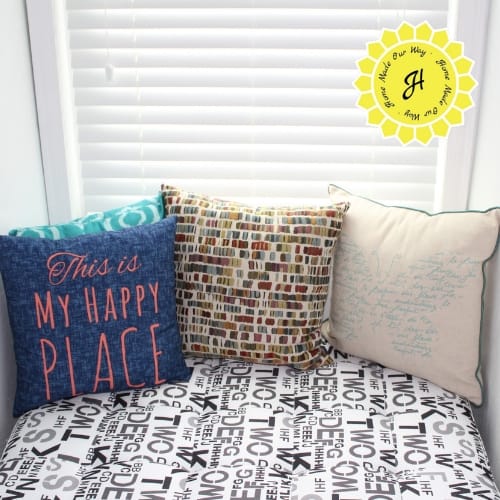
Of course, I had to have the butterfly pillow with French script in blue. <–no longer available but here’s one from Etsy.
I also got this at Kohl’s.
Here is that bookish pillow pattern up close.
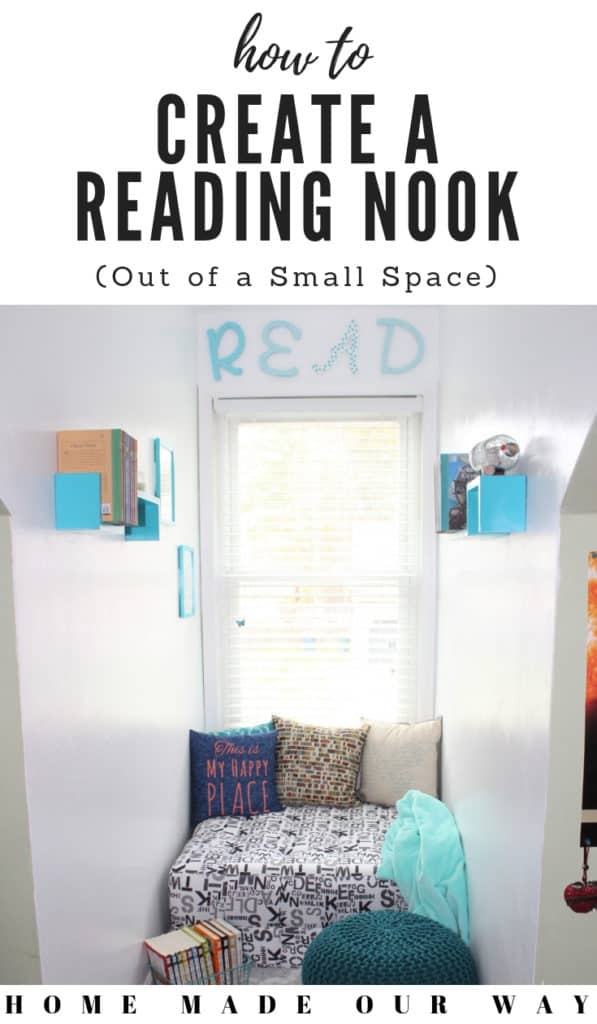
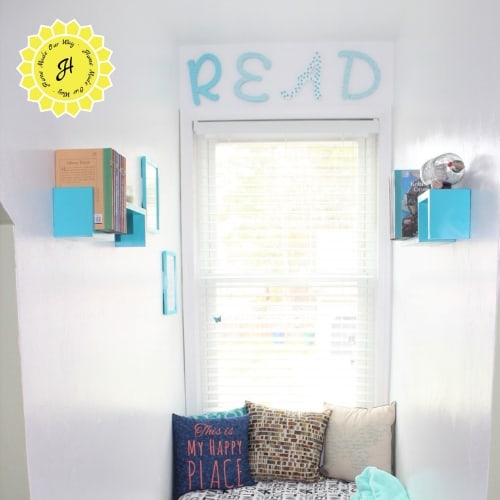
So there you have it: our cozy reading nook for the kids and mom too.
Our kids couldn’t wait for me to be finished with it so that they could use it.
Below is the top portion of the nook and the next photo is the bottom portion.
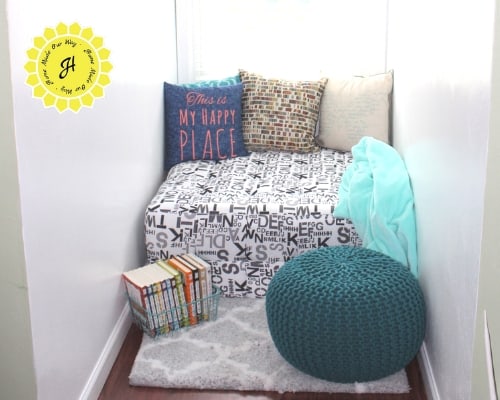
A couple of things: I purchased a plush throw blanket which the boys appreciate.
They love wrapping themselves in it as they read.
Also, I had a hard time trying to find a small rug that would go with and not clash with the ottoman but I was not having too much luck.
I did finally find something decent and it turned out to be a bath rug from Bed, Bath, & Beyond.
The boys find it so soft and luxurious…I won’t tell them it’s a bath rug.
Products Used to Make This Reading Nook
- Olympic Assurance White Semi-Gloss Primer + Paint (Lowe’s)
- Script Cocktail Ottoman (Wayfair) <–no longer available: here’s one I found on Amazon
- Faux Wood Venetian Blinds (Wayfair)
- Dori Pouf (Amazon)
- “This is my happy place” pillow (Walmart)
- Teal Pillow (Walmart)
- Teal Basket (Walmart)
- Wooden Letters (Michaels)
- Recollections Washi Tape (Michaels)
- Scrap Paper in Teal Stone (Michaels)
- Mod Podge in Gloss (Michaels)
- Command Picture Hanging Strips (Walmart)
- Mainstay White 8×10 Frames(Walmart)
- Rust-Oleum Spray Paint(Walmart)
- Ship in a bottle tabletop
- Butterfly wall mirrors (Walmart)
- Butterfly Pillow (Kohls)
- Bedrock pillow (Kohls)
- Loloi rug (Bed, bath & beyond)
- Jellyfish paperweight
I hope this post inspires you to create a spot in your home where you can relax and read a book.
Need help with your kid’s rooms? Click any of the posts below:

Leave a Reply