Organizing toys and games can seem like a waste of time. You pick things up, toss them into bins, and tidy up spaces only to find yourself in this same cycle every time the kids take out their toys.
Well, hopefully, we can get you out of that cycle with a little ‘test’ and some tips to help you organize their playtime stuff.
Disclosure: Some of the links below are affiliate links that I have provided for your convenience. Click here to read my full disclosure policy.
Organizing Toys and Games
6-month Test
Like many organizing missions, the first step usually starts with a good purge. However, when it comes to organizing toys and games, I like doing the 6-month test.
Over the years, I noticed that no matter how much my boys wanted a particular toy or game, they would suffer from what I call “toy fatigue”. That is, they play with a toy for a few weeks and then they are over it.
Now if we were talking about paper airplanes then sure, I can easily chuck them. But what about toys or games that are a bit pricey?
So, here’s what I do: if I see a neglected toy I simply store it away where the kids can’t see or get to them like in an attic.
If the kids ask for it, then I’ll retrieve it but this is hardly ever the case. Then after about 6 months, I bring the toys back out again and I swear it is like Christmas all over again in my home.
Now, while they are oohing over their “new” old toys, I gather up the newly neglected toys and put those away.
This works really well with toddlers and small kids, ages 2-12. In fact, if you start when they are 2, I swear you can get away with not having to buy gifts for the next few years.
Chore List
Okay, now before we do a little decluttering, let’s talk about children’s responsibility for their toys. I believe that if kids are old enough to take out their own toys then they can put them back as well.
Start them young, showing them how and where to put their toys when they are done. And don’t forget to add this task to their chore schedule. If you don’t have a chore chart for kids, check out Pinterest for some free and creative chore charts.
Step 1: Purging Toys
Depending on your child’s age, it may or may not be a good idea to do this next step with them. Kids can get very attached to certain toys and some just do not want to let go of anything even if they haven’t played with it in years. So, it’s up to you to gauge your child.
If they are somewhat cooperative, then include them. If they are having none of it, then you may have to do this without them.
The first step in decluttering and organizing toys and games is to separate toys into two to three piles: donate, repurpose (if you would like to try this), and trash.
If the toys are in pretty good condition, then consider donating them. Many places are in need of used toys. Check out this link which lists all sorts of places you can take your donations and what items you can donate.
If you are pretty crafty, consider repurposing toys. Check out Pinterest for some pretty cool ideas including a chair made out of stuffed animals. If toys are broken or have missing parts, then I would just trash it.
Also, now that my children are a little older, it is not hard to convince them to sell their toys that are in good condition. They don’t mind earning some cash so they can buy the games they want.
Not only does it give them a lesson in money but they learn to take care of their toys and games so they can sell them later.
Step 2: Sorting and Taking Notes
Looking at your keep pile, it is time to sort it out. Dolls with dolls, Legos in one pile, vehicles in another, etc.
Oh, and one word of advice when sorting Legos: don’t sort by color or shape unless you have the time or space, or if your kid is so into them that he/she requires that they are separated.
I know I know: you’ve seen those cool pictures on Pinterest with Legos highly organized. And yes, they are tempting to try. I know because I tried. And it ended up being a colossal waste of my time. In fact, my boys stopped playing with them when I organized them. I think I broke their creative spirit.
So, I threw all the legos into this trunk. Since then, they have played with them more.
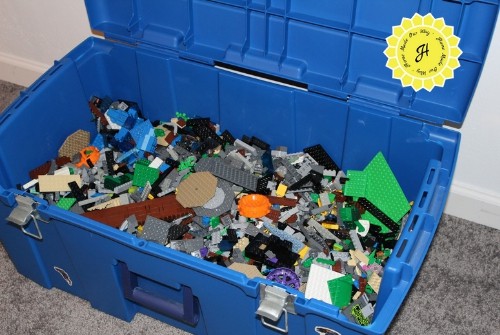
So, unless your kid is a Lego guru I wouldn’t put much into it. Don’t mess with your children’s creativity. Check out these storage options <– for Legos to help contain them.
So, back to sorting their toys: take note of how much they have for each category. Write down the number of dolls, cars, etc. This will help when it comes to finding the right place to store them as well as picking out the right-sized storage piece you may need.
Step 3: Storing Toys
Storing can be a little tricky. It all depends on the size and availability of the space and/or room. However, you should be able to tell what will work for you after you’ve purged and sorted through all their toys.
Because there are literally hundreds of ways to store toys, this part of the task will require you to log onto Pinterest to find ideas that will work for you.
In the search bar, type ORGANIZE and then “name of toy”. Seriously, you should see hundreds of images pop up. Start pinning ideas that you can easily do, works with your budget, and that you have the space to do. Continue searching for each category of toys.
Once you are finished pinning, it’s time to make a plan. If your available space for toys is big, consider using graph paper to outline where and how you want to store these toys.
Or use our free project planner printable by clicking here. Don’t forget to include a shopping list and perhaps even a budget for your plan.
Don’t want to spend too much? I get it. Try using shoe boxes and other containers you may have around the home. You can always decorate these pieces to give them an organized look.
If you do purchase bins, try to get clear-through or semi-clear bins. This will help smaller children know where to put their things back.
Ideas for Certain Toys
Here are some clever ways to store certain toys.
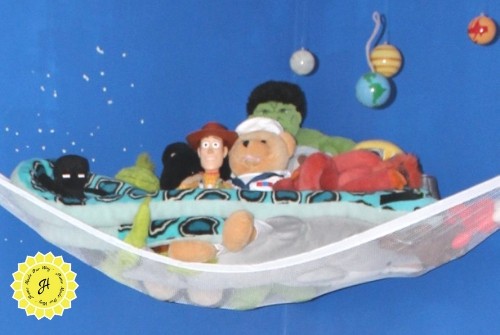
- For stuffed dolls, you can use a hammock made especially for them. This keeps them up and out of the way.
- For Barbie dolls and others, use an over-the-door shoe organizer. Place a doll in each of the pockets.
- Matchbox cars and others, hang them off a magnetic strip tacked to a wall.
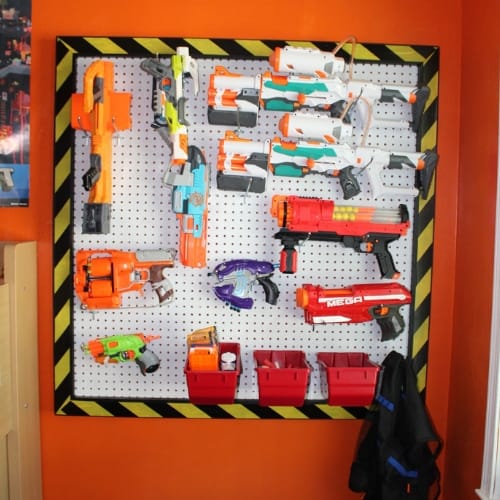
- Use pegboard on a wall to keep Nerf guns and bullets off the floor. This is a great space saver. To learn more and get the DIY plans for this Nerf wall, click here.
- Place coat hooks along a wall for costumes.
- Use a rolling cart for holding crafting tools and paint.
- Use plastic clear-through bins for playing cards.
- Modify a nightstand for hiding video consoles and controllers.
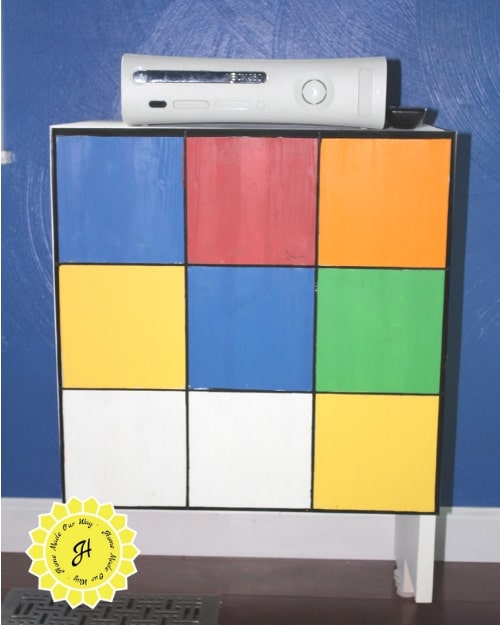
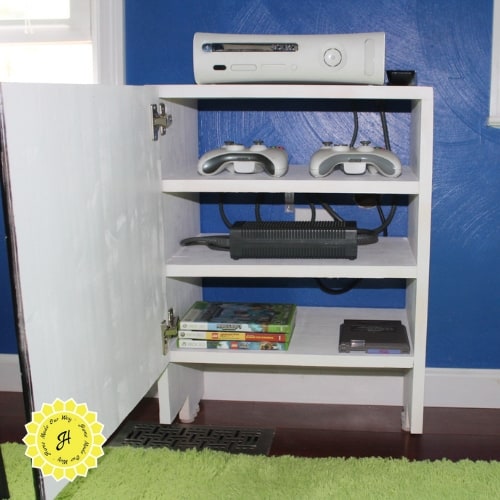
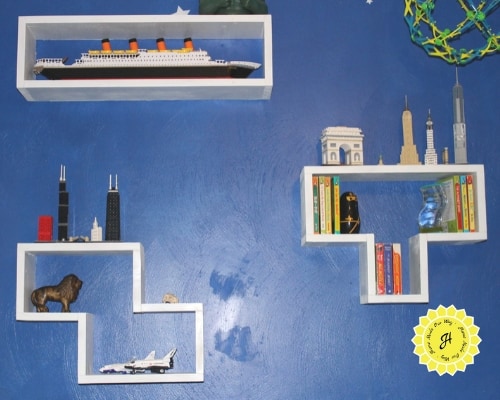
And Finally, Board Games
Board games can be tricky to store. Many come in rectangular boxes but almost all come in different sizes. So, naturally, they start taking a lopsided pyramid shape as we try to store them away. And, let’s not mention how most of these games come in boxes unnecessarily big for their contents.
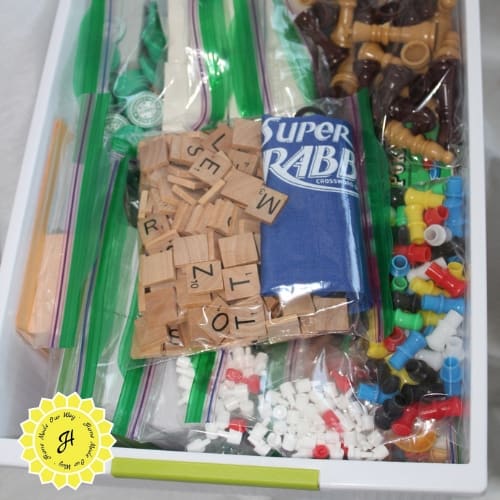
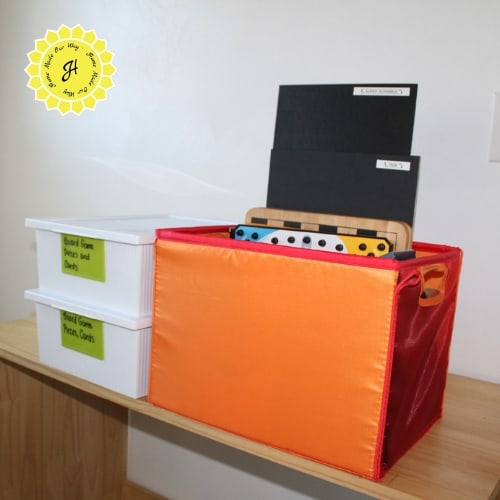
One thing I did was eliminate the boxes. We have 30+ games and about 15 of them were board games. I labeled each board and “filed” them in a bin.
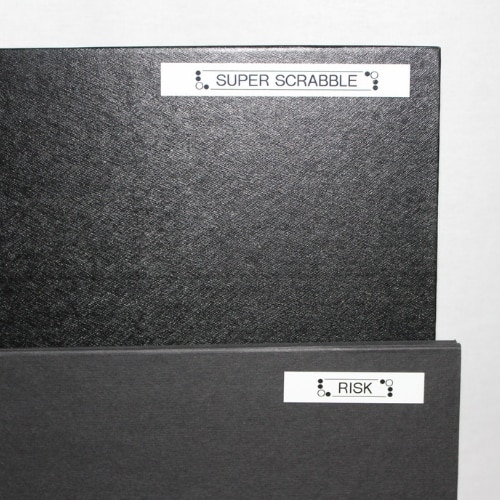
Then I separated each game’s pieces and instructions sheet into individual Ziploc bags and stored these in a couple of bins. Now they take up less space and can be stored more easily.
So, how do you organize your kids’ toys and games? Let me know in the comments below. Share your favorite toy/game organization hack.
Need additional help with your kid’s stuff? Click any of the helpful posts below on how to organize:
Know someone who could use this post? Use the share buttons above and below this post to help them out with their kids’ toys and games.

Leave a Reply