Do you wish your kids would learn to keep their rooms organized once and for all? Have you tried organizing your kid’s room only to find it a disaster in less than a month? Do you feel like giving up because you can’t figure out how to get them to pick up their scattered stuff?
If you feel this way, you are not alone. This was happening to us. No matter how much I tried to get it organized, the boys just couldn’t keep it that way.
Disclosure: Some of the links below are affiliate links that I have provided for your convenience. Click here to read my full disclosure policy.
For years, I have organized my boys’ rooms over and over only to have it unravel in a couple of weeks. However, this year, I took a hard look at what was causing the clutter and how I can fix this.
What I found was that I was partly to blame. I was going about it all wrong. So let’s see if I can help you avoid some of the mistakes I made so that your kids’ room remains tidy all the time.
Assessing Your Kid’s Room
Before we start, please note that this post covers rooms for kids ages 5 – 12. For teens, click here to see how you can get your teenager to organize their own room.
Know Your Child
The first thing I suggest you do is to go into your kid’s room, pen and paper in hand, and write down what you see. What toys are your kids into? Do they have piles of books around? Write a list of their interests.
What things do they like to collect? Do you have a gamer or an artist? Do they have items they are attached to or are unwilling to let go of? Take note of their talents and hobbies.
Next, you want to mark down how they treat their ‘treasures’. Are they scattered all over or are they shoved into drawers and bins? Are their instruments well-cared for? Do they have a place to store and shelve their books? What about loose papers and drawings?
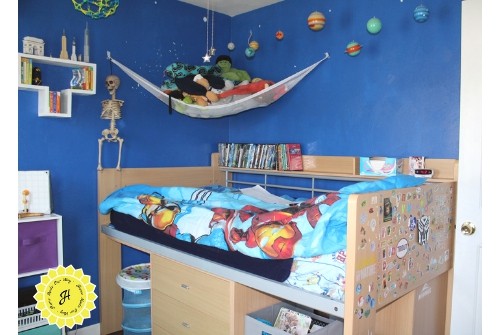
At this point, you may also begin making a list of bins, baskets, and containers you are going to need for their stuff. So, if you’ve written down “has a lot of stuffed animals”, then consider purchasing one of those hammocks especially made for them. Legos? Make note of how much they have so you can buy the appropriate container(s) for them.
Note: Keep your receipts when buying storage. It’s possible you may not need so much once you go through the following process.
Room’s Roominess
Next, you want to try and figure out what is and what is not working in their room. Check their dressers. Are their drawers stuffed to the point that they can’t close? How is the room’s flow? Are there things blocking their way to other parts of the room?
Now, go around and take measurements of the room and furniture you want to keep in their room.
Planning Your Kid’s Room
Create a Floor Plan for Your Kid’s Room
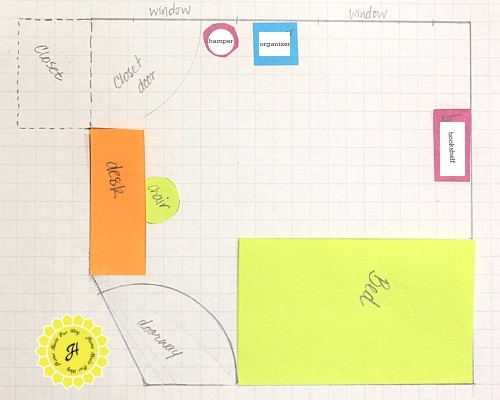
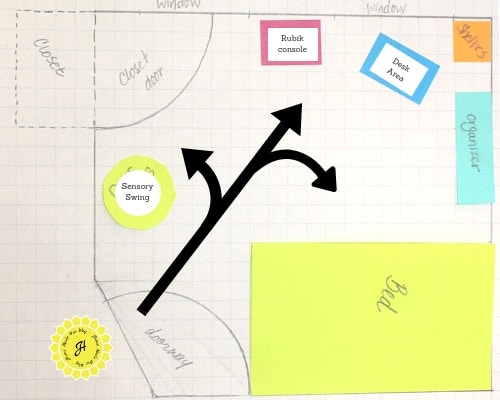
The next thing you want to do is create a floor plan of the room’s dimensions. I suggest using graph paper. Then using colored paper, create replicas of any furniture and attach them to your graph. I use colorful Post-its and page markers so that I can move and rearrange furniture until I get the room looking exactly how I like.
Tip: Get your kids involved in the planning stage. When I created floor plans for the boys’ rooms, they were excited to see what we had in store for their rooms.
Going over your plan, rearrange any furnishings so that your kid’s room has a good flow.
Moving Day
Well, I don’t want you to move your child out of the room, but when I worked on the boys’ rooms, I removed everything from their room(except their bed). I took everything out of their room and planted it in the hallway outside of their room.
Yes, it sounds drastic but moving everything out into the hall served two purposes. One having everything in the hall was very inconvenient for everyone so it forced us to get this done quickly.
And two, it opened my boys’ eyes to see how much stuff they had, what they could do without, and how spacious their room could be with less stuff. The boys were much more willing to get rid of a big chunk of their stuff.
So, I suggest that when you begin this move, start first thing in the morning and plan on making it an all-day (and perhaps all-hands-on-deck) project.
Empty their rooms, lay out their
Now, once you have their room emptied, go ahead and give it a good clean. If old enough, get your kids involved. They can certainly help with dusting at least.
Zones in Your Kid’s Room
The best way to organize their room is to break it down into parts or zones. I have written separate posts for each of the following: clothes, closets, toys/games, and books.
Below you will find links to posts that can help with organizing each of these areas. I’ve included papers and keepsakes in this post. As you begin this phase of the organizing have a trash bag handy as well as a box for possible donations.
Clothes
Click here to read my post on organizing clothes. While this post focuses on your own
Closet
Click to read more about organizing your kid’s closet.
Toys and Games
For some, this category can get overwhelming. Click here to read my post on organizing toys and games.
Books, DVDs, CDs
Click here to read my post on organizing books and here for types of entertainment such as CDs, DVDs, and video games.
Papers
Of all the categories, I dreaded this one the most when it came to organizing Josh’s room. He loves to write and draw things down on paper. However, once he does, he never refers to them again. I would always find piles of papers here and there and shoved into different spaces.
A couple of years ago I decided that maybe he needed a desk with drawers and organizers to keep these piles in place. Big mistake!
The desk not only took up a lot of space and interrupted the flow of his room, but it became a big dumping ground. Knowing how much I hated seeing clutter, he simply resorted to shoving everything into this desk.
So, the desk was removed and he and I sat down and went through every scrap of paper to determine what stayed and what had to go.
One question I asked him every time he wanted to save something was: “When was the last time you saw this or needed this?” And with that, he was willing to let go of a lot of these random papers.
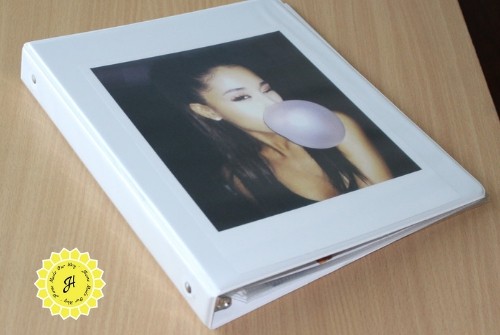
Now, with the papers he did keep, we hole-punched them and put them into a binder. If you’d like to read more on paperwork organization, click here.
Keepsakes
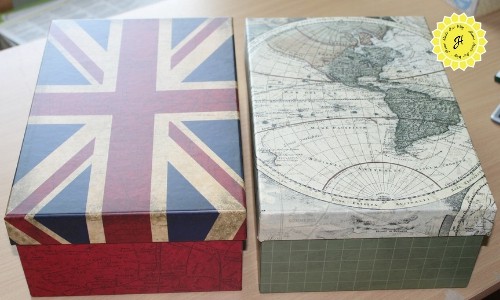
For keepsakes, I let Jack and Josh pick out a decorative box from Michael’s. In it, they store things like small mementos from trips, birthday cards from relatives, and other small trinkets.
The rule is that once it is filled up, they need to go through it and see if there is anything that can be done to make room for more keepsakes. So far, this has kept their boxes from filling up. I’ve also noticed that as they get older, they are more willing to let earlier keepsakes go.
The “Stasher”
As I mentioned above, Josh loved saving stuff, especially papers. And the enabler was that desk I bought him. So it had to go. If there is something your child is using to hold their mess, then I suggest getting rid of it.
Josh still needed some sort of surface to do his work and to hold his computer.
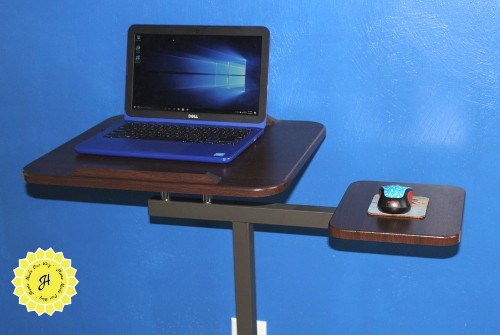
I recently purchased a portable desk for my computer and I love how convenient it is for moving around the homeschool room. It also does not take up a lot of space and I thought this was perfect for Josh.
However, I wasn’t sure if he’d get used to it. But it’s been about 2 months and he loves it.
Everything In Its Place
Finally, I suggest making sure that everything they own has a designated space. Using the list you created at the beginning of this post, make sure you have assigned a storage spot for each category.
Label them if possible so that your kid knows where to put what. Don’t forget to go over this with them.
Small Rooms
Sharing
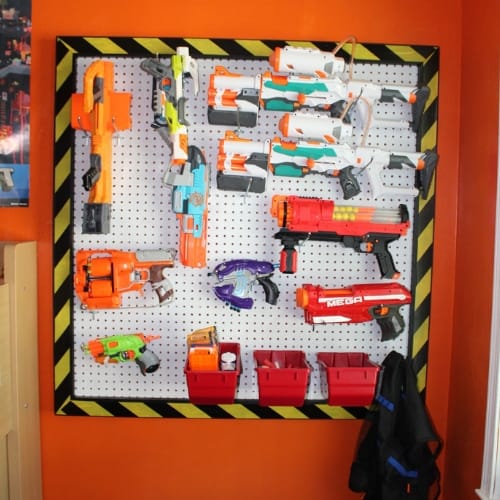
Josh’s room is the smallest bedroom while Jack’s room is somewhat bigger. So trying to store Nerf guns and Legos in Josh’s room was challenging. However, when we finished purging and organizing the boys’ rooms, it was obvious that Jack’s room could hold more stuff.
So, we convinced Jack to take on both the Nerf toys and Legos. He was happy to do so once we showed him how we had planned on storing the Nerf guns. Now, what kid would say no to that?! By the way, if you’d like to read our Nerf wall DIY and get free building plans, click here.
Going Vertical
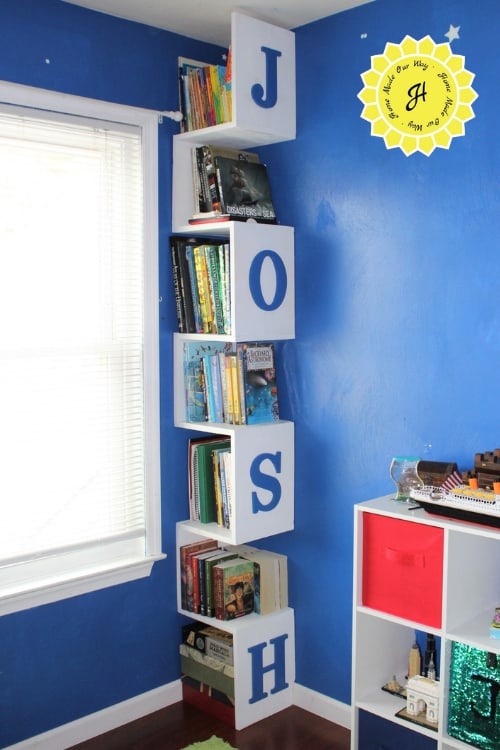
When it comes to small rooms, consider going vertical including using walls and empty corners. For Josh’s books, we created this vertical bookshelf in an empty corner.
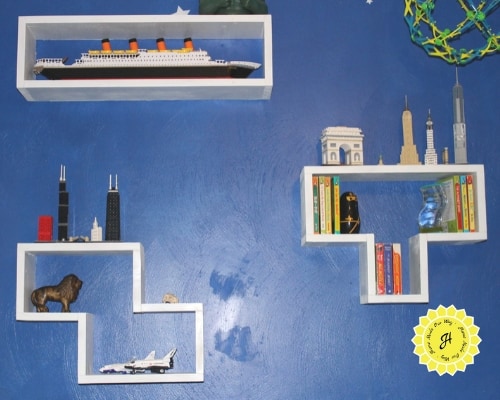
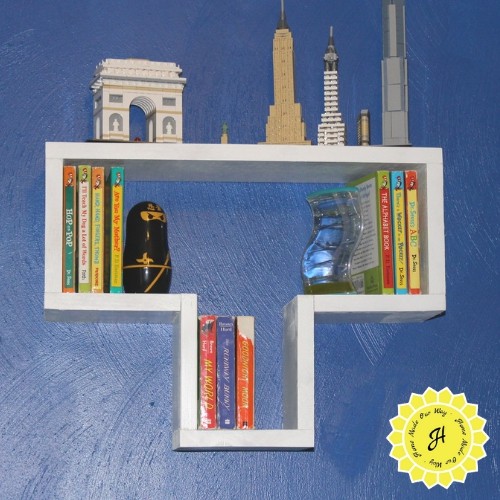
For some of his Lego displays, my husband came up with the idea of making Tetris-themed shelving (one of Josh’s favorite games).
And for his stuffed dolls, we hung a hammock in a corner above his bed. Again, try to use any space you can find and be creative.
So Far, So Good
It’s been a couple of months and the boys have managed to keep their rooms neat and organized. I haven’t found any ‘piles’ of stuff.
However, I was somewhat skeptical and made a quick inspection of their storage containers just to see if the kids had simply stashed their mess. And I’m proud to say, that they have kept their storage organized and everything is where it should be.
So here is what I did differently this time around. I:
- took notes
- created a plan
- emptied their rooms completely
- got rid of anything that was enabling the ‘stashing’
Now, it’s your turn to organize your kid’s room. If you’ve never tried the four actions listed above, try it and see if it makes a difference.
I know that we were a bit overwhelmed at first, but we needed a drastic approach to their rooms. And I’m glad we did because it is so nice to see their rooms well-kept.

I love these ideas! Was hoping for some more information on the vertical bookshelf your husband designed for the corner. Dimensions, hanging instructions, any information you could share! Thank you so much!
Hi Catie,
Here is the link to that DIY: https://homemadeourway.com/corner-bookshelf-diy-space-saving-tower-kids-rooms/